cd ~/path_to_ws
docker compose up
The above command launches racers with default config. If you want to override the default configuration for racecar1, just go to its config and adjust the parameters for your needs.
- For instance if you'd like to change the name of your
racecar1:
/**:
  ros__parameters:
    twin_url: "http://ditto:[email protected]"
    anonymous: false
    prefix: muto
    namespace: org.eclipse.muto.sandbox
-    name: hackracer-01
+    name: fast-racer-01
    type: real_car
    attributes: '{"brand": "Traxxas", "model": "Slash 4x4"}'
    stack_topic: "stack"
    twin_topic: "twin"
Same goes for racecar2 config
/**:
  ros__parameters:
    twin_url: "http://ditto:[email protected]"
    anonymous: false
    prefix: muto
    namespace: org.eclipse.muto.sandbox
-    name: hackracer-02
+    name: slow-racer-02
    type: real_car
    attributes: '{"brand": "Traxxas", "model": "Slash 4x4"}'
    stack_topic: "stack"
    twin_topic: "twin"
To stop the simulation:
- Press
Ctrl + C
cd ~/path_to_ws
docker compose down- To launch the simulation, make sure you source both the ROS2 setup script and the local workspace setup script. Run the following in a bash session
source /opt/ros/<your-ros-distro>/setup.bash
source install/local_setup.bash
ros2 launch f1tenth_gym_ros gym_bridge_launch.py
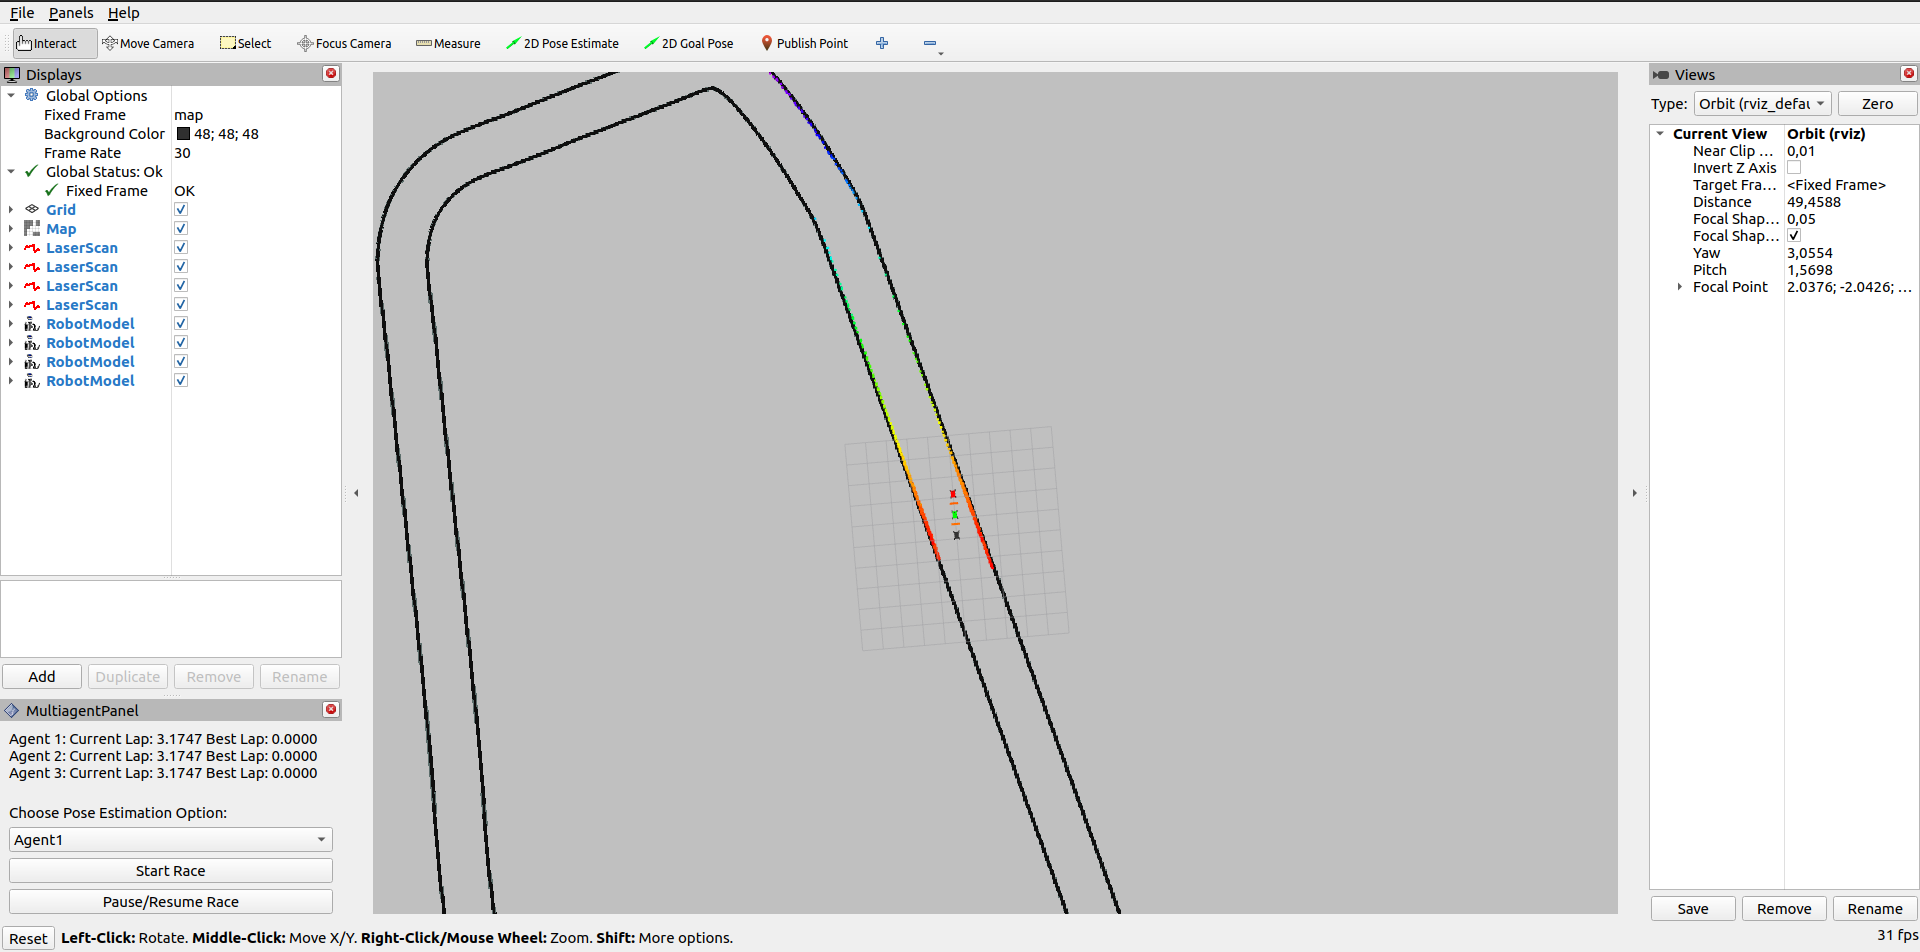
An Rviz window should pop up with the default simulation config
-
Open sim.yaml.
-
The map can be changed via the
map_pathparameter. You'll have to use the full path to the map file. The map follows the ROS convention. It is assumed that the image file and theyamlfile for the map are in the same directory with the same name.- Don't include the .yaml extension to
map_pathparameter
- Don't include the .yaml extension to
-
The
num_agentparameter determines how many racers the simulation should expect. This can be changed arbitrarily between [1, 3].- Supported number of agents will be increased. For now it is limited to maximum of 3 agents as there occurs performance issues after 3 agents.
Assuming the num_agent parameter in sim.yaml is 3:
racecar1/odomracecar1/scan
racecar2/odomracecar2/scan
racecar3/odomracecar3/scan
If you have tf2_tools installed, you could view the transform tree to get a better idea of what's going on in the simulation backend via below command:
source /opt/ros/<your-ros2-distro>/setup.bash
ros2 run tf2_tools view_frames.py
Above command is going to output you a .pdf file under the directory you've executed the command.
-
/map: To receive the map of the environment -
/initalpose: This is the topic for resetting all of the agents' poses to their initial state via RViz's 2D Pose Estimate tool. You need to choose the specific agent you'd like to reset viaMultiagentPanel(Which is the Rviz Plugin that comes with the simulation):
- Below are the topics to get your racecars going
racecar1/driveracecar2/driveracecar3/drive
- Make sure you've completed the Launching the simulation step:
- If you use Docker, you need to connect to NoVNC server to be able to see Rviz.
- You should be able to observe something similar to below:
- Now the simulation is in a ready state waiting for you to send control inputs to the racecars!
- Head over to the racecar configuration file to get your racecar moving!

