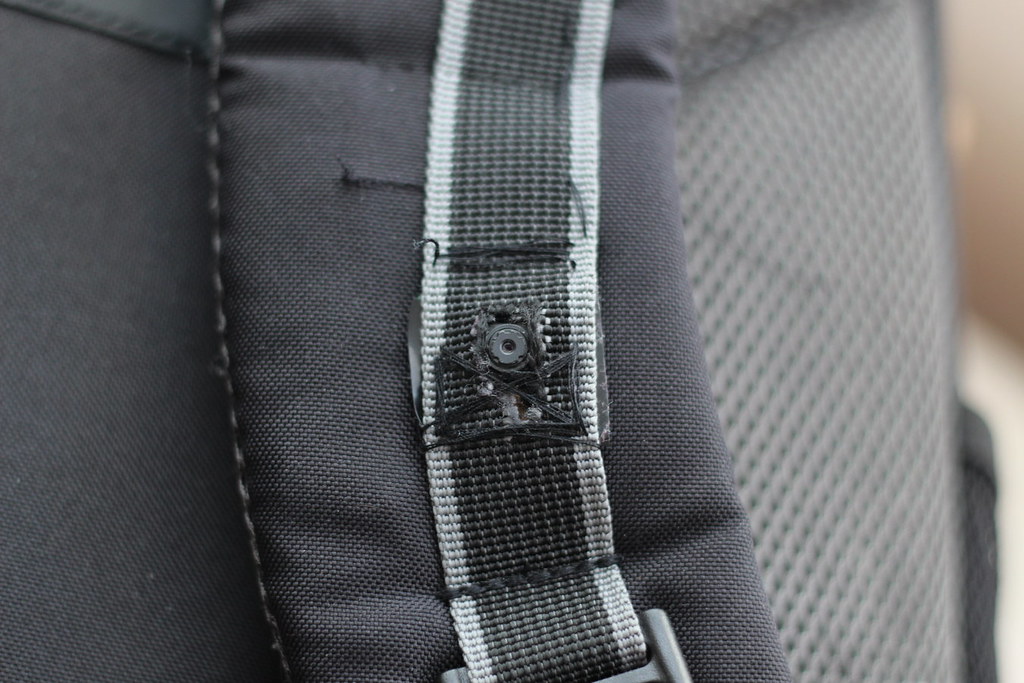
Read about the project here: http://manoj.ninja
Install Raspbian Jessie Lite onto your Raspberry Pi and run:
$ sudo -s
$ apt-get update
$ apt-get install hostapd dnsmasq git python-pip apache2 python-serial -y
$ apt-get upgrade -y
$ git clone https://github.com/Manoj-nathwani/raspberry-pi-timelapse-camera.git
Edit the iface wlan0 part of your /etc/network/interfaces file to look like:
iface wlan0 inet static
    address 10.0.0.1
    netmask 255.255.255.0
At the bottom of /etc/dhcpcd.conf add:
interface wlan0
    static ip_address=172.24.1.1/24
Edit the DAEMON_CONF part of your /etc/default/hostapd file to look like:
DAEMON_CONF="/etc/hostapd/hostapd.conf"
Make a /etc/hostapd/hostapd.conf file with:
interface=wlan0
driver=nl80211
ssid=a_potato
channel=1
Make a /etc/dnsmasq.conf file with:
interface=wlan0
dhcp-range=10.0.0.2,10.0.0.5,255.255.255.0,12h
Reboot your device and an open access point called a_potato will automatically run!
You should be able to see it and connect to it from another device, however it may give you a warning about not having an internet connection.
Credit:
- https://frillip.com/using-your-raspberry-pi-3-as-a-wifi-access-point-with-hostapd
- http://sirlagz.net/2012/08/09/how-to-use-the-raspberry-pi-as-a-wireless-access-pointrouter-part-1
- https://nims11.wordpress.com/2012/04/27/hostapd-the-linux-way-to-create-virtual-wifi-access-point
Run lsblk to see where your USB stick is
$ sudo mkdir /media/usb
$ sudo nano /etc/fstab
Add /dev/sda1 /media/usb to the bottom of the file
Deploy the LinkitOne application through the regular Arduino upload method.
$ cd /home/pi/raspberry-pi-timelapse-camera/raspberry-pi-server
$ pip install -r requirments.txt
$ python app.py
$ cd /home/pi/raspberry-pi-timelapse-camera/raspberry-pi-code
$ pip install -r requirments.txt
$ python app.py
Edit your crontab by by running crontab -e and adding the following to the end of the file:
# run flask web server @ 10.0.0.1:5000
@reboot python /home/pi/raspberry-pi-timelapse-camera/raspberry-pi-server/app.py

# take a picture every 1 min
* * * * * /home/pi/raspberry-pi-timelapse-camera/raspberry-pi-code/app.py
apt-get install i2c-tools
Edit /boot/config.txt and append:
device_tree_param=i2c_arm=on
Edit /boot/cmdline.txt and append:
bcm2708.vc_i2c_override=1
Edit /etc/modules-load.d/raspberrypi.conf and append:
i2c-bcm2708
i2c-dev
Follow the instrucitons here: https://thepihut.com/blogs/raspberry-pi-tutorials/17209332-adding-a-real-time-clock-to-your-raspberry-pi
Credit:
