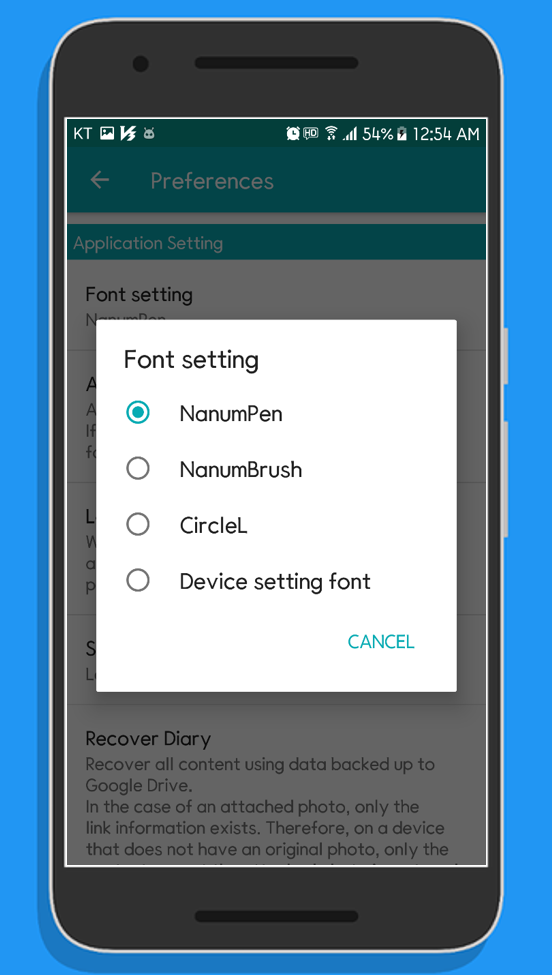
When the device language setting is set to Korean or English, the available fonts in this diary are the three fonts provided in the diary and the fonts set in the device.
To use the fonts you own in the diary, simply copy the TTF fonts to the specified location as follows.
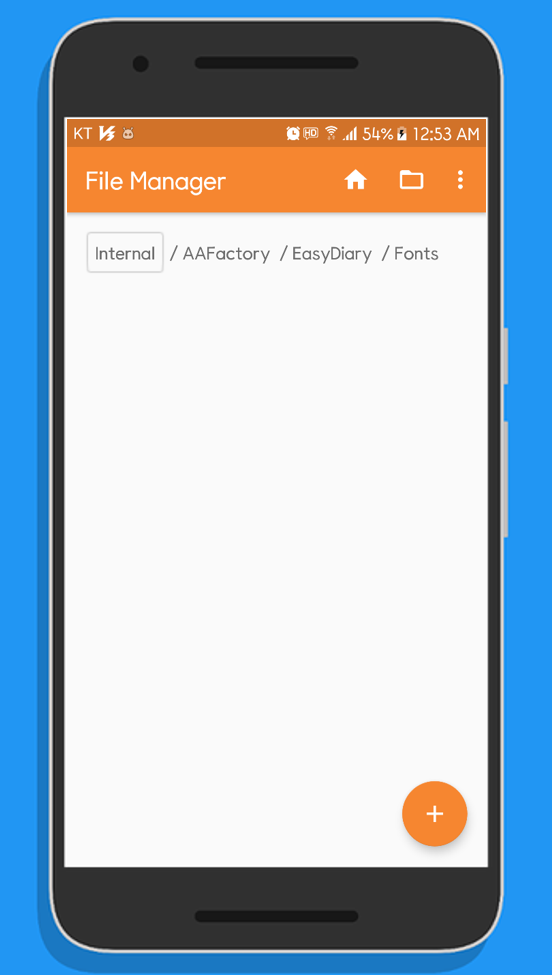
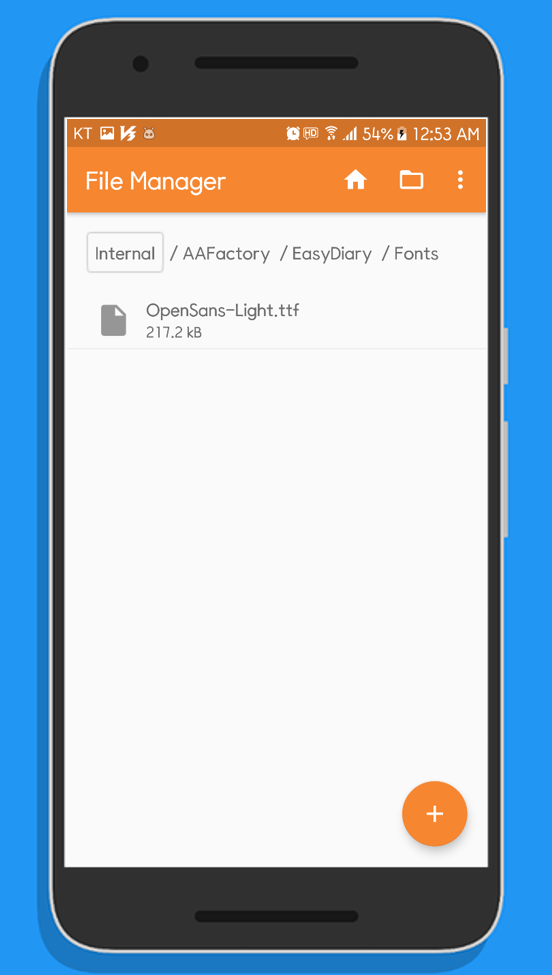
02. Check the font directory
If the TTF font file is in the device, use the Explorer installed on the device.
The explorer used in the screenshot is the 'Simple File Manager' Explorer.
If the TTF font file is on your PC, you can use the explorer available on your PC.
03. Copy TTF font file to font directory
The font directory for Easy Diary is '/AAFactory/EasyDiary/Fonts/'.
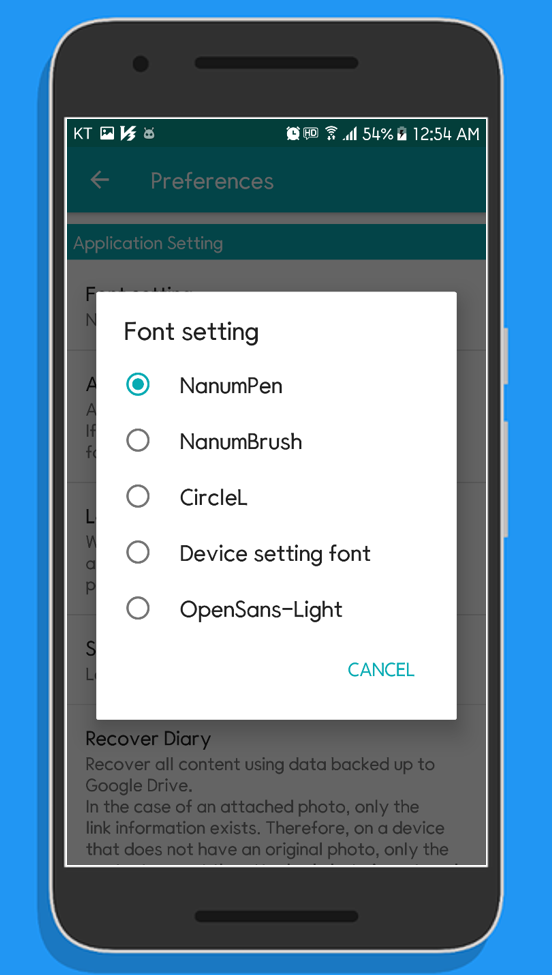
04. Check additional fonts
When a TTF file is added to the font directory, the font is added to the font settings list.
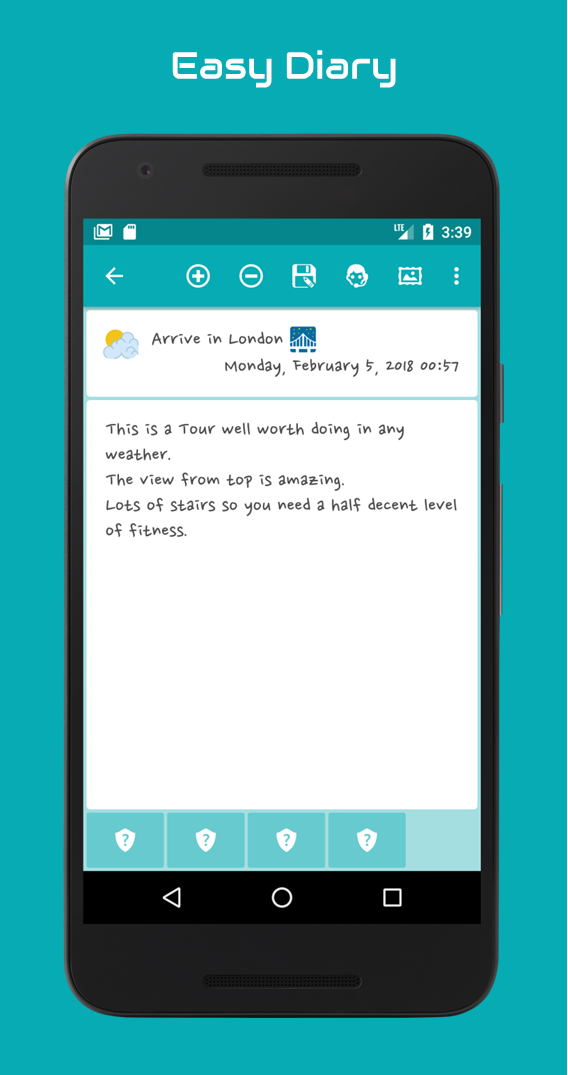
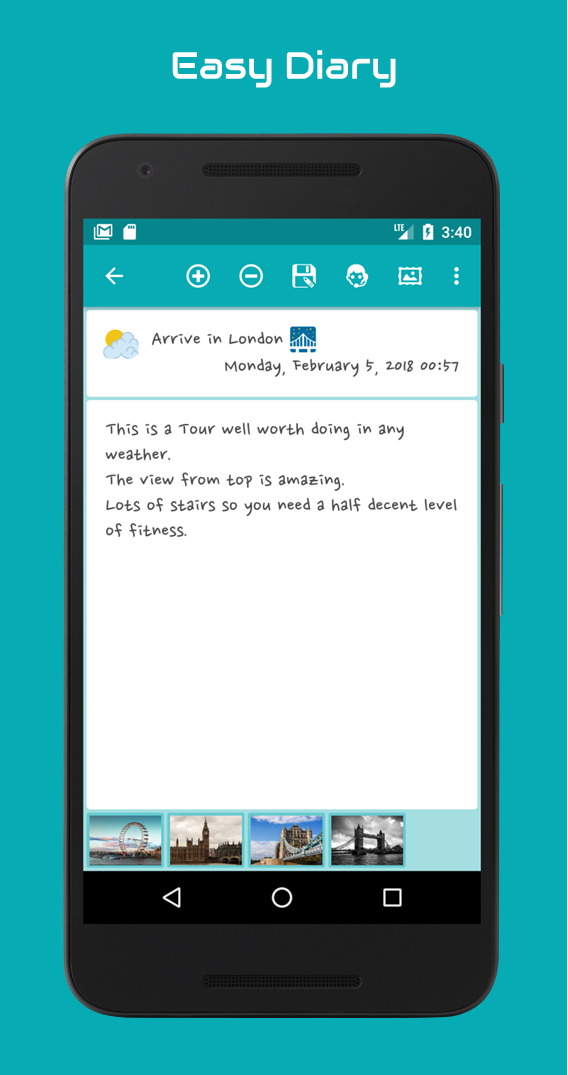
Easy Diary only supports backup and recovery of content except attachments in backup and recovery operations.
If the user wants to back up and recover the attached photo, the operation must be done manually.
Backup and recovery of all diary content including attachments will be available in the future.
01. Checking the photo management directory of the backup target device
Easy Diary compresses the attached photo and keeps them in a separate directory.
You can check the attached photo directory by connecting the backup target device to the computer and moving to the following path.
Easy Diary photo management directory: /AAFactory/EasyDiary/Photos/
02. Copying the photo management directory of the backup target device
Copy the 'Photos' directory to any location on your computer.
[Backup Device] -> [Desktop]
03. Copy the photo management directory to the recovery target device
Overwrite the 'Photos' directory copied in any path to the photo management directory of the device being restored.
Easy Diary photo management directory: /AAFactory/EasyDiary/Photos/
[Desktop] -> [Restore Device]
04. Confirm attachment recovery
Attachment Once the photo is restored, you can view the attached photo normally.
