In this lab you will implement a simple API with Fuse Online and expose it using 3scale.
Audience: Integrators, Developers and Architects
Overview
When it comes to quick API development, you need both the integration experts as well as application developers to easily develop and deploy the APIs. This lab demonstrates how to implement a simple API with Fuse Online. Instead of using APICurio to create the API contract, we use Apicurito (an embedded version of Apicurio) to define our contract directly in Fuse Online. We then implement our API with Fuse, then manage and secure it using 3scale. This flow gives us an easy end-to-end walkthrough of defining, implementing, managing and securing an API.
Why Red Hat?
Red Hat Fuse integration solution empowers integration experts, application developers, and business users to engage in enterprise-wide collaboration and high-productivity self-service.
Credentials:
Your username is: {user-username}
Your password is: openshift
-
Launch a new tab on your web browser.
-
Navigate to the Solution Explorer on that tab.
-
Click on the Red Hat Fuse Online link.
-
Open your Fuse Online Console.
-
The first time that you hit the Fuse Online URL, you will be presented with an Authorize Access page. Click the Allow selected permissions button to accept the defaults.

-
Click on Connections > Create Connection

-
Select Database

-
Enter below values for Database Configuration
-
Connection URL:
jdbc:postgresql://postgresql.international.svc:5432/sampledb -
Username:
dbuser -
Password:
password -
Schema: <leave blank>

-
-
Click Validate and verify if the connection is successful. Click Next to proceed.

-
Add the following details, then click Save:
-
Connection Name:
LocationDB -
Description:
Location Database
-
-
Verify that the
Location Databaseis successfully created.


Were you able to add the Database connection?
Try to redo this section, if any problem persists have your instructor check the Kubernetes pod that contains the Fuse Online application.
-
Click on Integrations > Create Integration

-
Choose API Provider

-
Select Create a new OpenAPI 3.x document

-
Change the name of the API to Location and click on the Add a path link under the Paths section.

-
Enter
/locationsin the Path field:
-
Click on the Add a datatype link under the Data Types.

-
Fill in the Name field with the value
locationinput. Scroll down to Enter JSON Example to paste the following example, then click Save:-
Name: locationinput
-
JSON Example:
{ "id": 1, "name": "Kamarhati", "type": "Regional Branch", "status": "1", "location": { "lat": "-28.32555", "lng": "-5.91531" } }
-
-
Create another datatype, this time with the following config and click Save.
-
Name: location
-
JSON Example:
{ "id": 1, "name": "International Inc Corporate Office", "location": { "lat": 51.5013673, "lng": -0.1440787 }, "type": "headquarter", "status": "1" }
-
-
You will be able to see the two datatypes created.

-
Click on the Add Operation link under POST to create a new POST operation.

-
Edit the description of the post method to
Add Locationand click the orange POST button to edit the operation. -
Click on Add a request body

-
Choose required from the drop drown shown below

-
Click on Add a media type and select application/json from the drop drown. Proceed to add the media type

-
Choose locationinput as the Request Body Type

-
Click the Add a response link.
-
Set the Response Status Code value to 201. Click Add.

-
Click on No Description and place Location Added in Description box. Click on the tick to save the changes
-
Click on Add a Response Body link and in the Type dropdown and select location.

-
On the top section, under Operation ID, name it addLocation and click on tick to save the changes. On the very top of the page, click on the Save button to return to Fuse Online in order for us to start the API implementation.

-
On the Review Actions page, click on Next.


Were you able to create the API Contract?
Try to redo this section, if any problem persists have your instructor check the Kubernetes pod that contains the Fuse Online application.
Congratulations! You’ve created an API Contract. Next up is the API implementation
-
Save the integration
-
Set the following values:
-
Integration Name:
addLocation -
Description:
Add LocationClicksave
-
-
Click on Create flow

-
Click on the plus sign between API entry and return endpoint.

-
Since we are adding incoming data into the database, select LocationDB from the catalog.

-
Select Invoke SQL and Enter the SQL statement and click Next.
INSERT INTO locations (id,name,lat,lng,location_type,status) VALUES (:#id,:#name,:#lat,:#lng,:#location_type,:#status )
-
Click on the warning sign near the Invoke SQL and select Add a data mapping step in the pop-up.

-
Drag and drop the matching Source Data types to all their corresponding Targets as per the following screenshot. When finished, click Done.

-
In the Provided API return path step, click on warning sign and select Add a data mapping step in the pop-up.


-
Drag and drop the matching Source Data types to all their corresponding Targets as per the following screenshot. When finished, click Done.

-
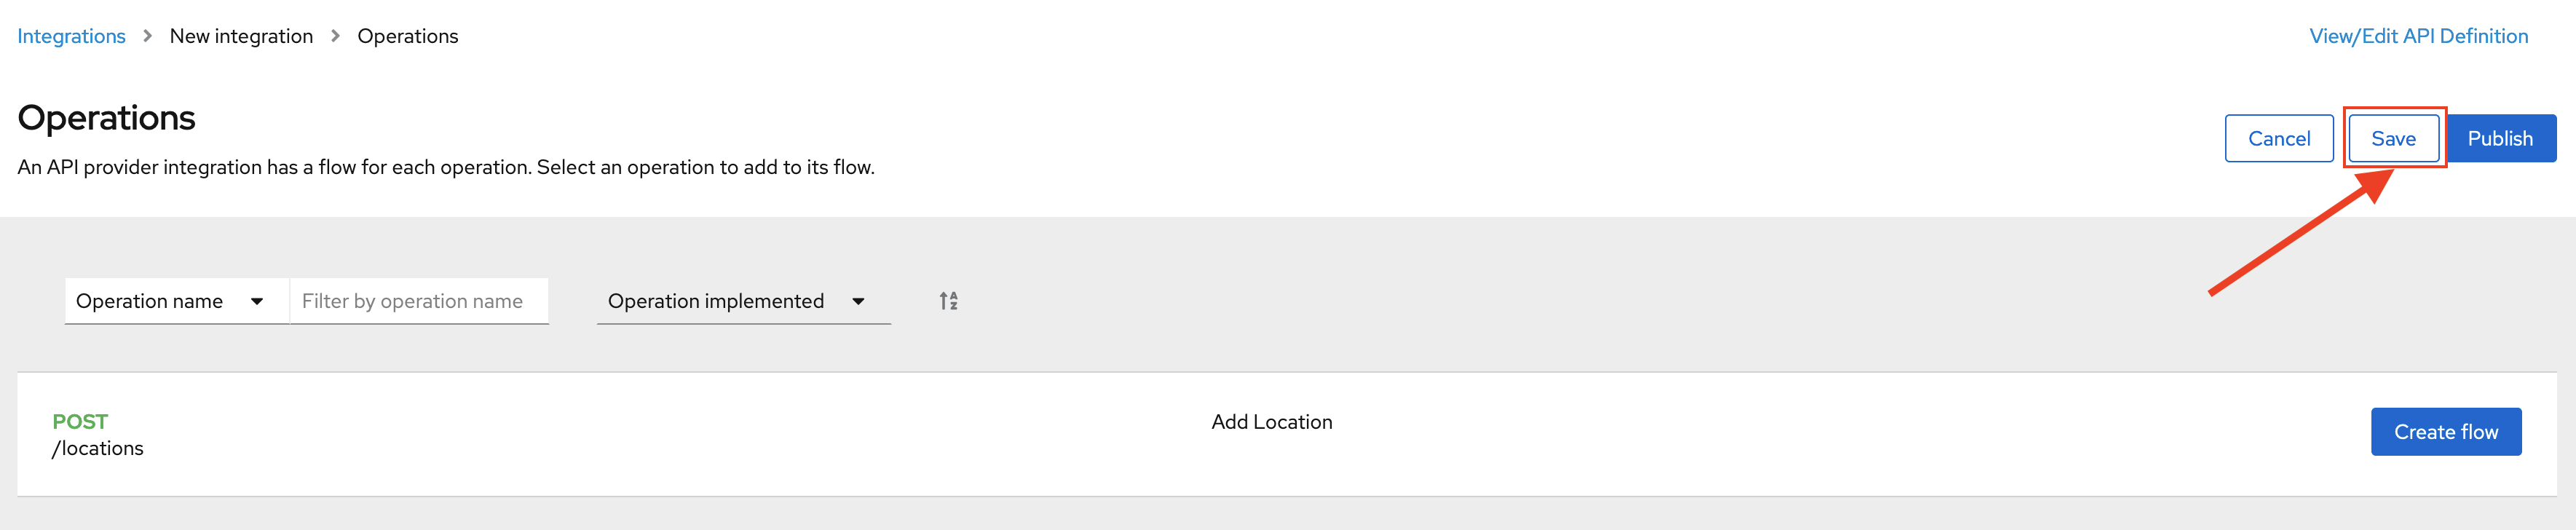
Click Publish on the next screen.

-
Click Save and Publish in the next page.

-
Wait for a couple of minutes until the API is published.

This step generates the Integration code, builds it on KuberNetes and deploys it to your
{user-username}-fusenamespace. -
Click the Enable Discovery button to allow the API to be directly imported to 3scale. Click Yes in the confirmation pop-up.


The Integration will be re-published. Wait for the Integration to be in a Published state before proceeding to next section.
Were you able to publish the Integration?
Try to redo this section, if any problem persists have your instructor check the Kubernetes pod that contains the Fuse Online application.
Congratulations. You successfully published the integration.
We will use 3scale to secure our newly deployed Fuse Online integration. We introduce a new feature, Smart Discovery, which detects that a new API was deployed to OpenShift.
-
Log in to 3scale Admin web console using
{user-username}and password:openshift.
-
The first page you will land is the API Management Dashboard. Click on the API menu link.
-
Click on the Create Product.

-
Click on Authenticate to enable this option so we can import our new API from OpenShift.

-
Click on Allow selected permissions to Authorize access.

-
Select the Import from OpenShift option. If all goes well, you should see your fuse namespace appear and a default Name. Click the Create Product button.

-
The page should return to the dashboard. Refresh the page. Notice that the I-ADDLOCATION API has been added to the list. Choose INTEGRATION from the kebab menu.

-
Notice that the Staging Gateway URL is already provided and configuration of the backend is set up correctly.


Were you able to import the service to 3scale?
Try to redo this section, if any problem persists have your instructor check the Kubernetes pod that contains the Fuse Online application.
-
Click on Methods and Metrics to define the methods for the API.

-
Click on the New Method link in the Methods section.
-
Fill in the information for your Fuse Method.
-
Friendly name:
Add Locations -
System name:
add_location -
Description:
Method to add a new location
-
-
Click on Create Method.
-
Click on the Mapping Rules link to define the allowed methods exposed by the API.
The default mapping is the root ("/") of our API resources, and this application will not use that mapping. The following actions will redefine that default root ("/") mapping.

-
Click on the Edit next to the default mapping rule.
-
Select POST as the Verb. Type in the Pattern text box the following:
/locations. -
Select add_location as Method from the combo box. Click on Update Mapping Rule.

-
Click on Configuration and Promote v.2 to Staging APIcast to promote the changes to the staging gateway.


Were you able to update the staging environment?
Try to redo this section, if any problem persists have your instructor check the Kubernetes pod that contains the 3scale API Management application.
-
Our integration update is in error because we haven’t yet created an application plan. To do this, click on Start by creating an application plan link in the staging section.

-
Click Create Application Plan link again.

-
Enter the Application Plan details, then click Create Application Plan. Name:
basic-integrationSystem name:basic-integration
-
Click on the kebab menu and Publish your newly minted plan.

-
Click on the dropdown menu, then select Audience. Next click Listing on the side menu. A listing of Accounts should appear. Next click the link under Apps for Developer Account as shown below.

-
Click on Create Application.

-
Select i-addlocation as the Product.
-
Select basic-integration as the Application Plan.
-
Enter i-integration as the Name.
-
Enter i-integration as the Description.
-
Click Create Application.

-
An Application page should appear. It will contain a newly created API User Key for use with your new
i-integrationapplication.


Were you able to create the application?
Try to redo this section, if any problem persists have your instructor check the Kubernetes pod that contains the 3scale API Management application.
-
From the drop down menu choose Products and navigate to the Integration link if our iaddlocation product

-
Next, click on the Integration > Configuration side-menu.
-
Scroll down to the Staging APIcast section. Copy the full curl URL in the box. Paste it into a text editor as will need it shortly.

-
Click on the Promote v.2 to Production APIcast button to promote your configuration from staging to production.


Were you able to promote your configuration?
Try to redo this section, if any problem persists have your instructor check the Kubernetes pod that contains the 3scale API Management application.
We will use an API Tester tool to create a record field in database.
-
Open a browser window and navigate to:
https://reqbin.com/post-online -
Below are the values for the request. Note:
id:101in the payload as we are creating 101th record in the database. You will change this record number based on your user number shortly.-
Paste the staging URL you copied in the previous step in box 1
-
URL:
https://i-addlocation-{user-username}-apicast-staging.amp.{openshift-app-host}:443/locations?user_key=XXX [copy the information you need from the 3scale curl command you copied earlier] -
Choose POST from box 2
-
Click on Content and choose JSON(application/json)
-
Click on Authorization and choose Custom
-
Paste the below payload in text box 3
{"id": 102, "name": "Kamarhati", "type": "Regional Branch", "status": "1", "location": { "lat": "-28.32555", "lng": "-5.91531" }}Don’t forget to update the id field to end with your user number e.g. 102 if you are user2.


-
-
The page will load the
201response information from the service which means the request was successfully fulfilled.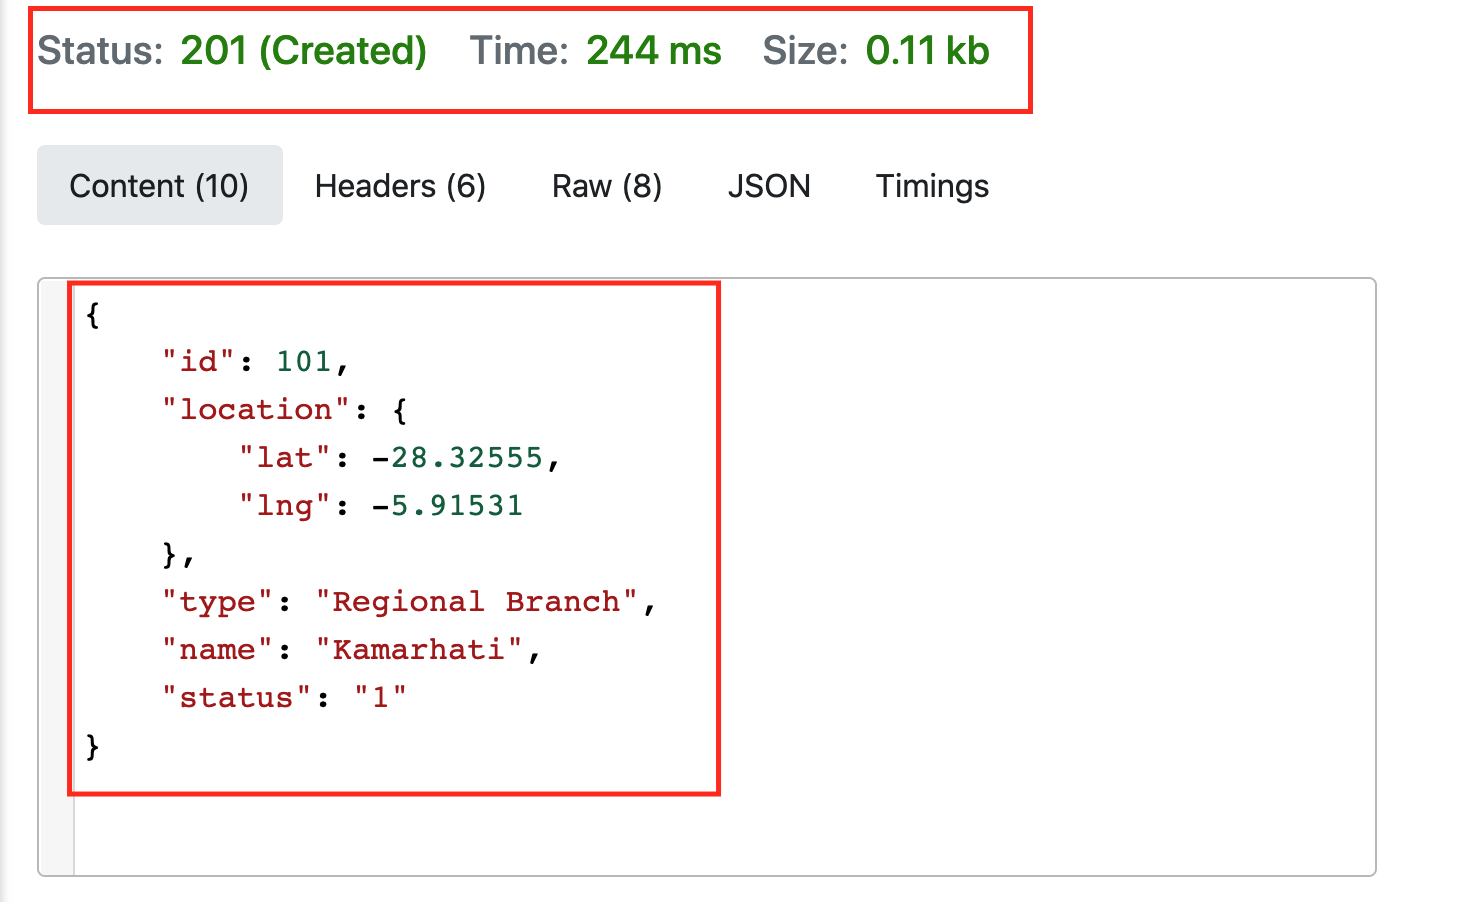
-
Go back to Fuse Online. Navigate to Integrations and Click on Activity > Refresh and verify if the newly record is created.

-
(Optional) Visit the application URL in browser and verify if the record can be fetched. Don’t forget to append your username to the record ID e.g user6 = 106


RESPONSE
{
    "id" : 101,
    "name" : "Kamarhati",
    "type" : "Regional Branch",
    "status" : "1",
    "location" : {
      "lat" : "-28.32555",
      "lng" : "-5.91531"
    }
  }
Were you able to receive the correct response?
Try to redo this section, if any problem persists have your instructor check the Kubernetes pods involved.
In this lab you discovered how to create an adhoc API service using Fuse Online, then managing it with 3scale using the new Smart Discovery feature.
This is the last lab of this workshop.
Fuse Online