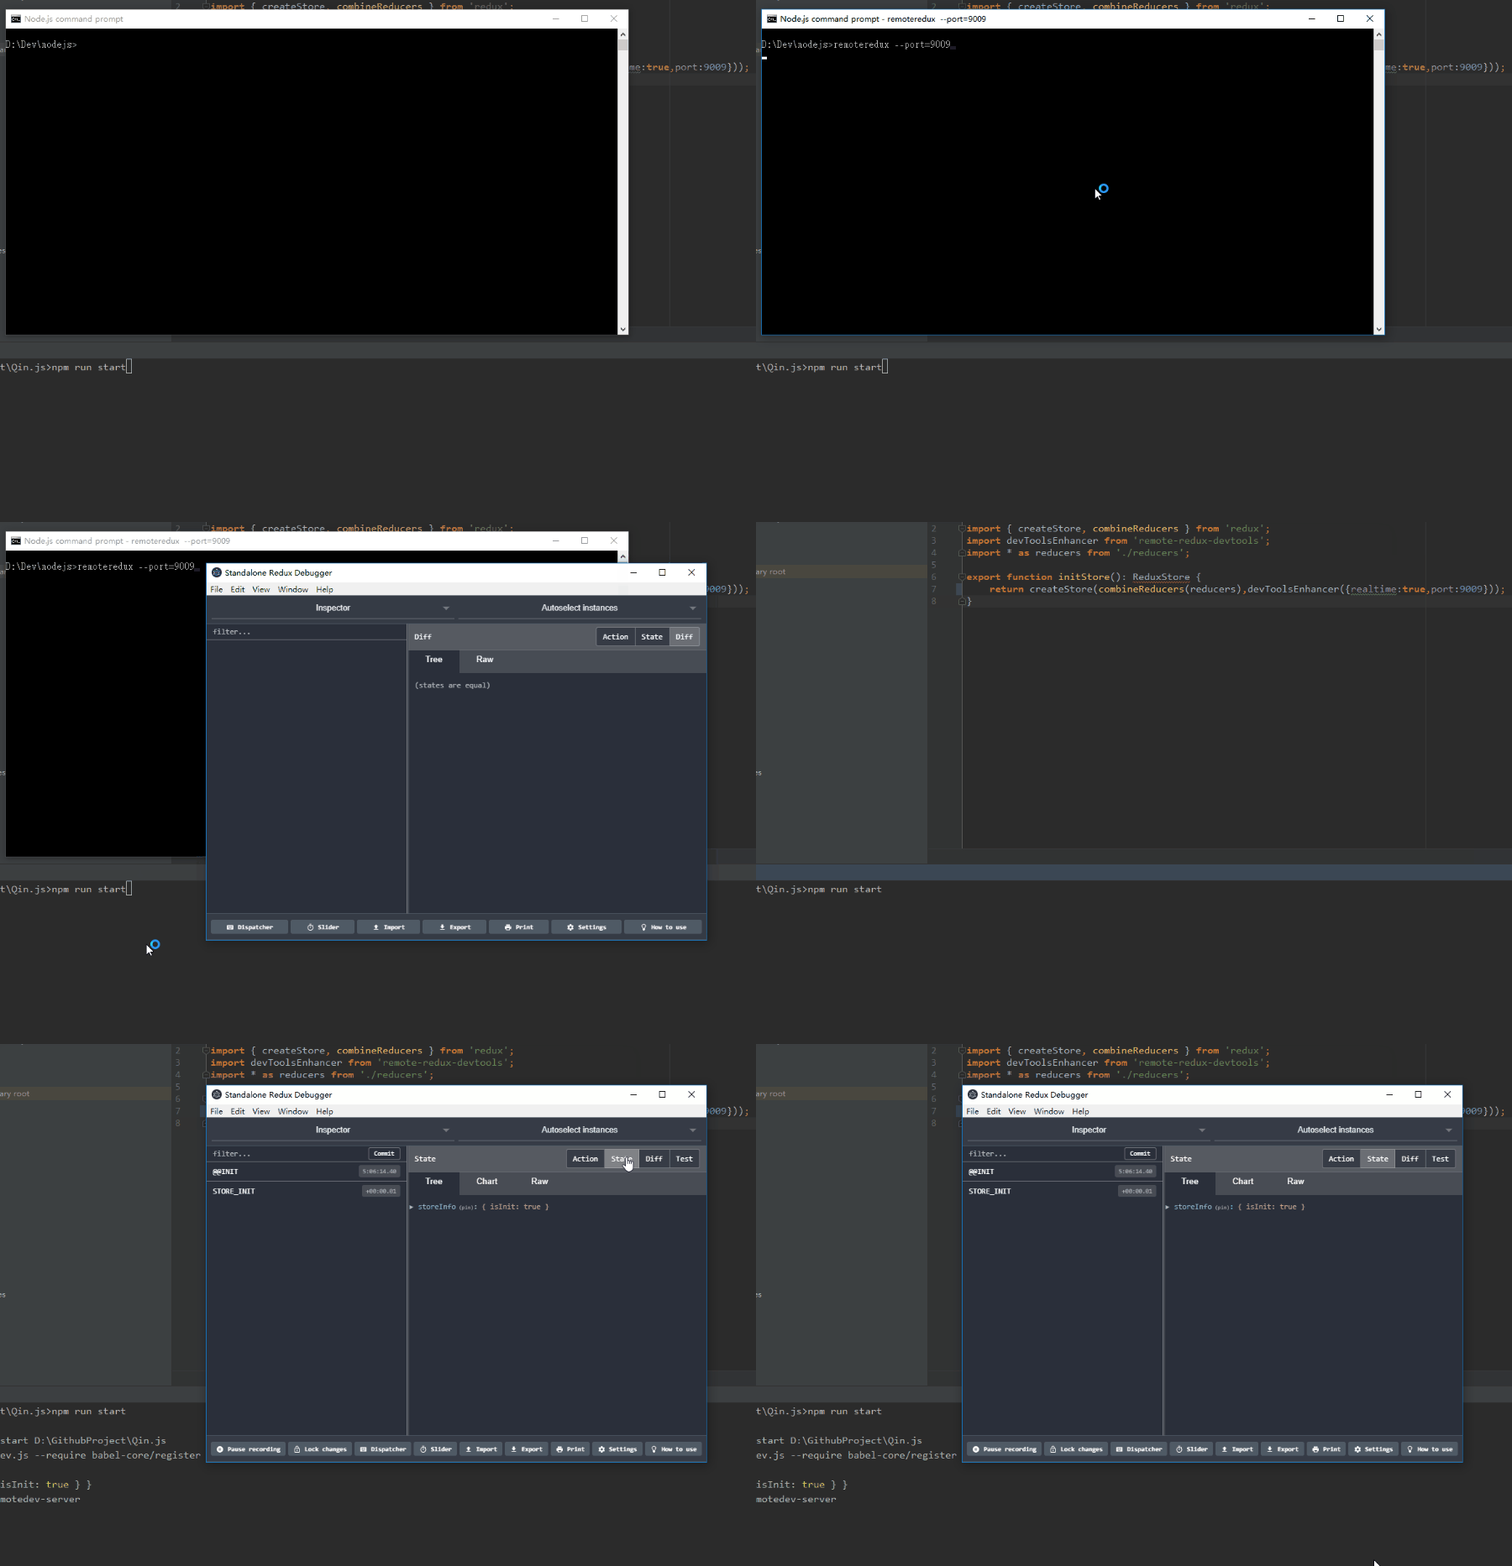
A standalone monitor, debugging redux even without internet. Bridge for communicating with an application remotely via Remote Redux DevTools. Based on remotedev-server.
$ npm install -g remoteredux-standalone
$ sudo npm install -g remoteredux-standalone --unsafe-perm=true --allow-root
$ npm install remoteredux-standalone --save-dev
$ remoteredux
Add in your app's package.json:
"scripts": {
  "remoteredux": "remoteredux --hostname=localhost --port=8000"
}
Then run remoteredux from the terminal
$ npm run remoteredux
Or run in your server.js script for starting a development server:
var remoteredux = require('remoteredux-standalone');
remoteredux({ hostname: 'localhost', port: 8000 });
This server.js will start remoteredux together with your dev server without electron interface, you will have to use your own browser go into your host address.
Set hostname and port to the values you want. hostname by default is localhost and port is 8000.
To use WSS, set protocol argument to https and provide key, cert and passphrase arguments.
$ remoteredux --hostname=localhost --port=8000
"scripts": {
  "remoteredux": "remoteredux --hostname=localhost --port=8000 --injectserver=reactnative"
}
The injectserver value can be reactnative or macos (react-native-macos), it used reactnative by default.
Then, we can start React Native server and RemoteDev server with one command (npm start).
Add in your React Native app's package.json:
"scripts": {
  "remoteredux-revert": "remoteredux --revert=reactnative"
}
Note that if you're using
injectserverargument explained above, this step is not necessary.
If you're running an Android 5.0+ device connected via USB or an Android emulator, use adb command line tool to setup port forwarding from the device to your computer:
adb reverse tcp:8000 tcp:8000
If you're still use Android 4.0, you should use 10.0.2.2 (Genymotion: 10.0.3.2) instead of localhost in remote-redux-devtools or remotedev.
You can store reports via redux-remotedev and get them replicated with Redux DevTools extension or Remote Redux DevTools. You can get action history right in the extension just by clicking the link from a report.
Remotedev server is database agnostic. By default everything is stored in the memory, but you can persist data by specifying one of the jsData adapters above for adapter argument. Also you can add an dbOptions argument for database configuration. If not provided the default options will be used (for some adapters, like sql, it's required). You have to install the required adapter's npm package.
| Storage | adapter |
dbOptions argument example (optional) |
install |
|---|---|---|---|
| Firebase | firebase | { basePath: 'https://my-app.firebase.io' } |
npm install --save js-data-firebase |
| HTTP | http | { basePath: 'https://my-rest-server/api' } |
npm install --save js-data-http |
| LevelUp | levelup | './db' (the levelup "db" object will be available at "adapter.db") |
npm install --save js-data-levelup |
| MongoDB | mongodb | { name: 'user', idAttribute: '_id', table: 'users' } |
npm install --save js-data-mongodb |
| MySQL | sql | { client: 'mysql', connection: { host: '123.45.67.890', user: 'ubuntu', password: 'welcome1234', database: 'db1' } |
npm install --save js-data-sql |
| Postgres | sql | { client: 'pg', connection: { host: '123.45.67.890', user: 'ubuntu', password: 'welcome1234', database: 'db1' } |
npm install --save js-data-sql |
| Redis | redis | See the configurable options for node_redis |
npm install --save js-data-redis |
| RethinkDB | rethinkdb | { host: '123.456.68.987', db: 'my_db' } |
npm install --save rethinkdbdash js-data-rethinkdb |
| SQLite3 | sql | { client: 'sqlite3', connection: { host: '123.45.67.890', user: 'ubuntu', password: 'welcome1234', database: 'db1' } |
npm install --save js-data-sql |
Implement a custom adapter for JSData.
MIT
