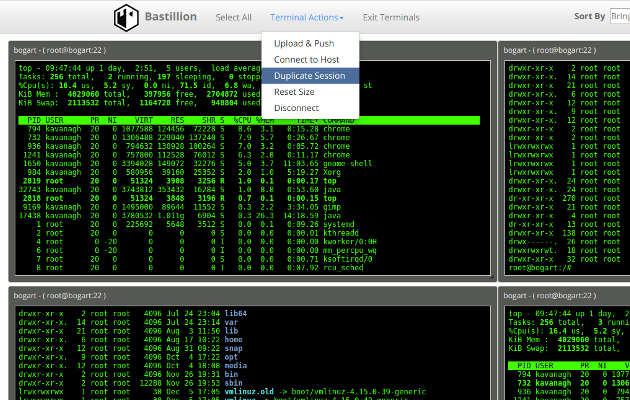
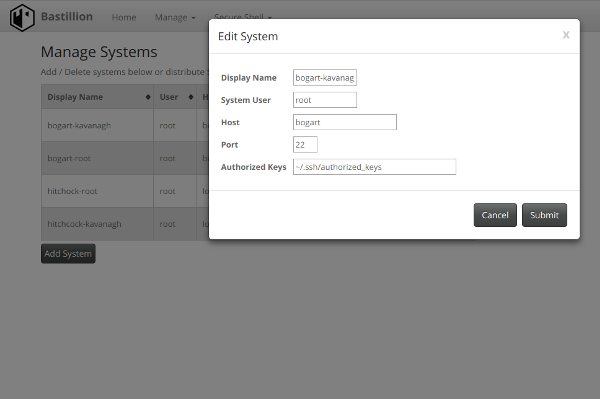
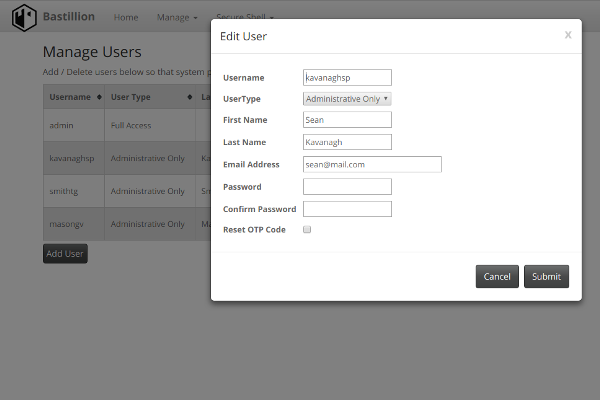
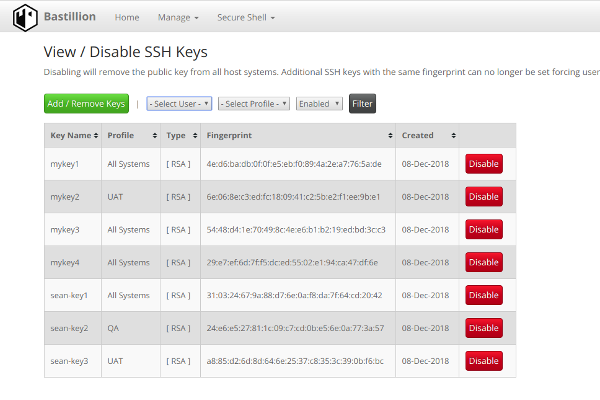
Bastillion is a web-based SSH console that centrally manages administrative access to systems. Web-based administration is combined with management and distribution of user's public SSH keys. Key management and administration is based on profiles assigned to defined users.
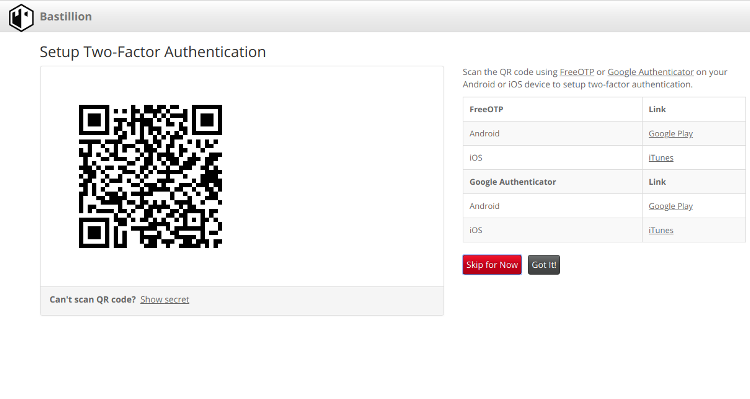
Administrators can login using two-factor authentication with Authy or Google Authenticator. From there they can manage their public SSH keys or connect to their systems through a web-shell. Commands can be shared across shells to make patching easier and eliminate redundant command execution.
Bastillion layers TLS/SSL on top of SSH and acts as a bastion host for administration. Protocols are stacked (TLS/SSL + SSH) so infrastructure cannot be exposed through tunneling / port forwarding. More details can be found in the following whitepaper: Implementing a Trusted Third-Party System for Secure Shell. Also, SSH key management is enabled by default to prevent unmanaged public keys and enforce best practices.
Bastillion is available for free use under the Affero General Public License
https://github.com/bastillion-io/Bastillion/releases
or purchase from the AWS marketplace
https://aws.amazon.com/marketplace/pp/Loophole-LLC-Bastillion/B076PNFPCL
Also, Bastillion can be installed on FreeBSD via the FreeBSD ports system. To install via the binary package, simply run:
pkg install security/bastillion
Open-JDK / Oracle-JDK - 1.9 or greater
apt-get install openjdk-9-jdk
http://www.oracle.com/technetwork/java/javase/downloads/index.html
Install Authy or Google Authenticator to enable two-factor authentication with Android or iOS
| Application | Android | iOS |
|---|---|---|
| Authy | Google Play | iTunes |
| Google Authenticator | Google Play | iTunes |
Download bastillion-jetty-vXX.XX.tar.gz
https://github.com/bastillion-io/Bastillion/releases
Export environment variables
for Linux/Unix/OSX
 export JAVA_HOME=/path/to/jdk
 export PATH=$JAVA_HOME/bin:$PATH
for Windows
 set JAVA_HOME=C:\path\to\jdk
 set PATH=%JAVA_HOME%\bin;%PATH%
Start Bastillion
for Linux/Unix/OSX
./startBastillion.sh
for Windows
startBastillion.bat
More Documentation at: https://www.bastillion.io/docs/index.html
Download Tomcat 8.5.x or above.
Build war with MariaDB support: mvn clean install -Pmariadb
Put the war file in webapps/ folder
cp target/bastillion-3.xx.xx.war /opt/tomcat/webapps/bastillion.war
Externalise Bastillion config in /etc/bastillion/
$ mkdir /etc/bastillion
$ chown tomcat /etc/bastillion
# put you config file into
# add property pointing to /etc/bastillion/
$ echo 'JAVA_OPTS="$JAVA_OPTS -DCONFIG_DIR=/etc/bastillion/"' >> /opt/tomcat/bin/setenv.sh
# Create database and mariadb user
$ mysql -u root

MariaDB > CREATE DATABASE IF NOT EXISTS bastillion CHARACTER SET=utf8;
MariaDB > create user bastillion identified by 'password';
MariaDB > grant all privileges on bastillion.* to 'bastillion'@'localhost' identified by 'password';
MariaDB > flush privileges;

# Start Tomcat
$ systemctl start tomcat
Sample httpd config:
<Location /bastillion>
  ProxyPass http://127.0.0.1:8080/bastillion
  ProxyPass http://127.0.0.1:8080/bastillion
</Location>
<LocationMatch "/bastillion/admin/(terms.*)">
  ProxyPass ws://127.0.0.1:8080/bastillion/admin/$1
  ProxyPassReverse ws://127.0.0.1:8080/bastillion/admin/$1
</LocationMatch>
Install Maven 3 or greater
apt-get install maven
Install Loophole MVC
Export environment variables
export JAVA_HOME=/path/to/jdk
export M2_HOME=/path/to/maven
export PATH=$JAVA_HOME/bin:$M2_HOME/bin:$PATH
In the directory that contains the pom.xml run
mvn package jetty:run
Note: Doing a mvn clean will delete the H2 DB and wipe out all the data.
mvn clean install -Pmariadb
The database schema is managed with Liquibase (https://www.liquibase.org/).
Resources are under src/main/resources/config/liquibase/
The dbCreate param conntrols whether or not the schema creation/update should be done when Bastillion starts.
Open browser to https://<whatever ip>:8443
Login with
username:admin
password:changeme
Note: When using the AMI instance, the password is defaulted to the <Instance ID>. Also, the AMI uses port 443 as in https://<Instance IP>:443
By default Bastillion will overwrite all values in the specified authorized_keys file for a system. You can disable key management by editing BastillionConfig.properties file and use Bastillion only as a bastion host. This file is located in the jetty/bastillion/WEB-INF/classes directory. (or the src/main/resources directory if building from source)
#set to false to disable key management. If false, the Bastillion public key will be appended to the authorized_keys file (instead of it being overwritten completely).
keyManagementEnabled=false
Also, the authorized_keys file is updated/refreshed periodically based on the relationships defined in the application. If key management is enabled the refresh interval can be specified in the BastillionConfig.properties file.
#authorized_keys refresh interval in minutes (no refresh for <=0)
authKeysRefreshInterval=120
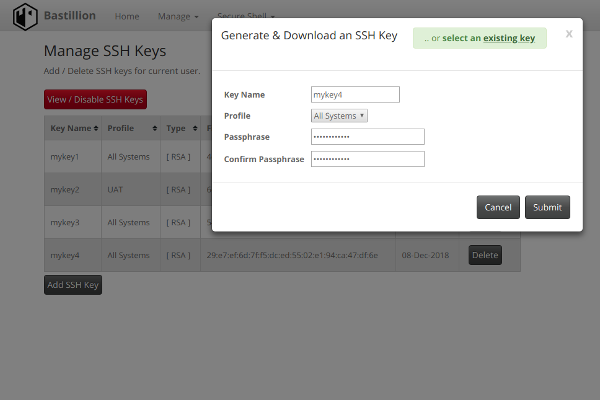
By default Bastillion will generated and distribute the SSH keys managed by administrators while having them download the generated private. This forces admins to use strong passphrases for keys that are set on systems. The private key is only available for download once and is not stored on the application side. To disable and allow administrators to set any public key edit the BastillionConfig.properties.
#set to true to generate keys when added/managed by users and enforce strong passphrases set to false to allow users to set their own public key
forceUserKeyGeneration=false
Bastillion generates its own public/private SSH key upon initial startup for use when registering systems. You can specify a custom SSH key pair in the BastillionConfig.properties file.
For example:
#set to true to regenerate and import SSH keys  --set to true
resetApplicationSSHKey=true

#SSH Key Type 'dsa' or 'rsa'
sshKeyType=rsa

#private key  --set pvt key
privateKey=/Users/kavanagh/.ssh/id_rsa

#public key  --set pub key
publicKey=/Users/kavanagh/.ssh/id_rsa.pub

#default passphrase  --leave blank if passphrase is empty
defaultSSHPassphrase=myPa$$w0rd
After startup and once the key has been registered it can then be removed from the system. The passphrase and the key paths will be removed from the configuration file.
Database settings can be adjusted in the configuration properties.
#Database user
dbUser=bastillion
#Database password
dbPassword=p@$$w0rd!!
#Database JDBC driver
dbDriver=org.h2.Driver
#Connection URL to the DB
dbConnectionURL=jdbc:h2:keydb/bastillion;CIPHER=AES;
By default the datastore is set as embedded, but a remote H2 database can supported through adjusting the connection URL.
#Connection URL to the DB
dbConnectionURL=jdbc:h2:tcp://<host>:<port>/~/bastillion;CIPHER=AES;
External Authentication can be enabled through the BastillionConfig.properties.
For example:
#specify a external authentication module (ex: ldap-ol, ldap-ad).  Edit the jaas.conf to set connection details
jaasModule=ldap-ol
Connection details need to be set in the jaas.conf file
ldap-ol {
	com.sun.security.auth.module.LdapLoginModule SUFFICIENT
	userProvider="ldap://hostname:389/ou=example,dc=bastillion,dc=com"
	userFilter="(&(uid={USERNAME})(objectClass=inetOrgPerson))"
	authzIdentity="{cn}"
	useSSL=false
	debug=false;
};
Administrators will be added as they are authenticated and profiles of systems may be assigned by full-privileged users.
User LDAP roles can be mapped to profiles defined in Bastillion through the use of the org.eclipse.jetty.jaas.spi.LdapLoginModule.
ldap-ol-with-roles {
    //openldap auth with roles that can map to profiles
    org.eclipse.jetty.jaas.spi.LdapLoginModule required
    debug="false"
    useLdaps="false"
    contextFactory="com.sun.jndi.ldap.LdapCtxFactory"
    hostname="<SERVER>"
    port="389"
    bindDn="<BIND-DN>"
    bindPassword="<BIND-DN PASSWORD>"
    authenticationMethod="simple"
    forceBindingLogin="true"
    userBaseDn="ou=users,dc=bastillion,dc=com"
    userRdnAttribute="uid"
    userIdAttribute="uid"
    userPasswordAttribute="userPassword"
    userObjectClass="inetOrgPerson"
    roleBaseDn="ou=groups,dc=bastillion,dc=com"
    roleNameAttribute="cn"
    roleMemberAttribute="member"
    roleObjectClass="groupOfNames";
};
Users will be added/removed from defined profiles as they login and when the role name matches the profile name.
Auditing is disabled by default. Audit logs can be enabled through the log4j2.xml by uncommenting the io.bastillion.manage.util.SystemAudit and the audit-appender definitions.
https://github.com/bastillion-io/Bastillion/blob/master/src/main/resources/log4j2.xml#L19-L22
Auditing through the application is only a proof of concept. It can be enabled in the BastillionConfig.properties.
#enable audit  --set to true to enable
enableInternalAudit=true
Special thanks goes to these amazing projects which makes this (and other great projects) possible.
Third-party dependencies are mentioned in the 3rdPartyLicenses.md
Bastillion is available for use under the Affero General Public License
Loophole, LLC - Sean Kavanagh

