Ingredients needed
- LND Lightning implementation
- Raspberry Pi
- A candy dispenser with electric motor
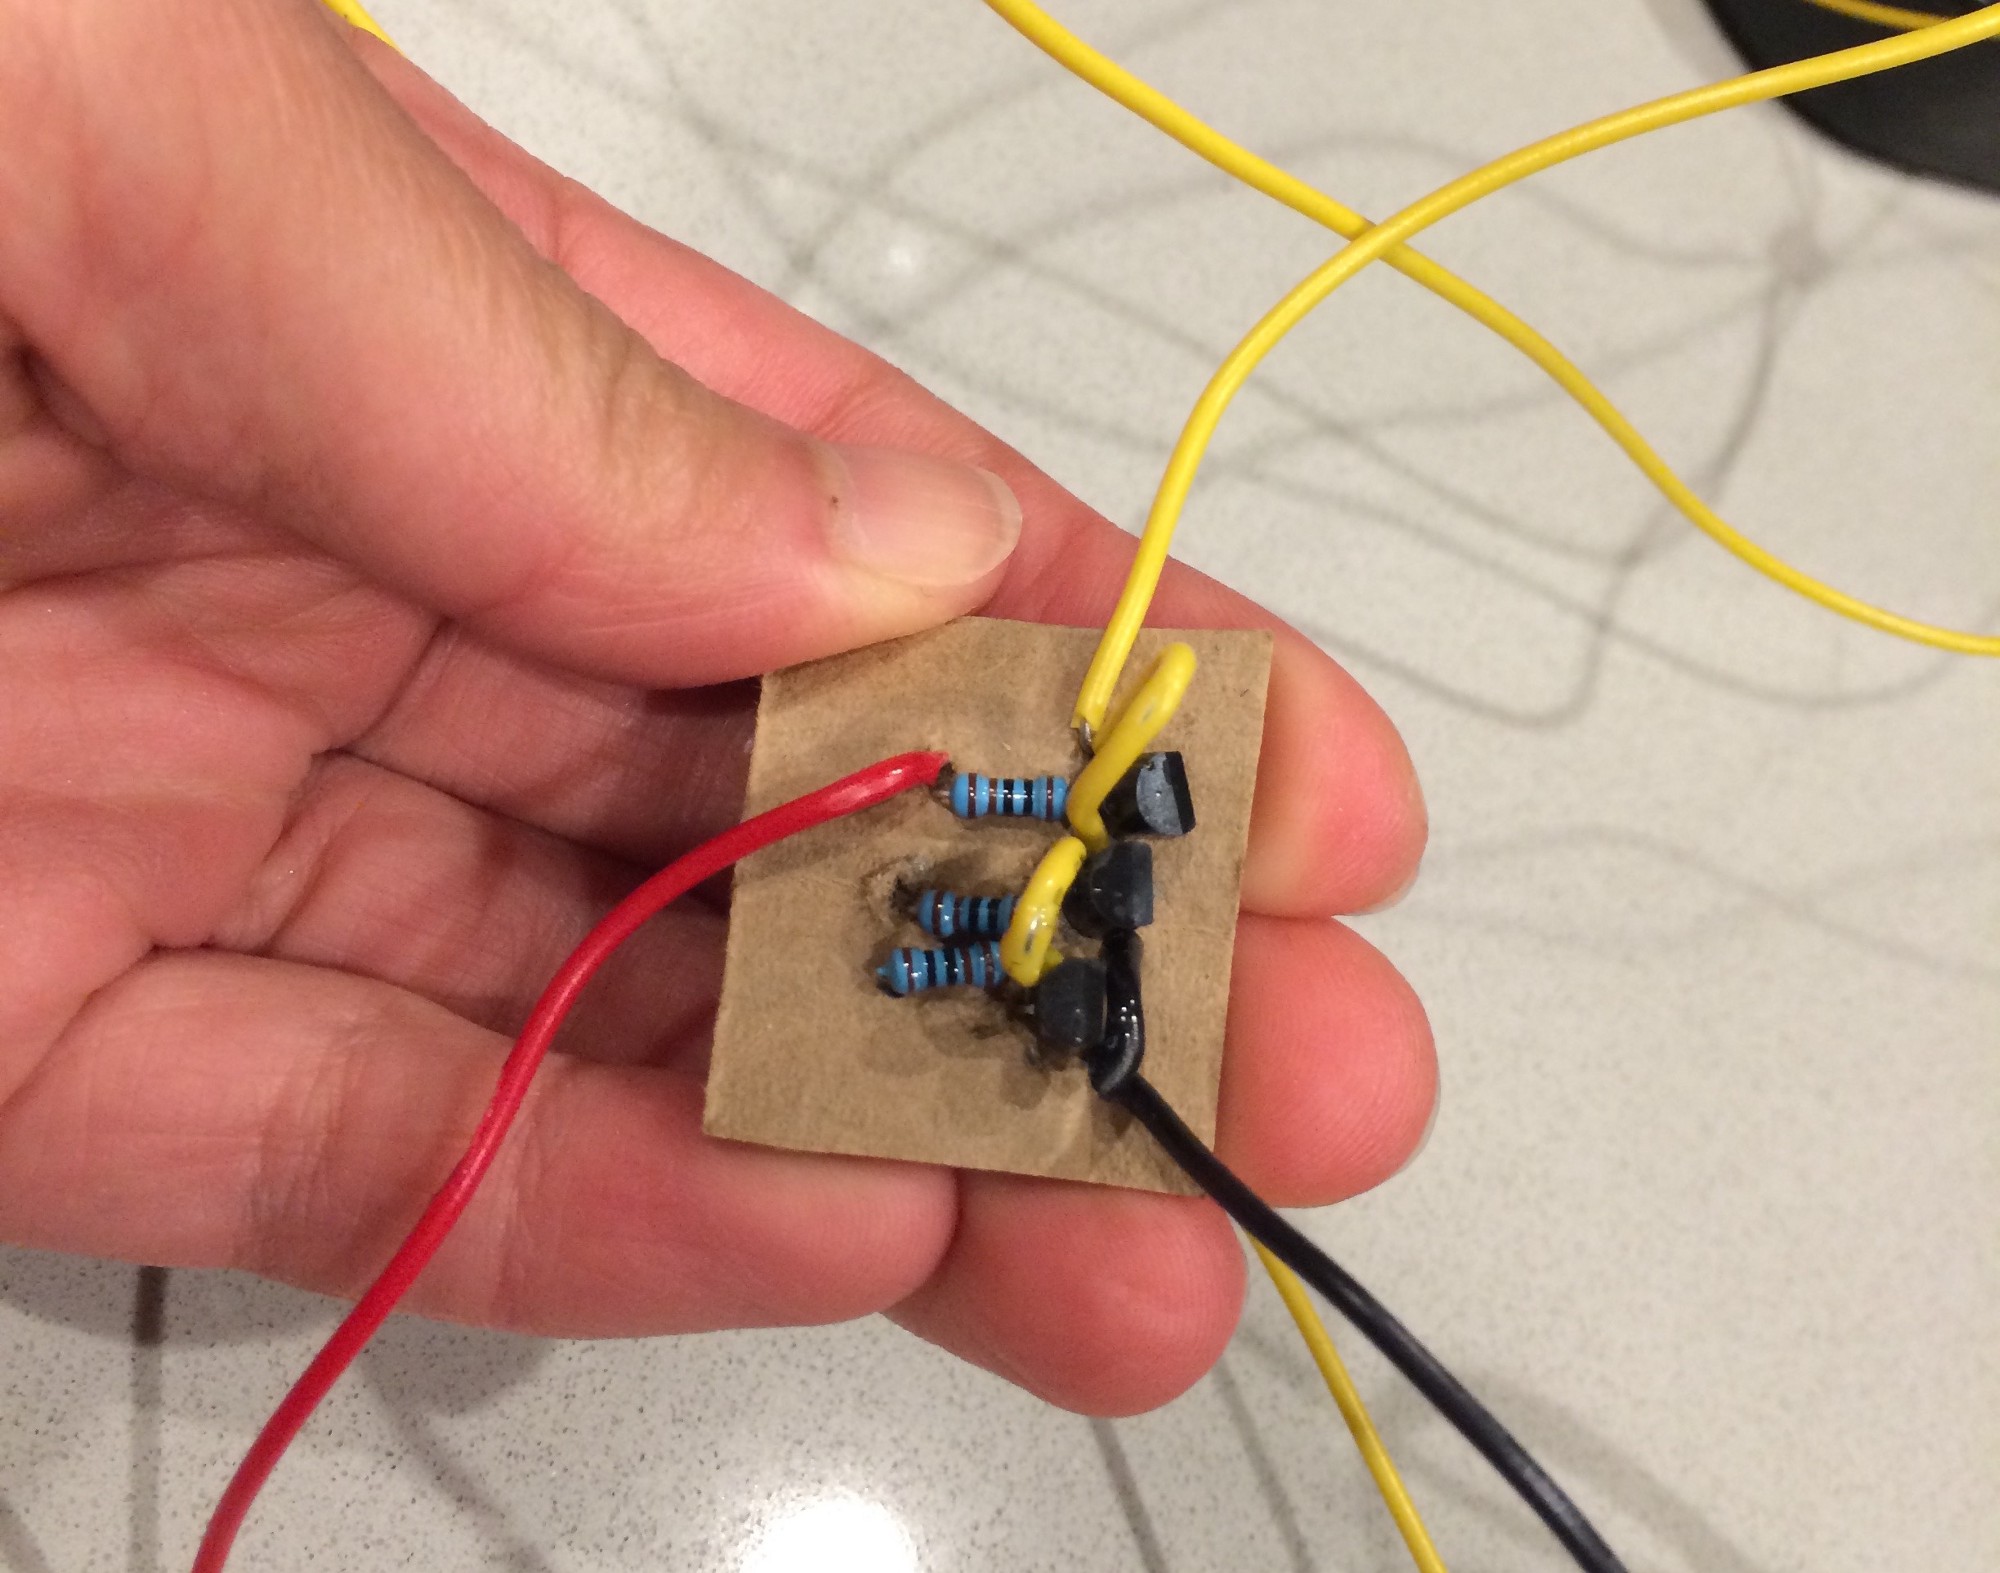
Vending machine and Raspberry Pi instructions here. Basically you will need to wire up a simple common-emitter amplifier to give the Raspberry Pi GPIO pins enough power to drive a motor. Ignore the stuff about the 21 Computer and refer to the Raspberry Pi pinout diagram here.

|

|
Note: Adafruit also sells a pre-assembled motor controller board which does the same thing, although I have not tried it myself.
The Lightning node and the payment page can both run on the Raspberry Pi. Or, a separate web server if you prefer. Instructions for installing the web app:
$ git clone https://github.com/elaineo/Jellybean
$ cd Jellybean/jellybean-server
$ npm install
Modify the web socket address in views/index.html (line 278) to match your server address. Change the port numbers in app.js to reflect your own ports. The server app opens a stream with the Lightning node, which will pass a message upon receiving new or settled invoices.
process.env variables:
NODE_TLS_REJECT_UNAUTHORIZED=0
GRPC_SSL_CIPHER_SUITES=ECDHE-RSA-AES128-GCM-SHA256:ECDHE-RSA-AES128-SHA256:ECDHE-RSA-AES256-SHA384:ECDHE-RSA-AES256-GCM-SHA384:ECDHE-ECDSA-AES128-GCM-SHA256:ECDHE-ECDSA-AES128-SHA256:ECDHE-ECDSA-AES256-SHA384:ECDHE-ECDSA-AES256-GCM-SHA384
Run:
$ node app.js
The Raspberry Pi controllers are in this root directory. When you run client.js, it will create a socket connection to the web server (set this on line 20). Use localhost if the web server is hosted on the Pi.
Run:
$ node client.js
Once the client is connected, the server will issue messages for the Pi to activate its GPIO pins and turn the vending machine.