Back to Projects List
- Mónica García-Sevilla (Universidad Las Palmas de Gran Canaria, Las Palmas de Gran Canaria, Spain)
- Abián Hernández-Guedes (Universidad Las Palmas de Gran Canaria, Las Palmas de Gran Canaria, Spain)
- Nayra Pumar (Ebatinca S.L., Las Palmas de Gran Canaria, Spain)
- David García-Mato (Ebatinca S.L., Las Palmas de Gran Canaria, Spain)
- Juan Ruiz Alzola (Universidad Las Palmas de Gran Canaria, Las Palmas de Gran Canaria, Spain)
- Javier Pascau (Universidad Carlos III de Madrid, Madrid, Spain)
- Csaba Pinter (Ebatinca S.L., Las Palmas de Gran Canaria, Spain)
The World Health Organization recommends a rate of cesareans inferior than 15%. However, the actual rates in the US double this value, while the use of obstetrical instruments, a recommended alternative to cesareans but which requires high skill and experience, has significantly decreased in the latest years. In this context there is a clear demand for simulators, with special interest in learning the correct use of Kielland’s forceps.
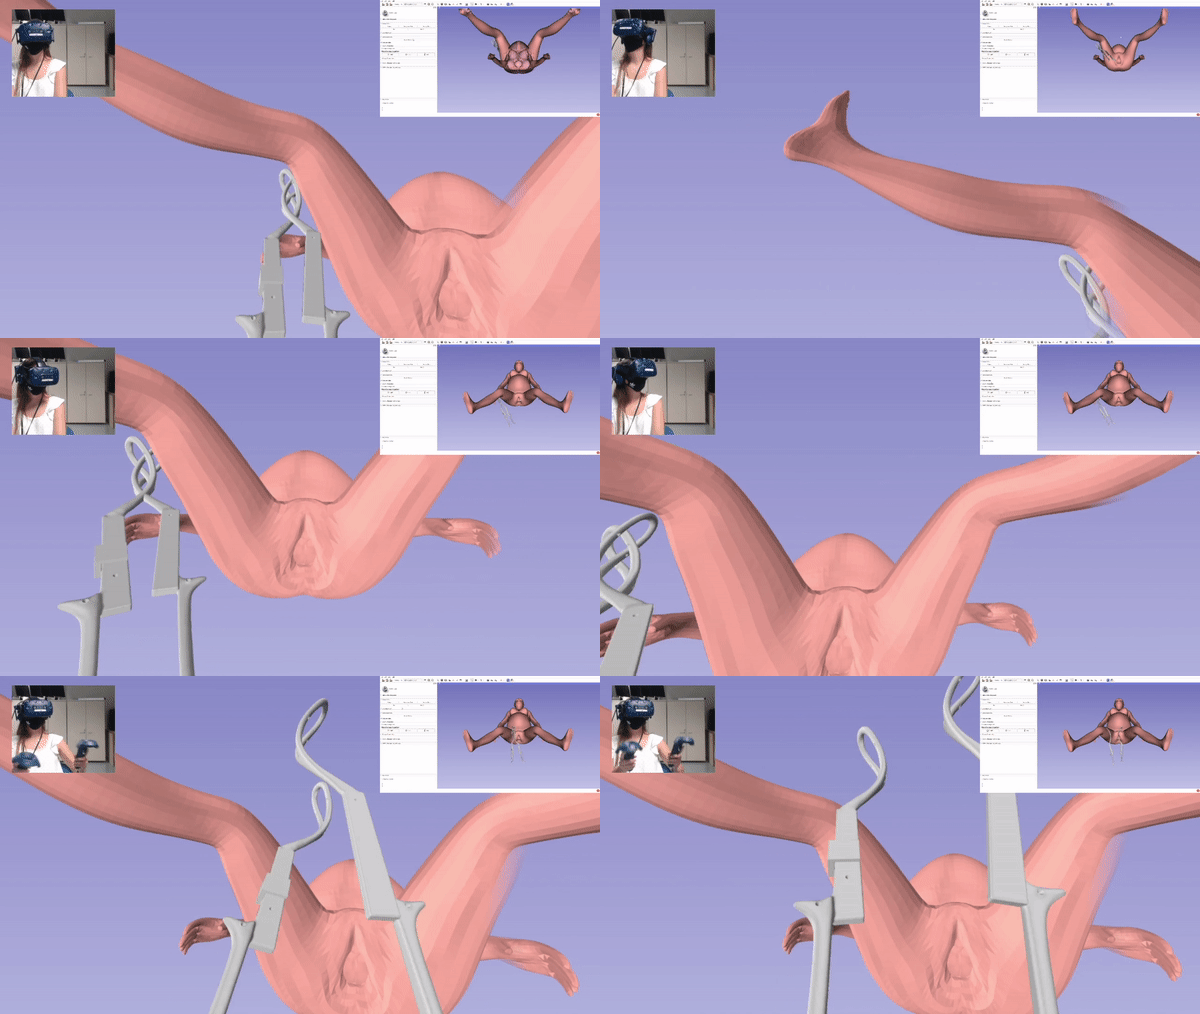
In 2018, we developed a training software in 3D Slicer for the correct use of forceps. We used anatomical simulators of the mother and fetus, a forceps 3D printed in non-ferromagnetic material, and an electromagnetic tracking system to track the movements of the forceps relative to the simulators. Further details can be found here.
The goal of this project is to translate this software into a Virtual Reality (VR) application using the SlicerVR extension. This way, only the VR device is required for training.
- Visualize the simulators and forceps models in the VR scene.
- Interact with the models using the controllers.
- Select the step of the procedure.
- Check whether the maneuver for the step is correct or not.
- Enable a collaborative mode.
- Visualize the simulators and forceps models in the VR scene. ✔️
- Define a correct starting viewpoint. ✔️
- Decide how to move the forceps with the VR controllers. ✔️
- Learn how to access buttons from the controllers. (Already tested although with Simon's version) ❗
- Define a way of selecting the step for the procedure (assembly, presentation, initial placement, final placement). A panel could be a good idea.
- For each step, check whether the placement was correct or not. ✔️ (2/6)
- Connect to the same scene from other device.
- 3D models of the mother and baby are displayed in the VR glasses with an adequate size.
- The 3D models are displayed in front of the user when starting the application. If the user changes position, the view can be reset to show the model in front of the user again.
- Controller models are hidden and substituted by the forceps. The position of the forceps is configured as if the user was grabbing them.
- The first two steps of the procedure (arrangement and presentation) have been added to the module. Forceps are displayed in green when correct and in red when incorrect.
- The evaluation of each step is performed in real time. It has to be selected by the user in the module. Buttons for all the steps have been added.
- When a step is selected, the name of the step is displayed on the scene. 3D models of the text have been created to show the message.
- Access controller buttons so the user can change step without removing the headset. A panel widget could also be a good solution.
- Add the remaining steps.
- Add the collaborative option.
VR video: https://youtu.be/Q8b7IehEQhE


