fwd-edu-breakout=github:climate-action-kits/pxt-fwd-edu/fwd-breakout
Dial=github:climate-action-kits/pxt-fwd-edu
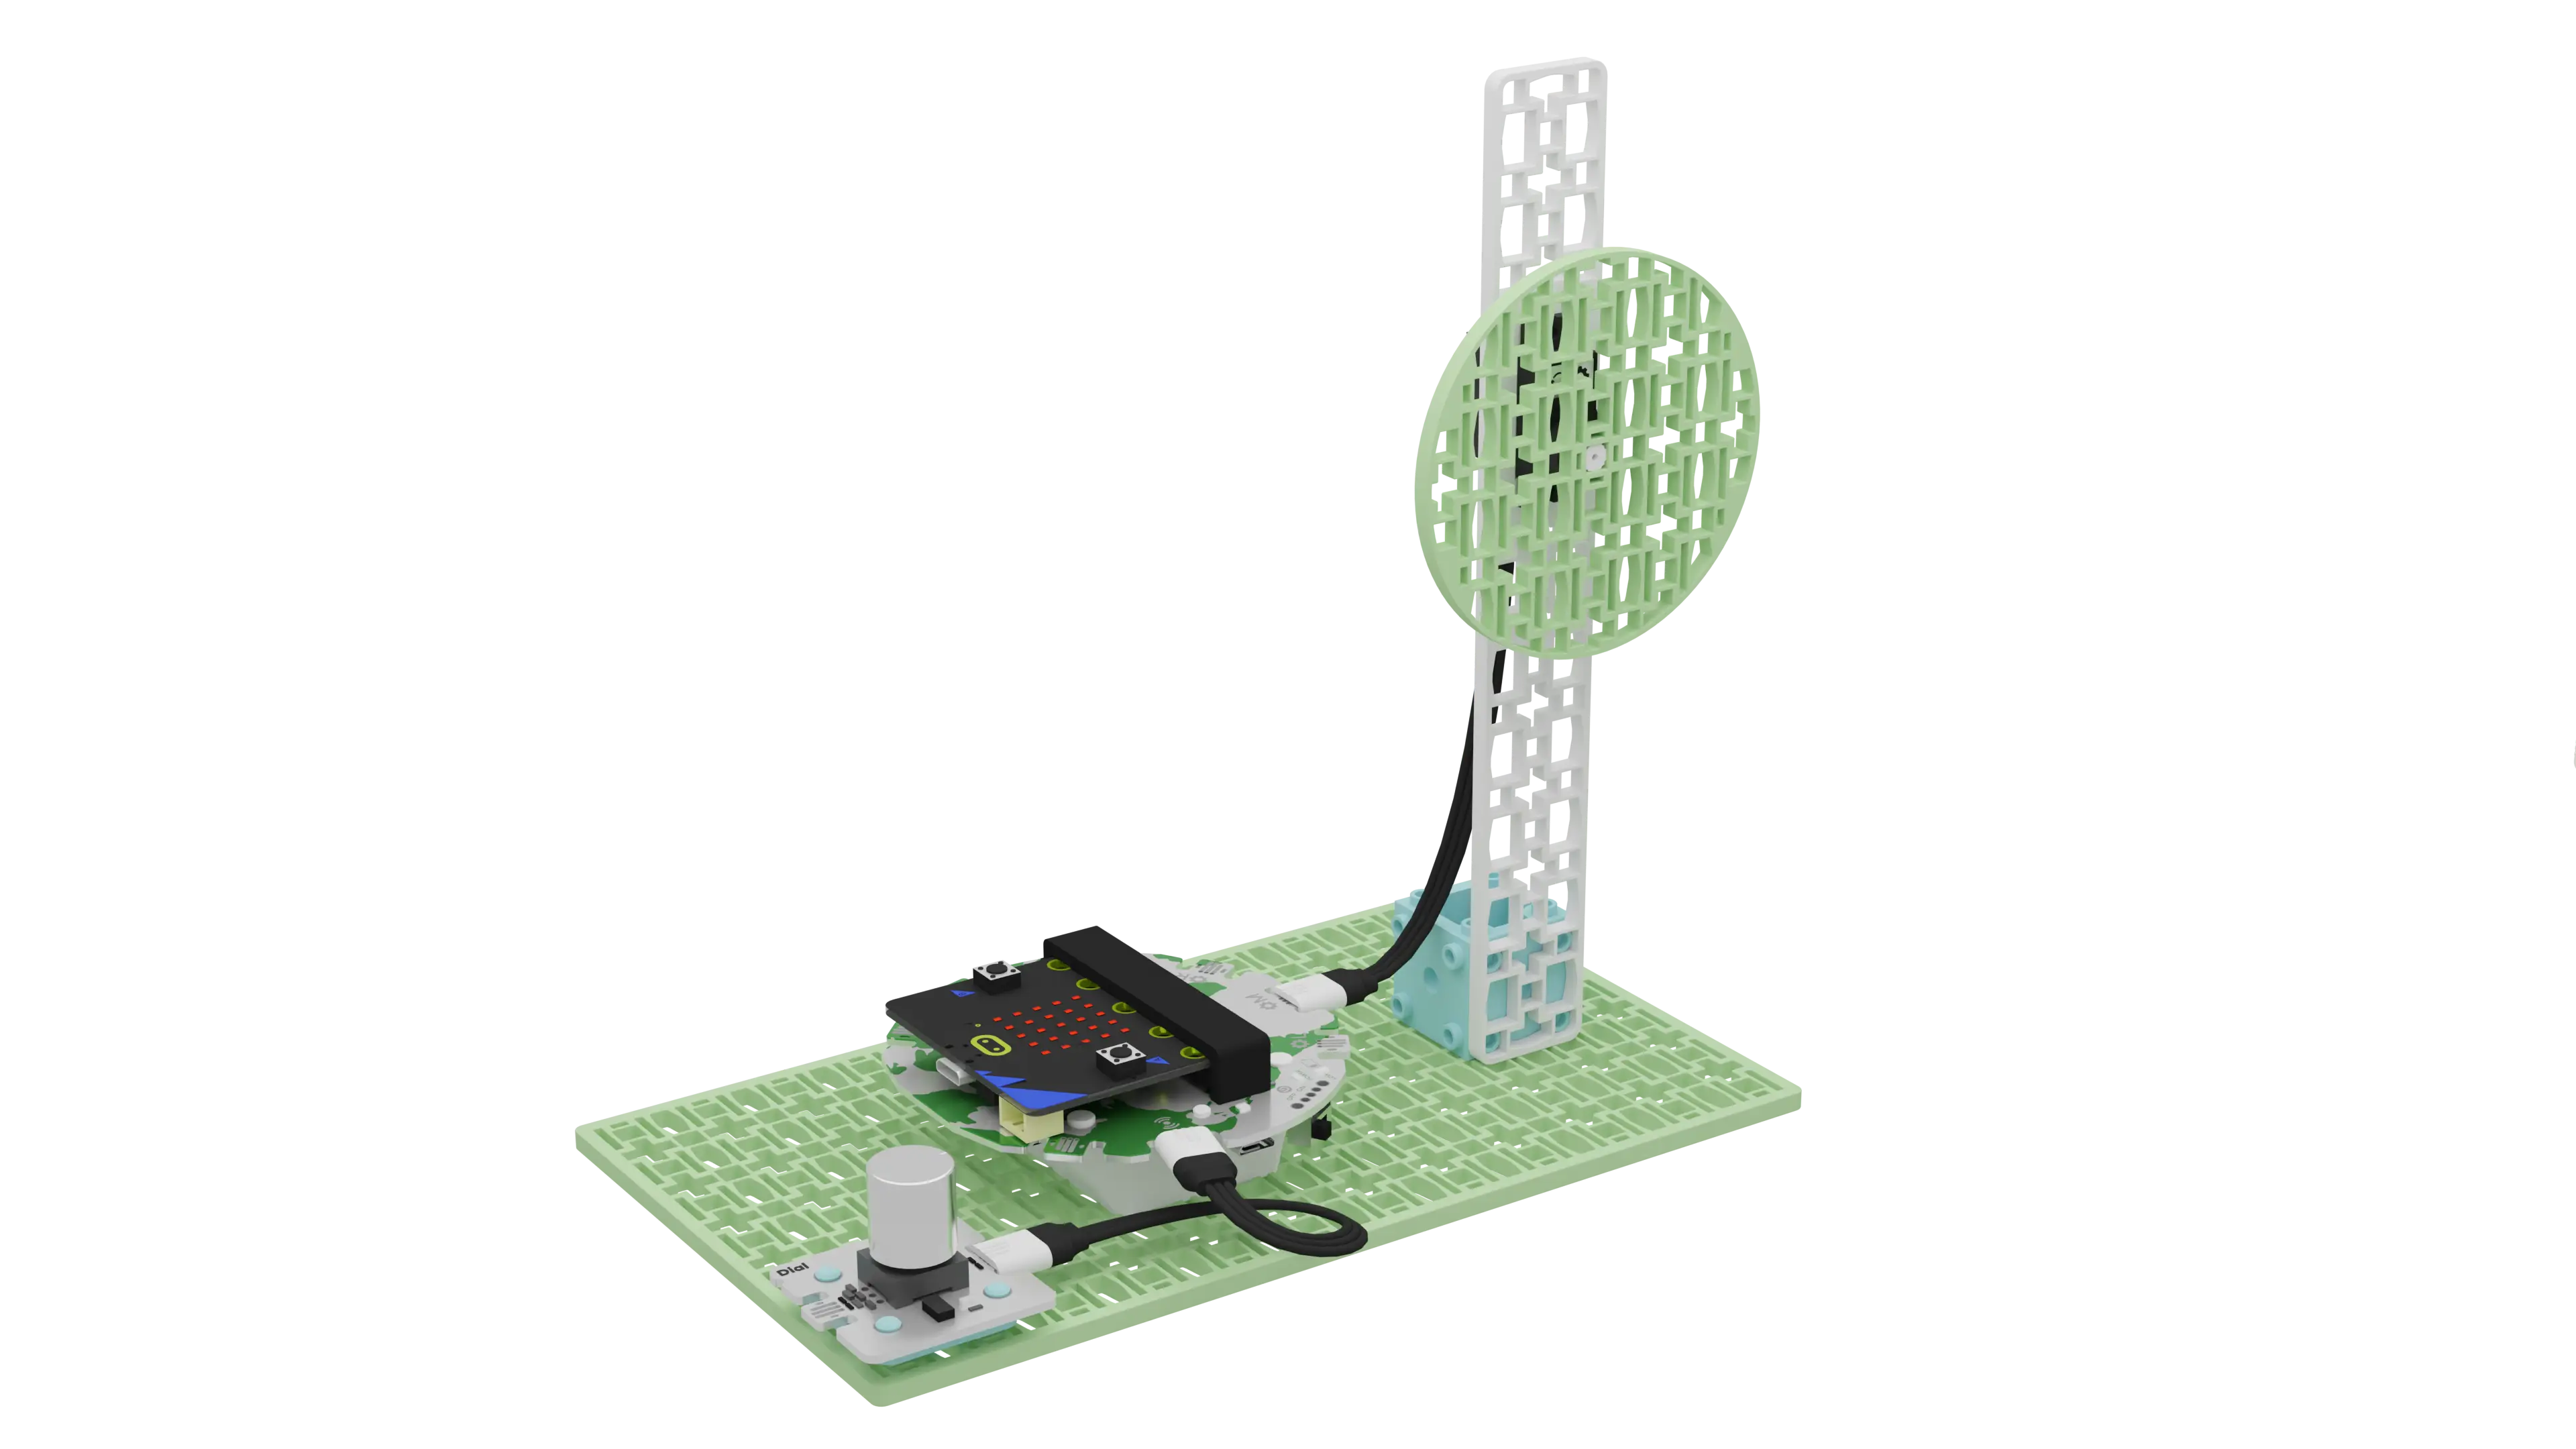
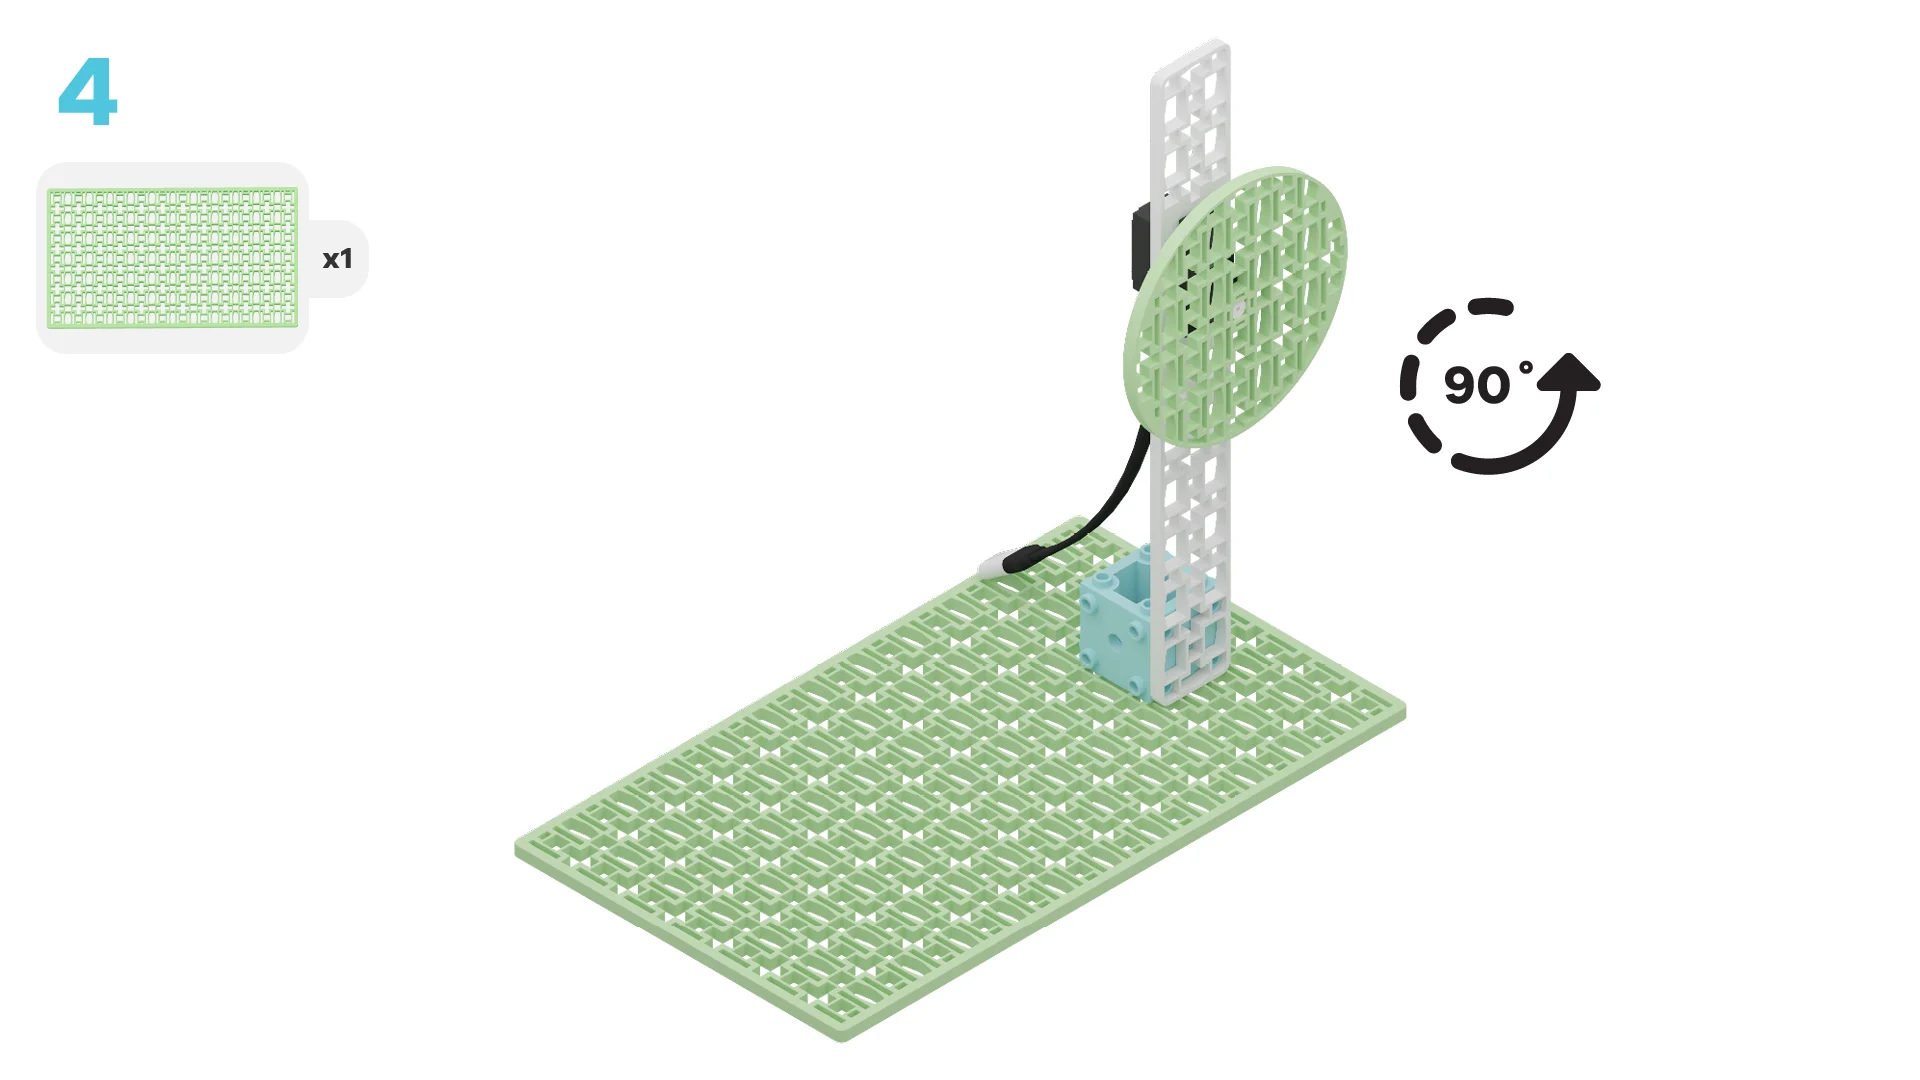
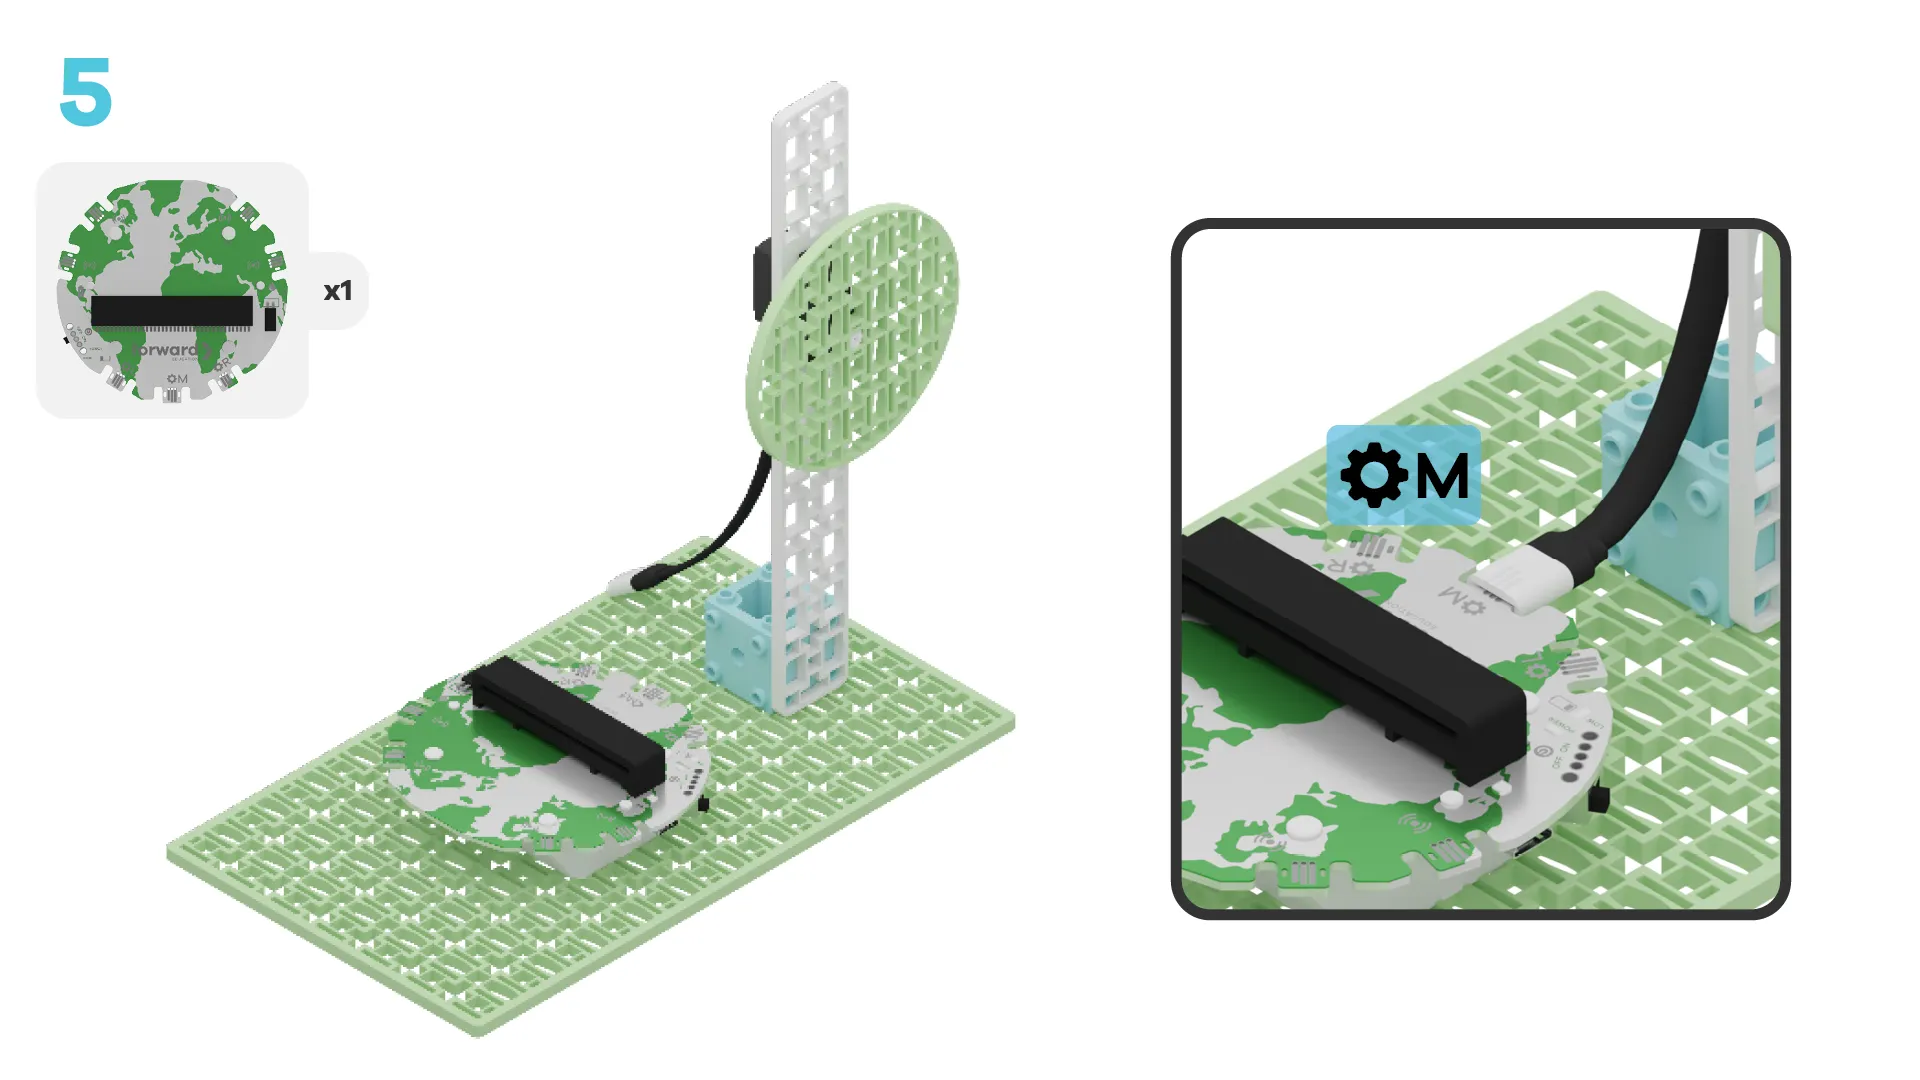
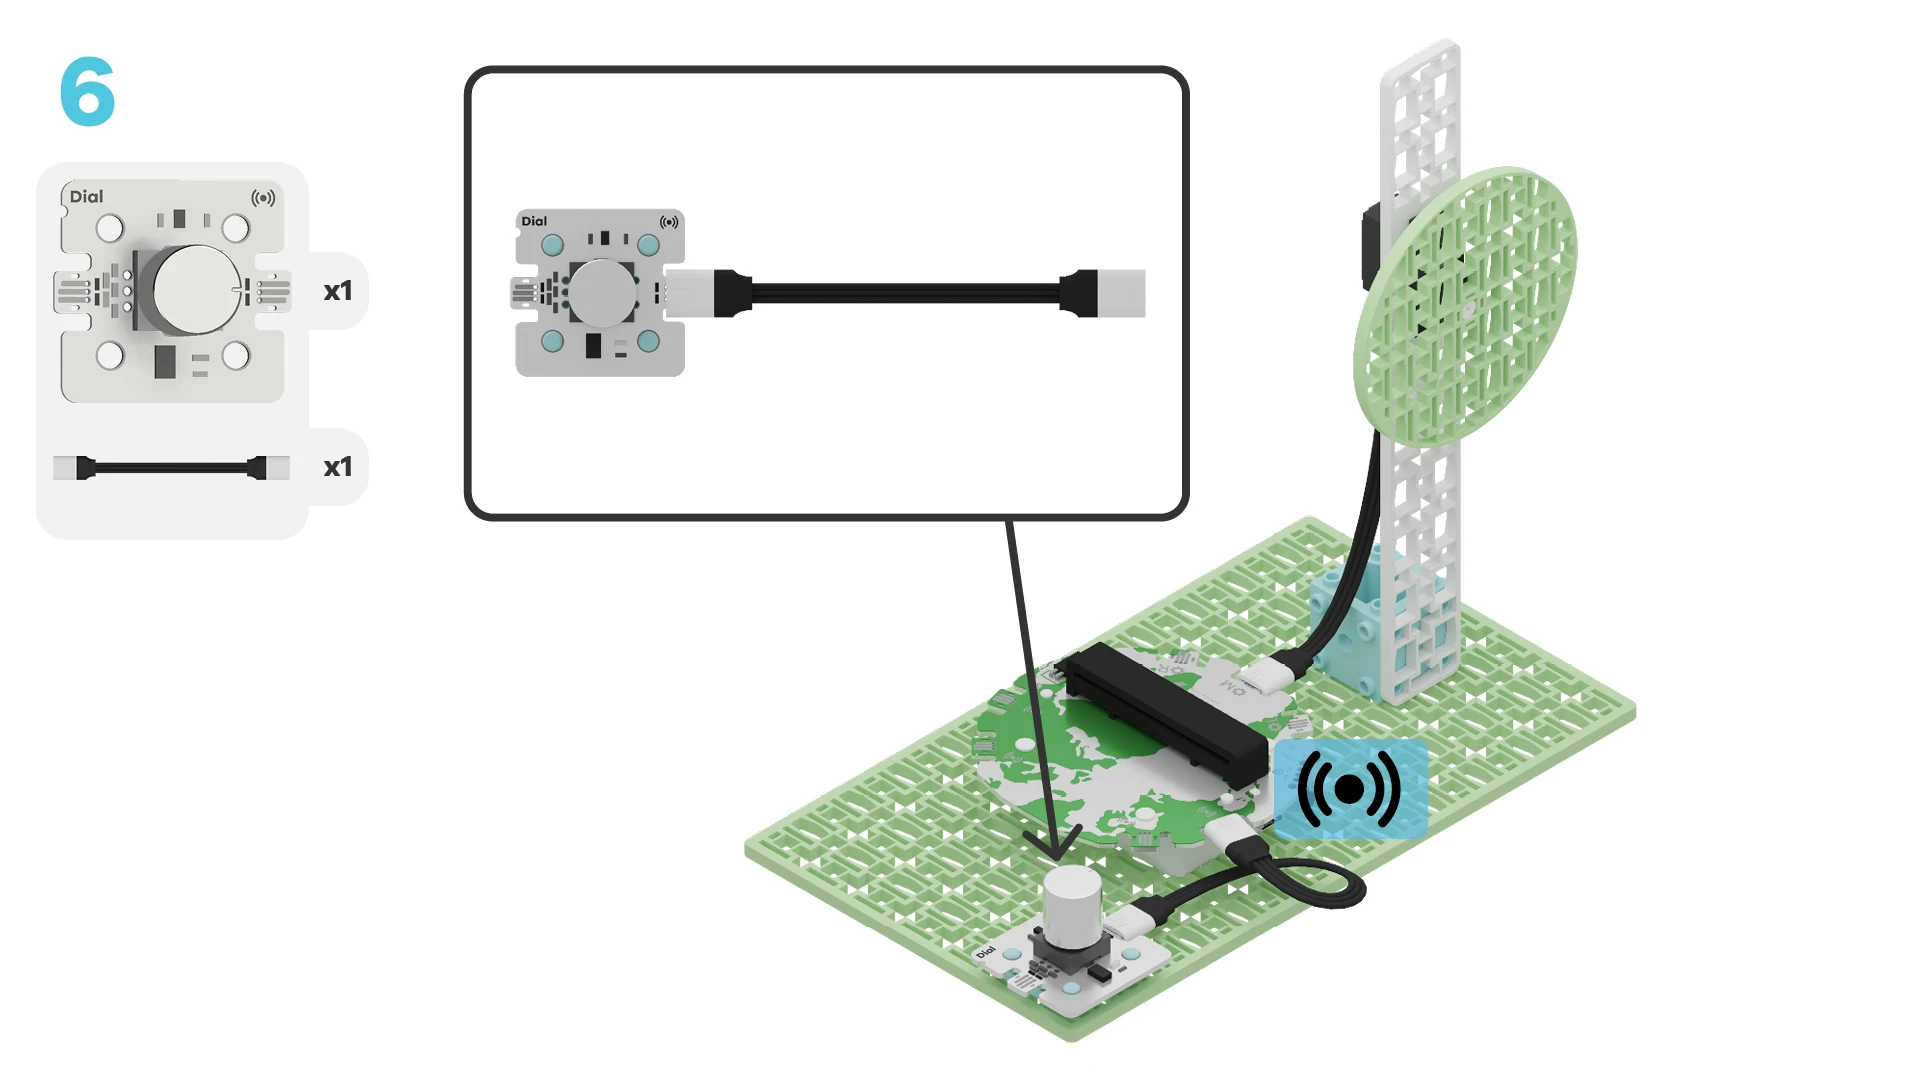
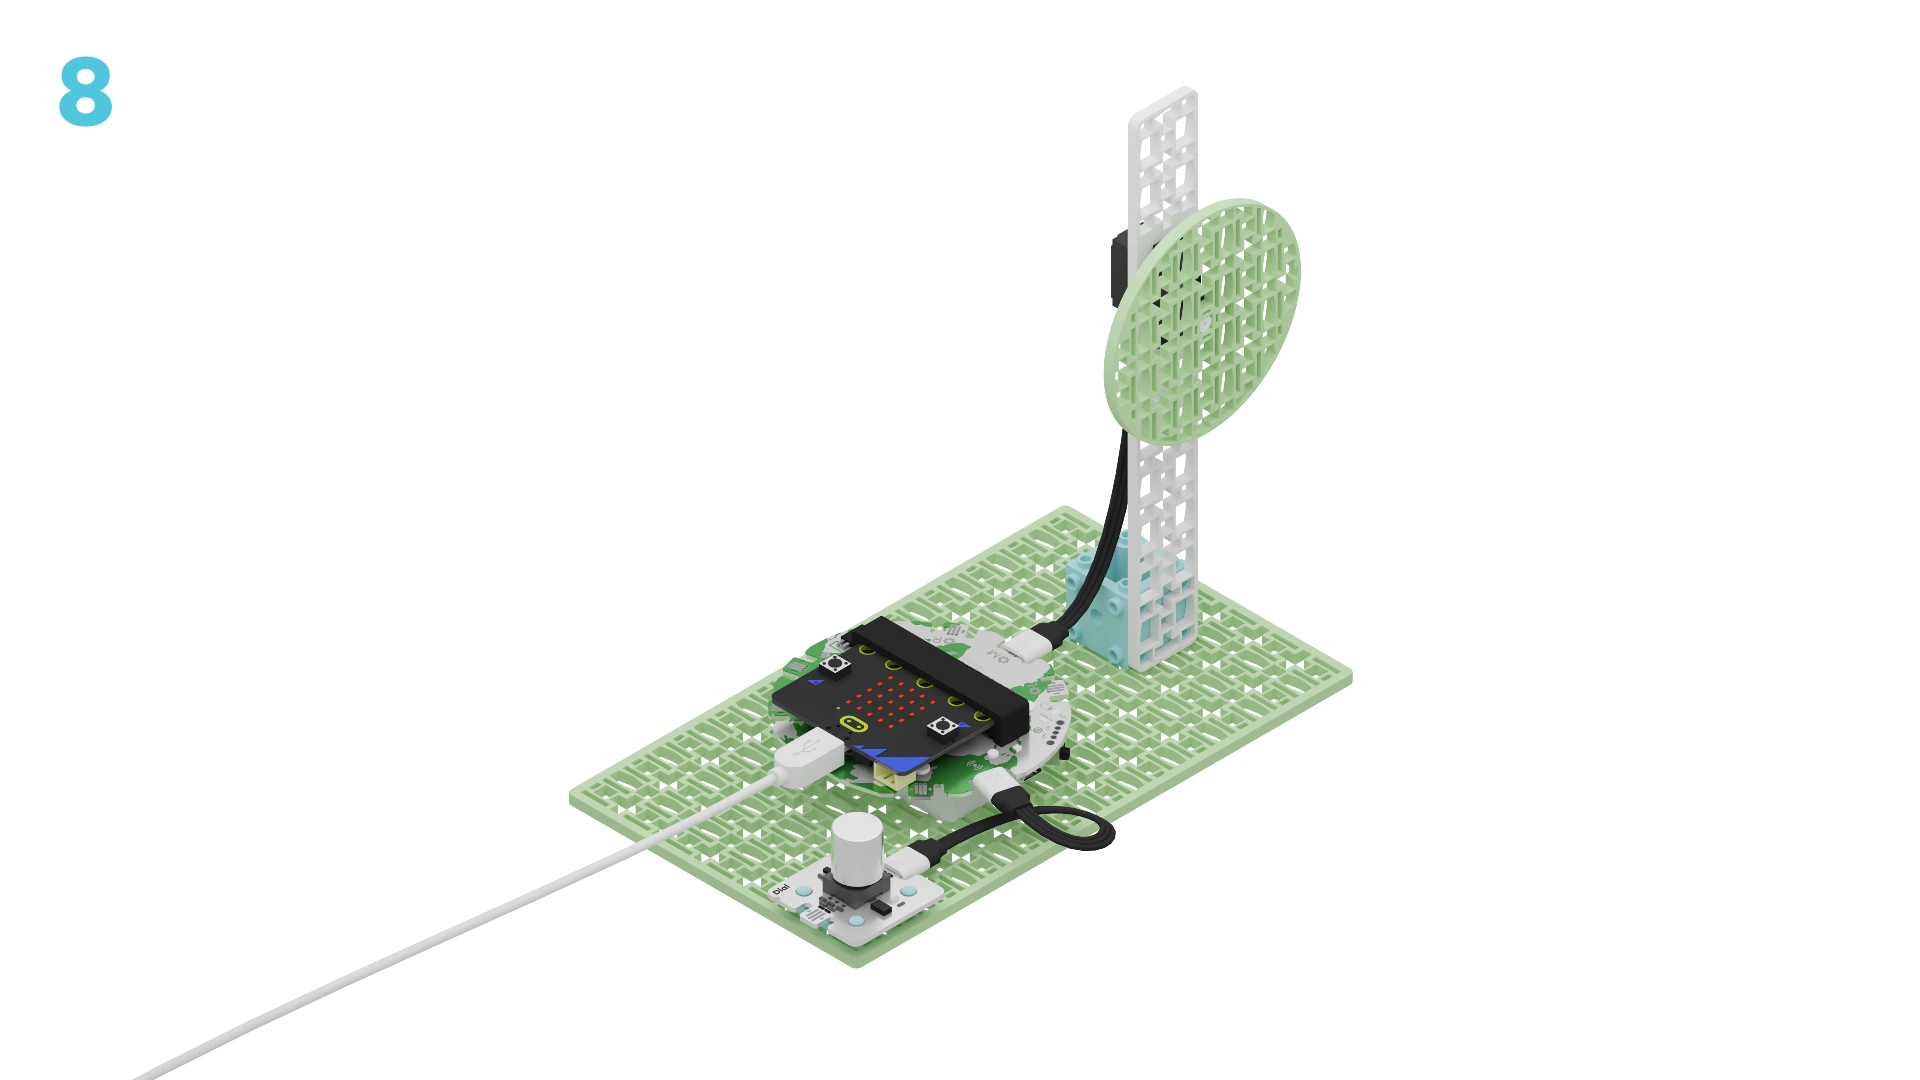
Let's build a moving wind turbine! We are going to do this in three parts:
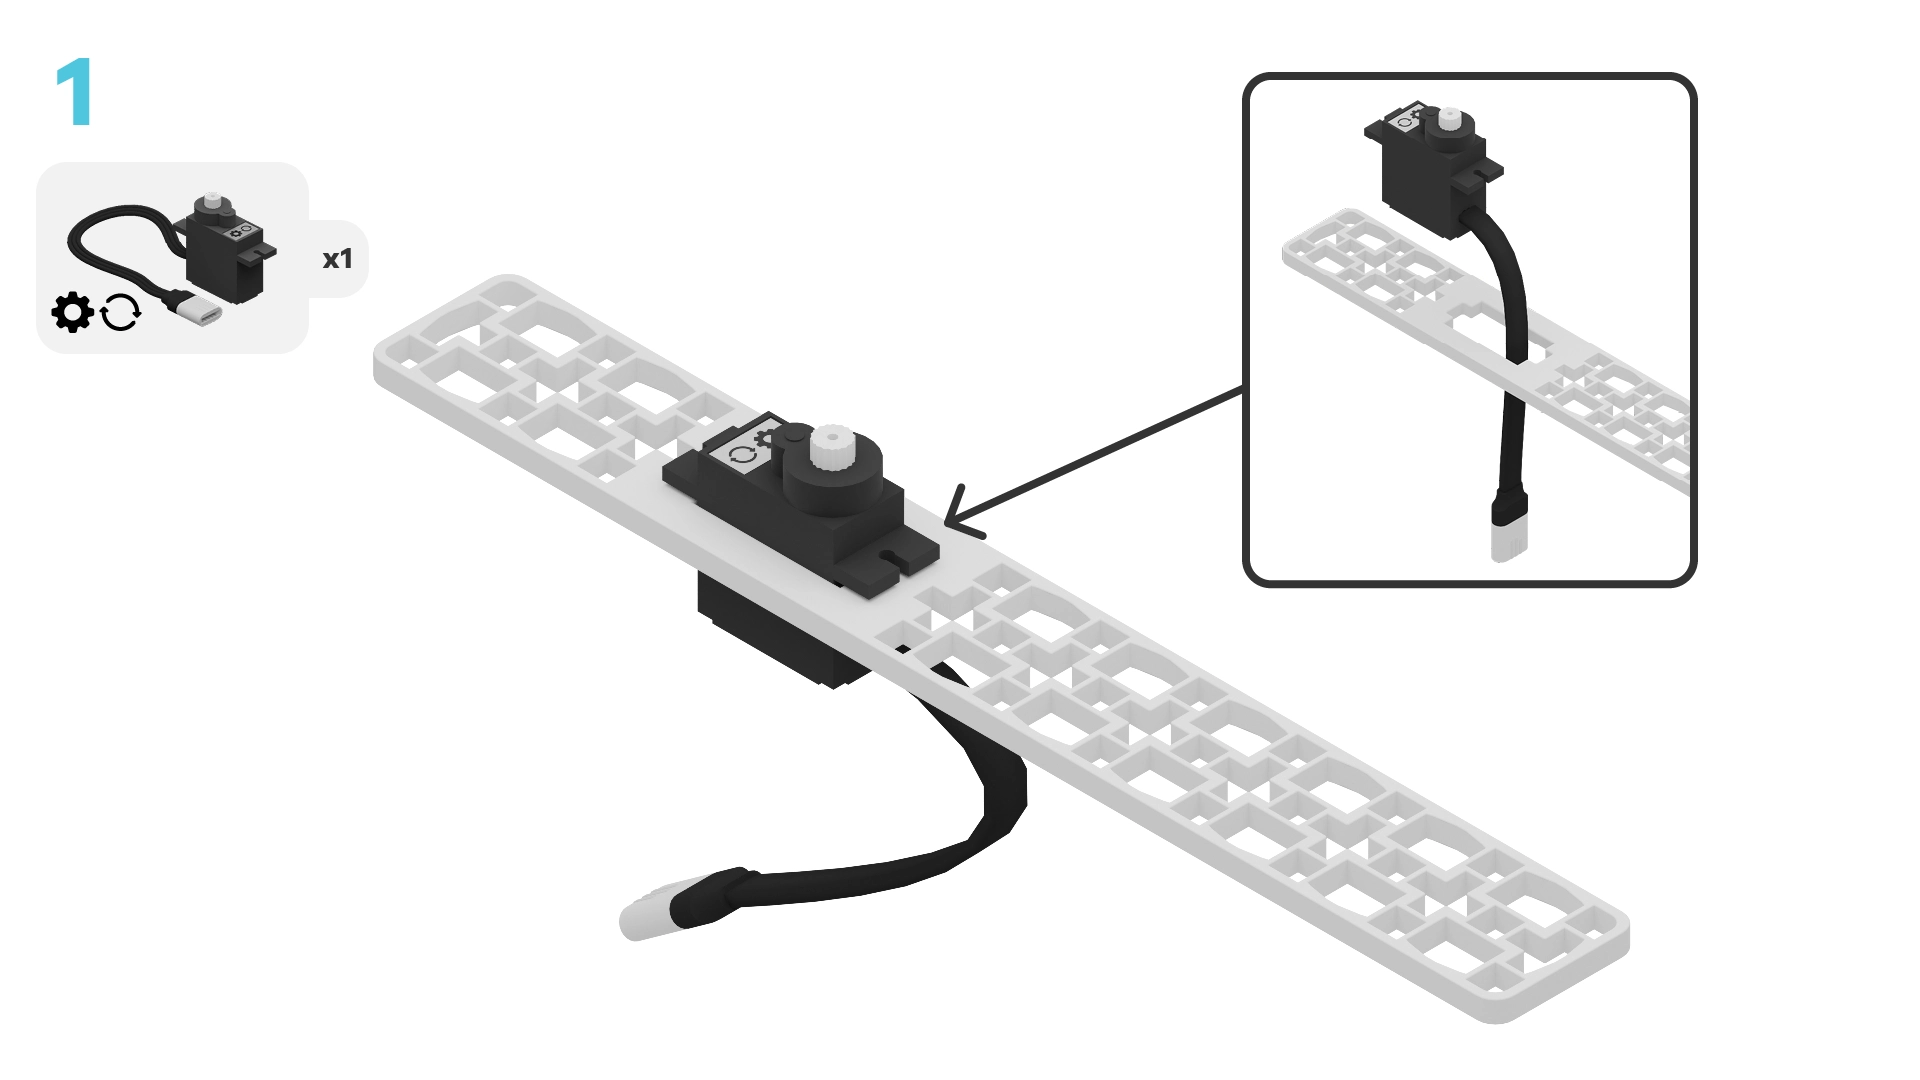
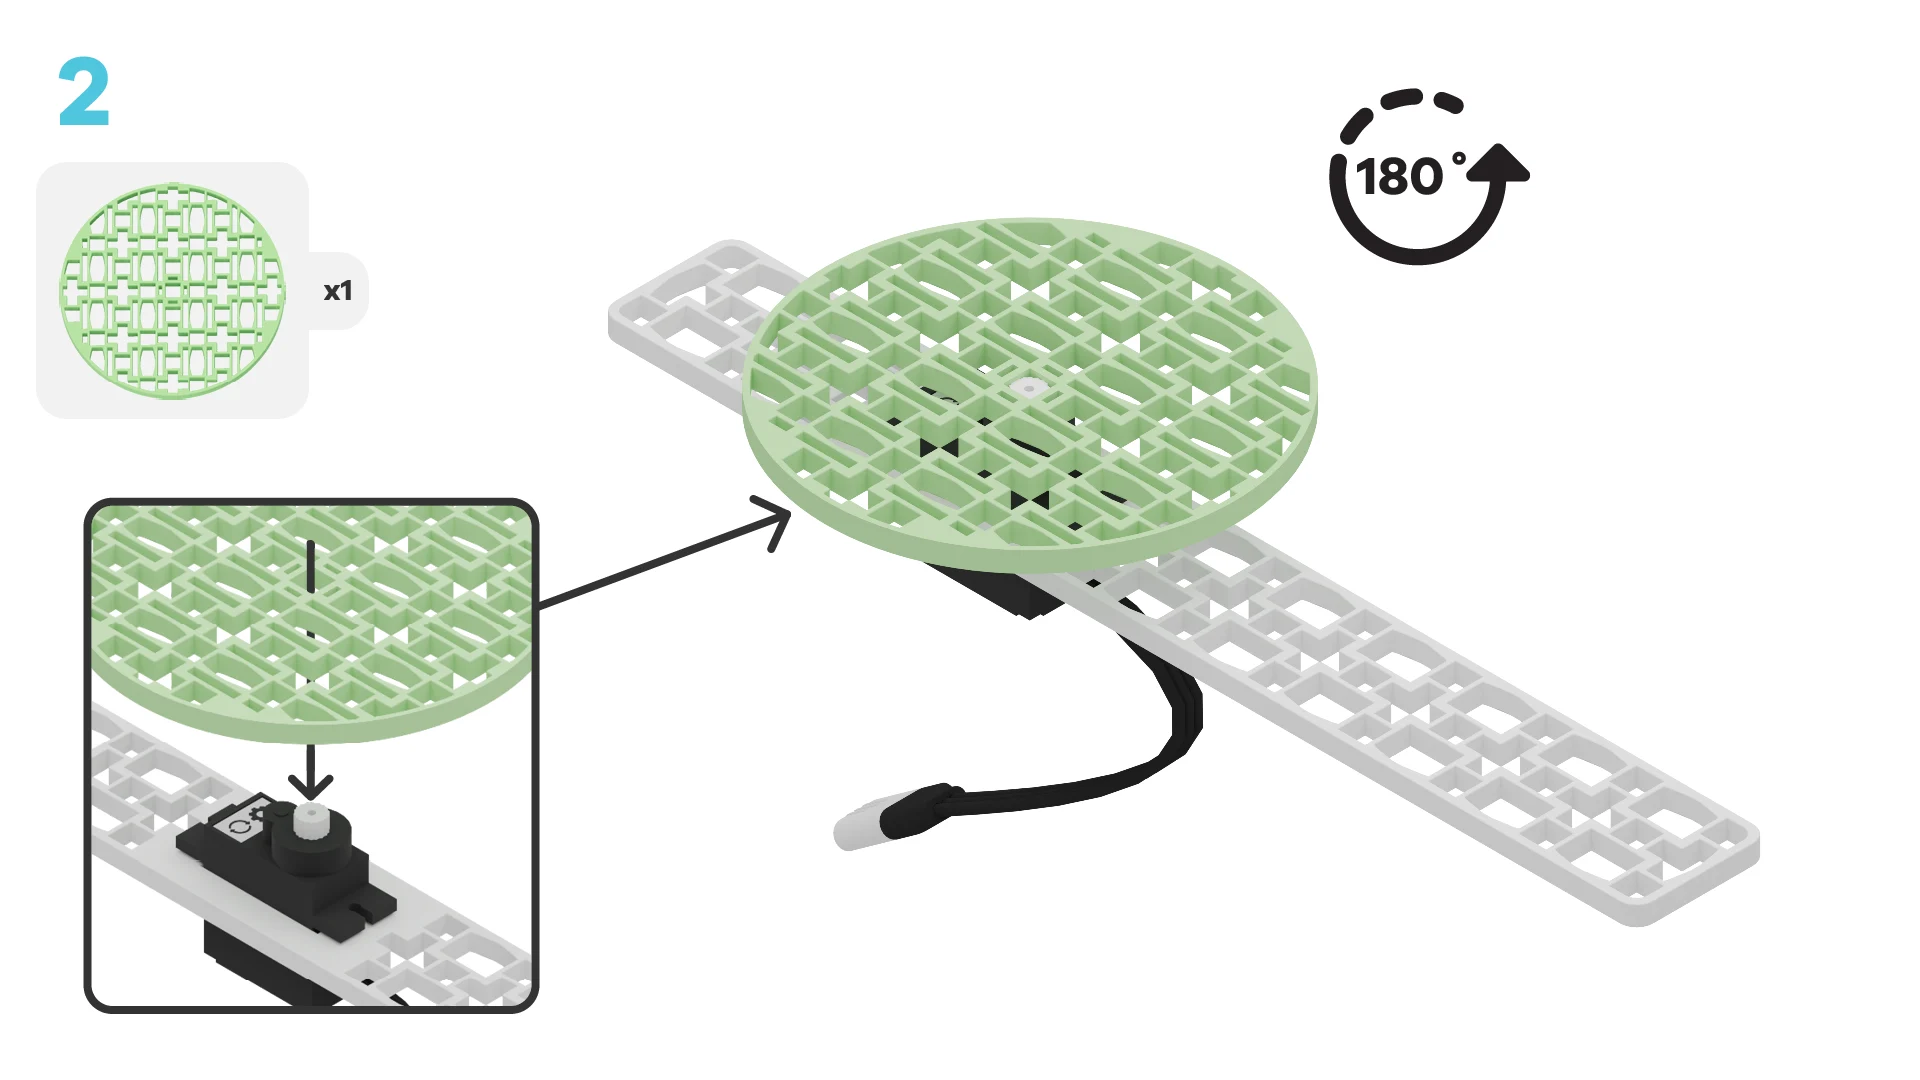
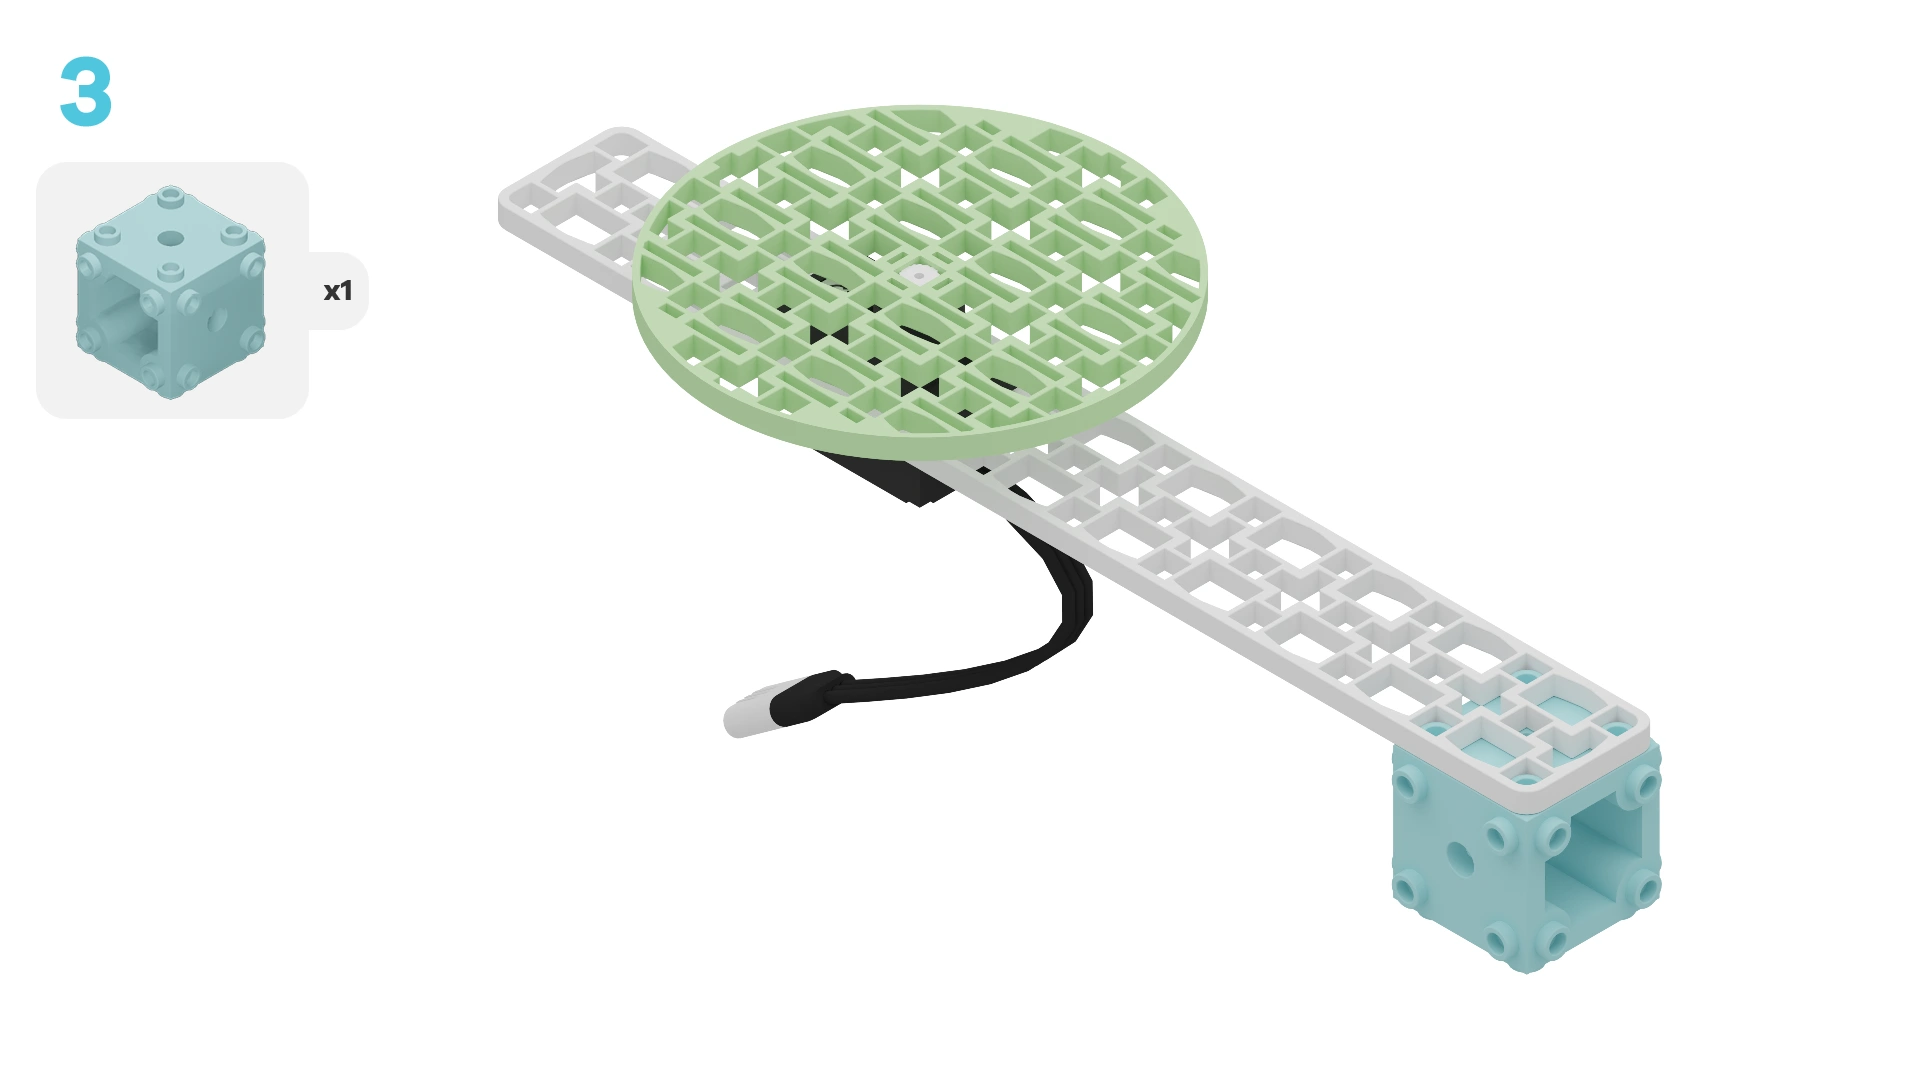
- Build our wind turbine
- Add code to make it move
- Use our wind turbine to learn how it works
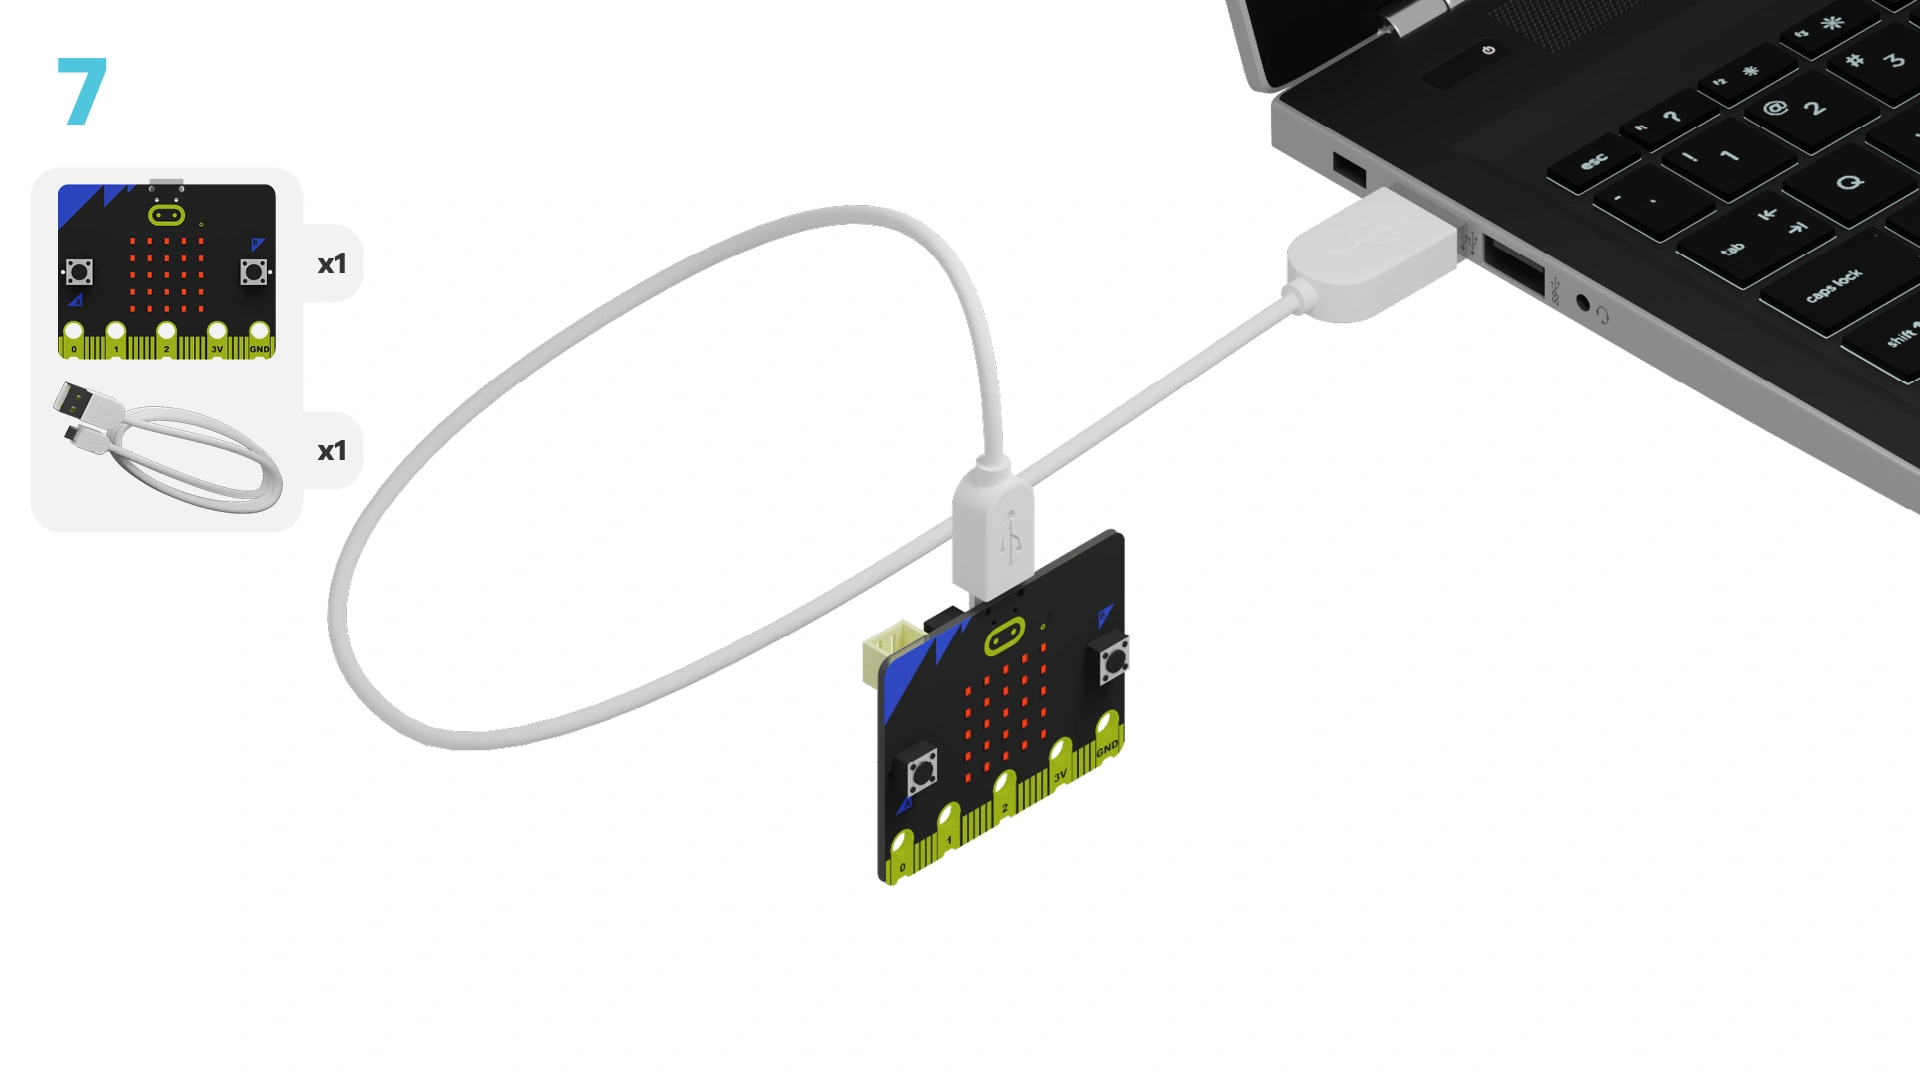
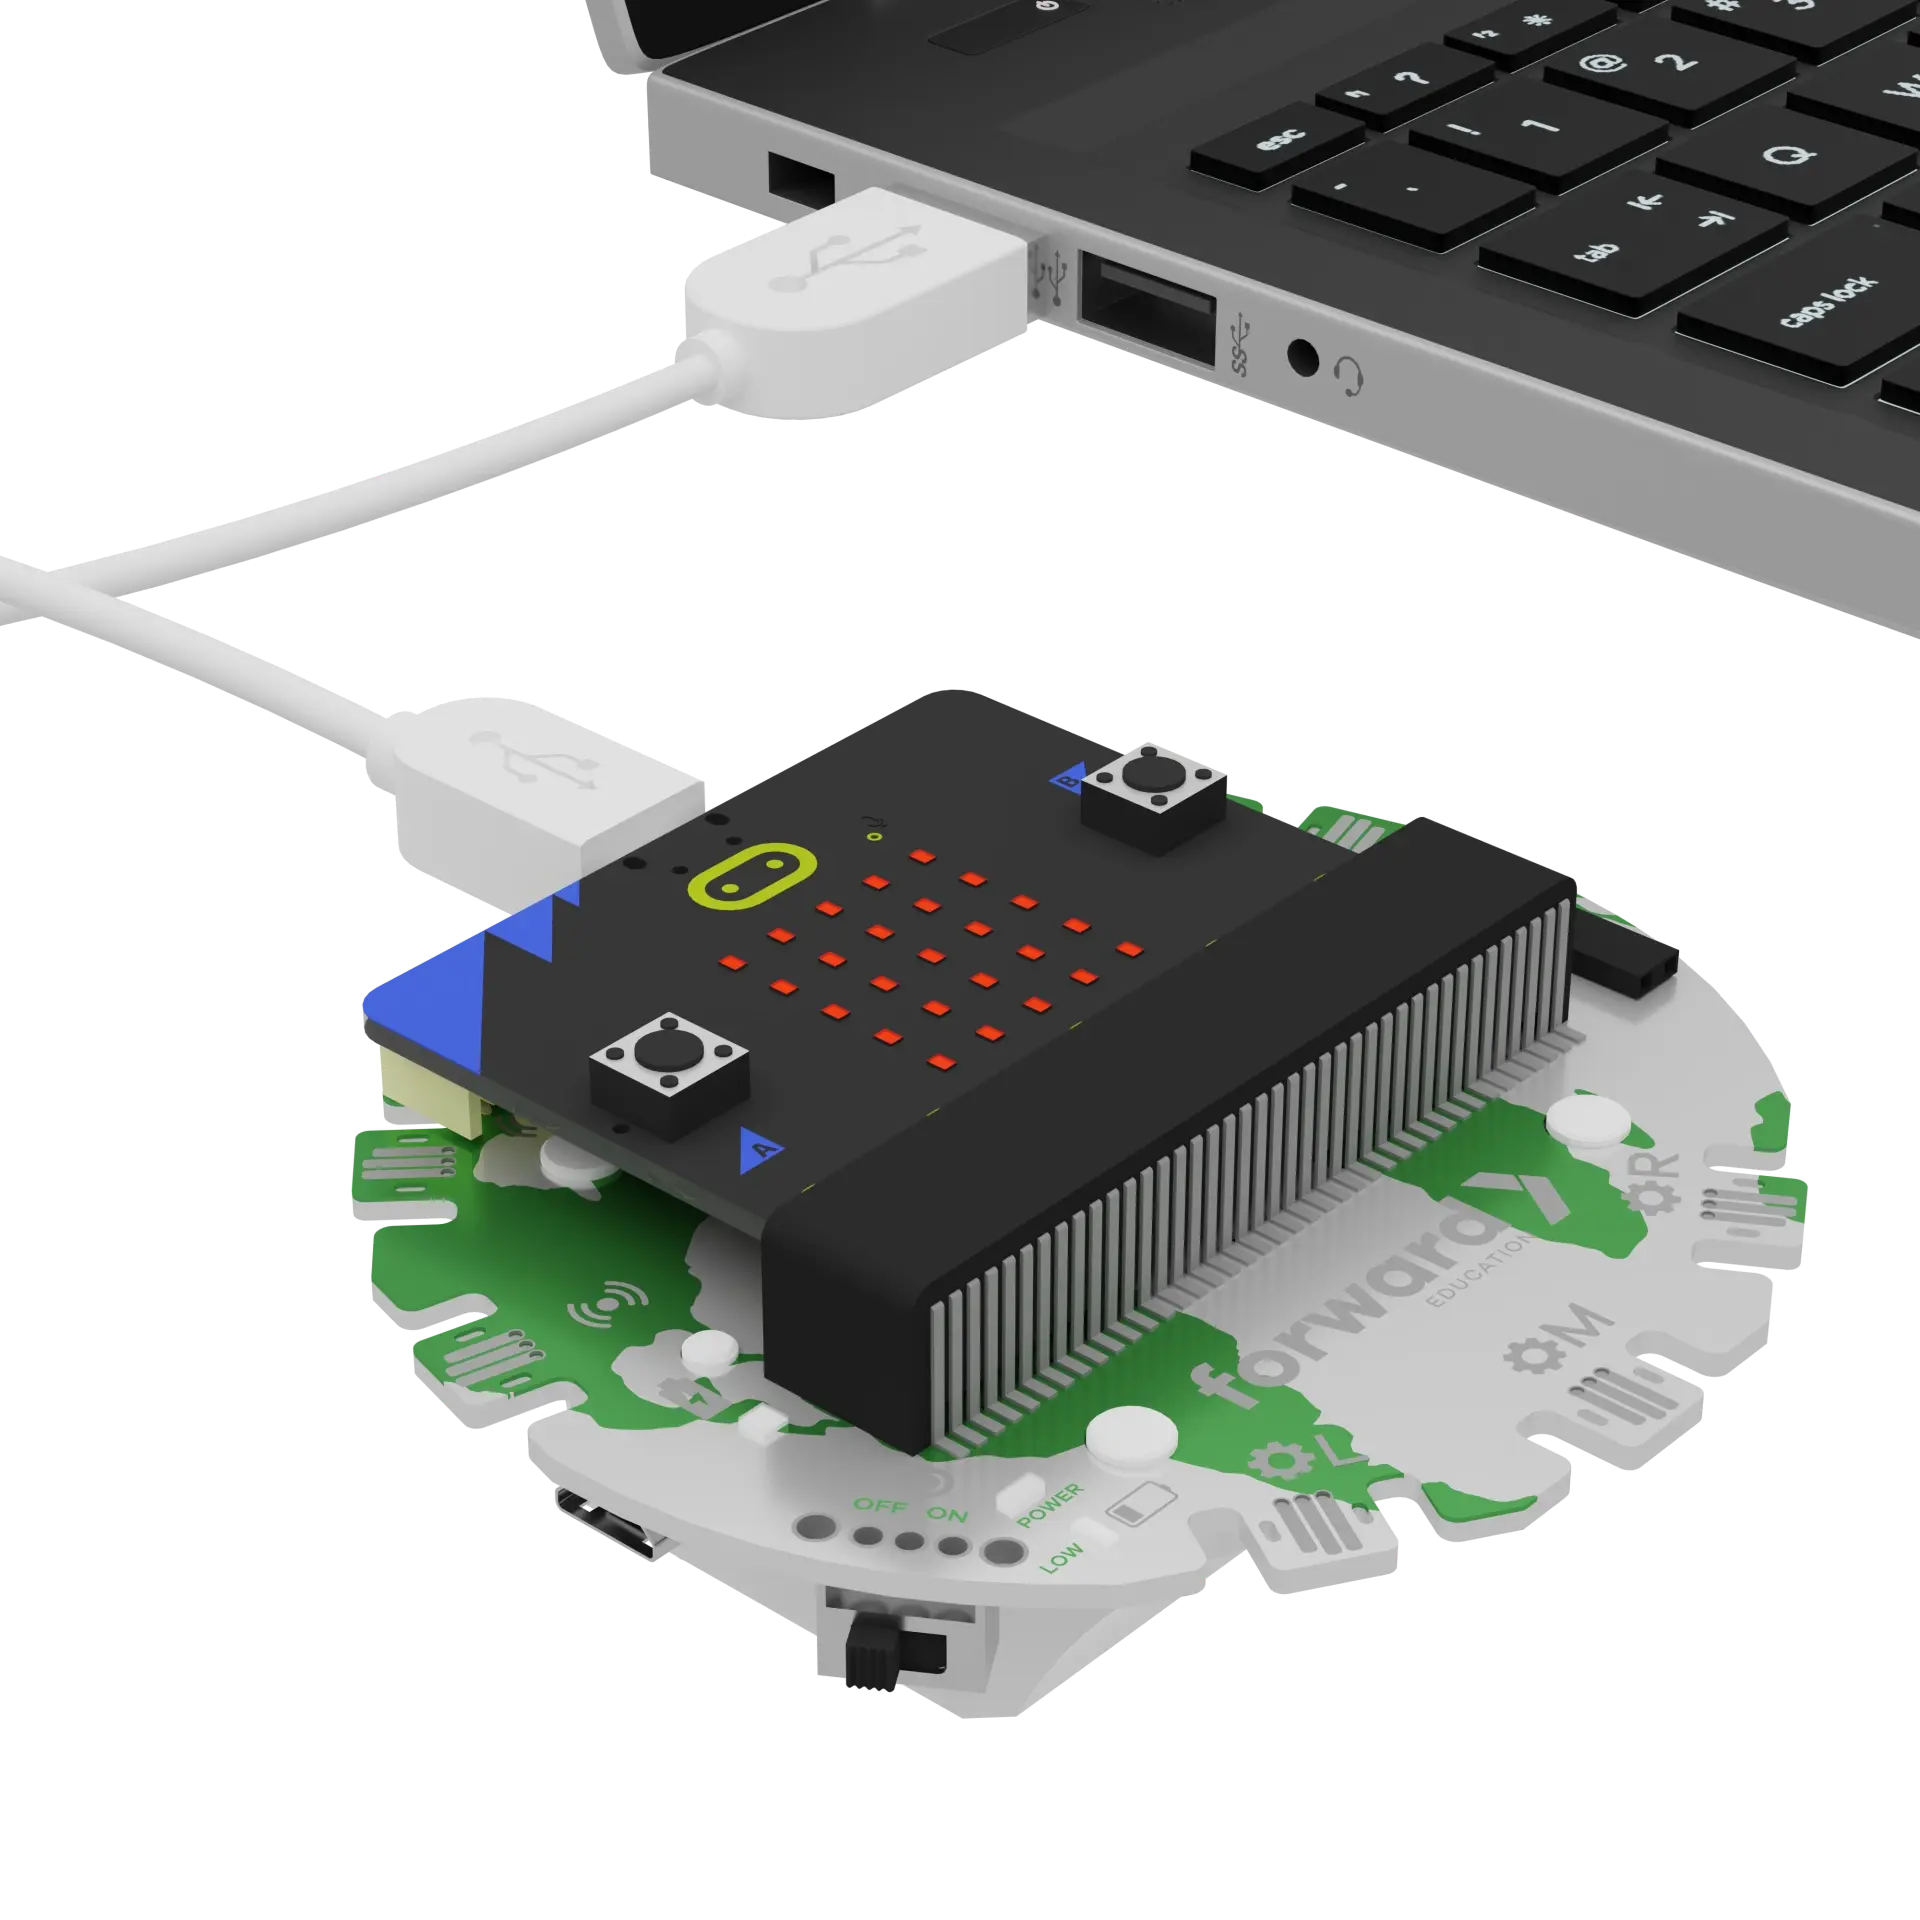
We need to connect our project to the computer to make it come to life with code!
The code will be the instructions that tell our micro:bit what to do.
IMPORTANT! Make sure your Climate Action Kit Breakout Board is turned on and your micro:bit is plugged into your computer.
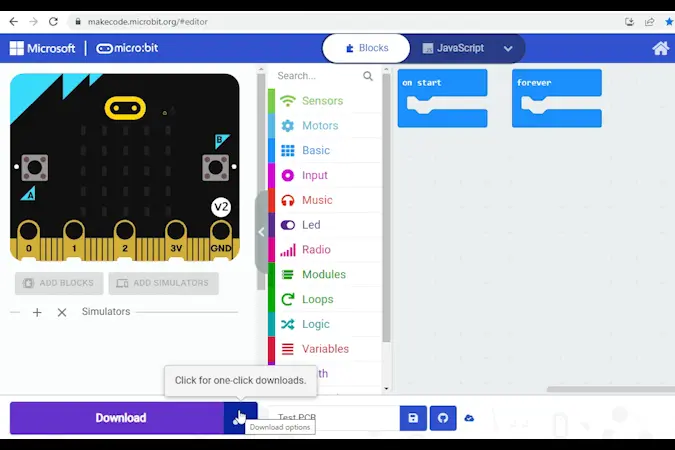
Click the three dots beside the |Download| button, then click on Connect Device. Follow the steps to pair your micro:bit.
Click the |Download| button to download the starter code to your project.
We are ready to use our wind turbine!
Tutorial Tips
As you go through the next steps:
- Follow the instructions at the top of the screen.
- When you are ready for more information, click 'Tell me more!'
- If you need help with the code, click the lightbulb!
Think back to how a wind turbine works. What part of our physical project represents:
- The wind?
- The turbine blades?
~hint Tell me more!
- The dial represents the wind!
- The circular, green building block represents the blades of the wind turbine. hint~
fwdSensors.touch.fwdOnTouch(jacdac.ButtonEvent.Down, function () {
    fwdMotors.middleServo.fwdSetSpeed(0)
})
fwdSensors.dial1.fwdOnDialTurned(fwdSensors.DialDirection.CW, function (difference) {
    fwdMotors.middleServo.fwdSetSpeed(50)
})
Take a look at the code below.
What do you think will happen to the blades of your project when you put a force on (or turn) the dial? Try it now.
~hint Tell me more!
- When we turn the dial to the right, the green building block should start to turn!
- This is what is called the input and output of the code. hint~
fwdSensors.dial1.fwdOnDialTurned(fwdSensors.DialDirection.CW, function (difference) {
    fwdMotors.middleServo.fwdSetSpeed(50)
})
What do you think will happen when you turn the dial the opposite way? Try it now!
~hint Tell me more!
- Nothing happens! There is no code that tells the computer what to do when the dial is turned this direction. hint~
Look at your code. How do you think we can stop the motor from spinning? Try it!
~hint Tell me more!
- The motor will stop when you press down on the dial! hint~
fwdSensors.touch.fwdOnTouch(jacdac.ButtonEvent.Down, function () {
    fwdMotors.middleServo.fwdSetSpeed(0)
})
Ready for more?
Can you add the green small frames to your wind turbine to act as its blades? Add one piece at a time and see if it can still move with these extra pieces!
You've completed the activity!
Did anything surprise you about this project?
List 2 new things you learned today.
What is one thing you want to learn more about?
In the next step, you can click the |Done| button to finish the tutorial.
