fwd-edu-breakout=github:climate-action-kits/pxt-fwd-edu/fwd-breakout
ledRing=github:climate-action-kits/pxt-fwd-edu
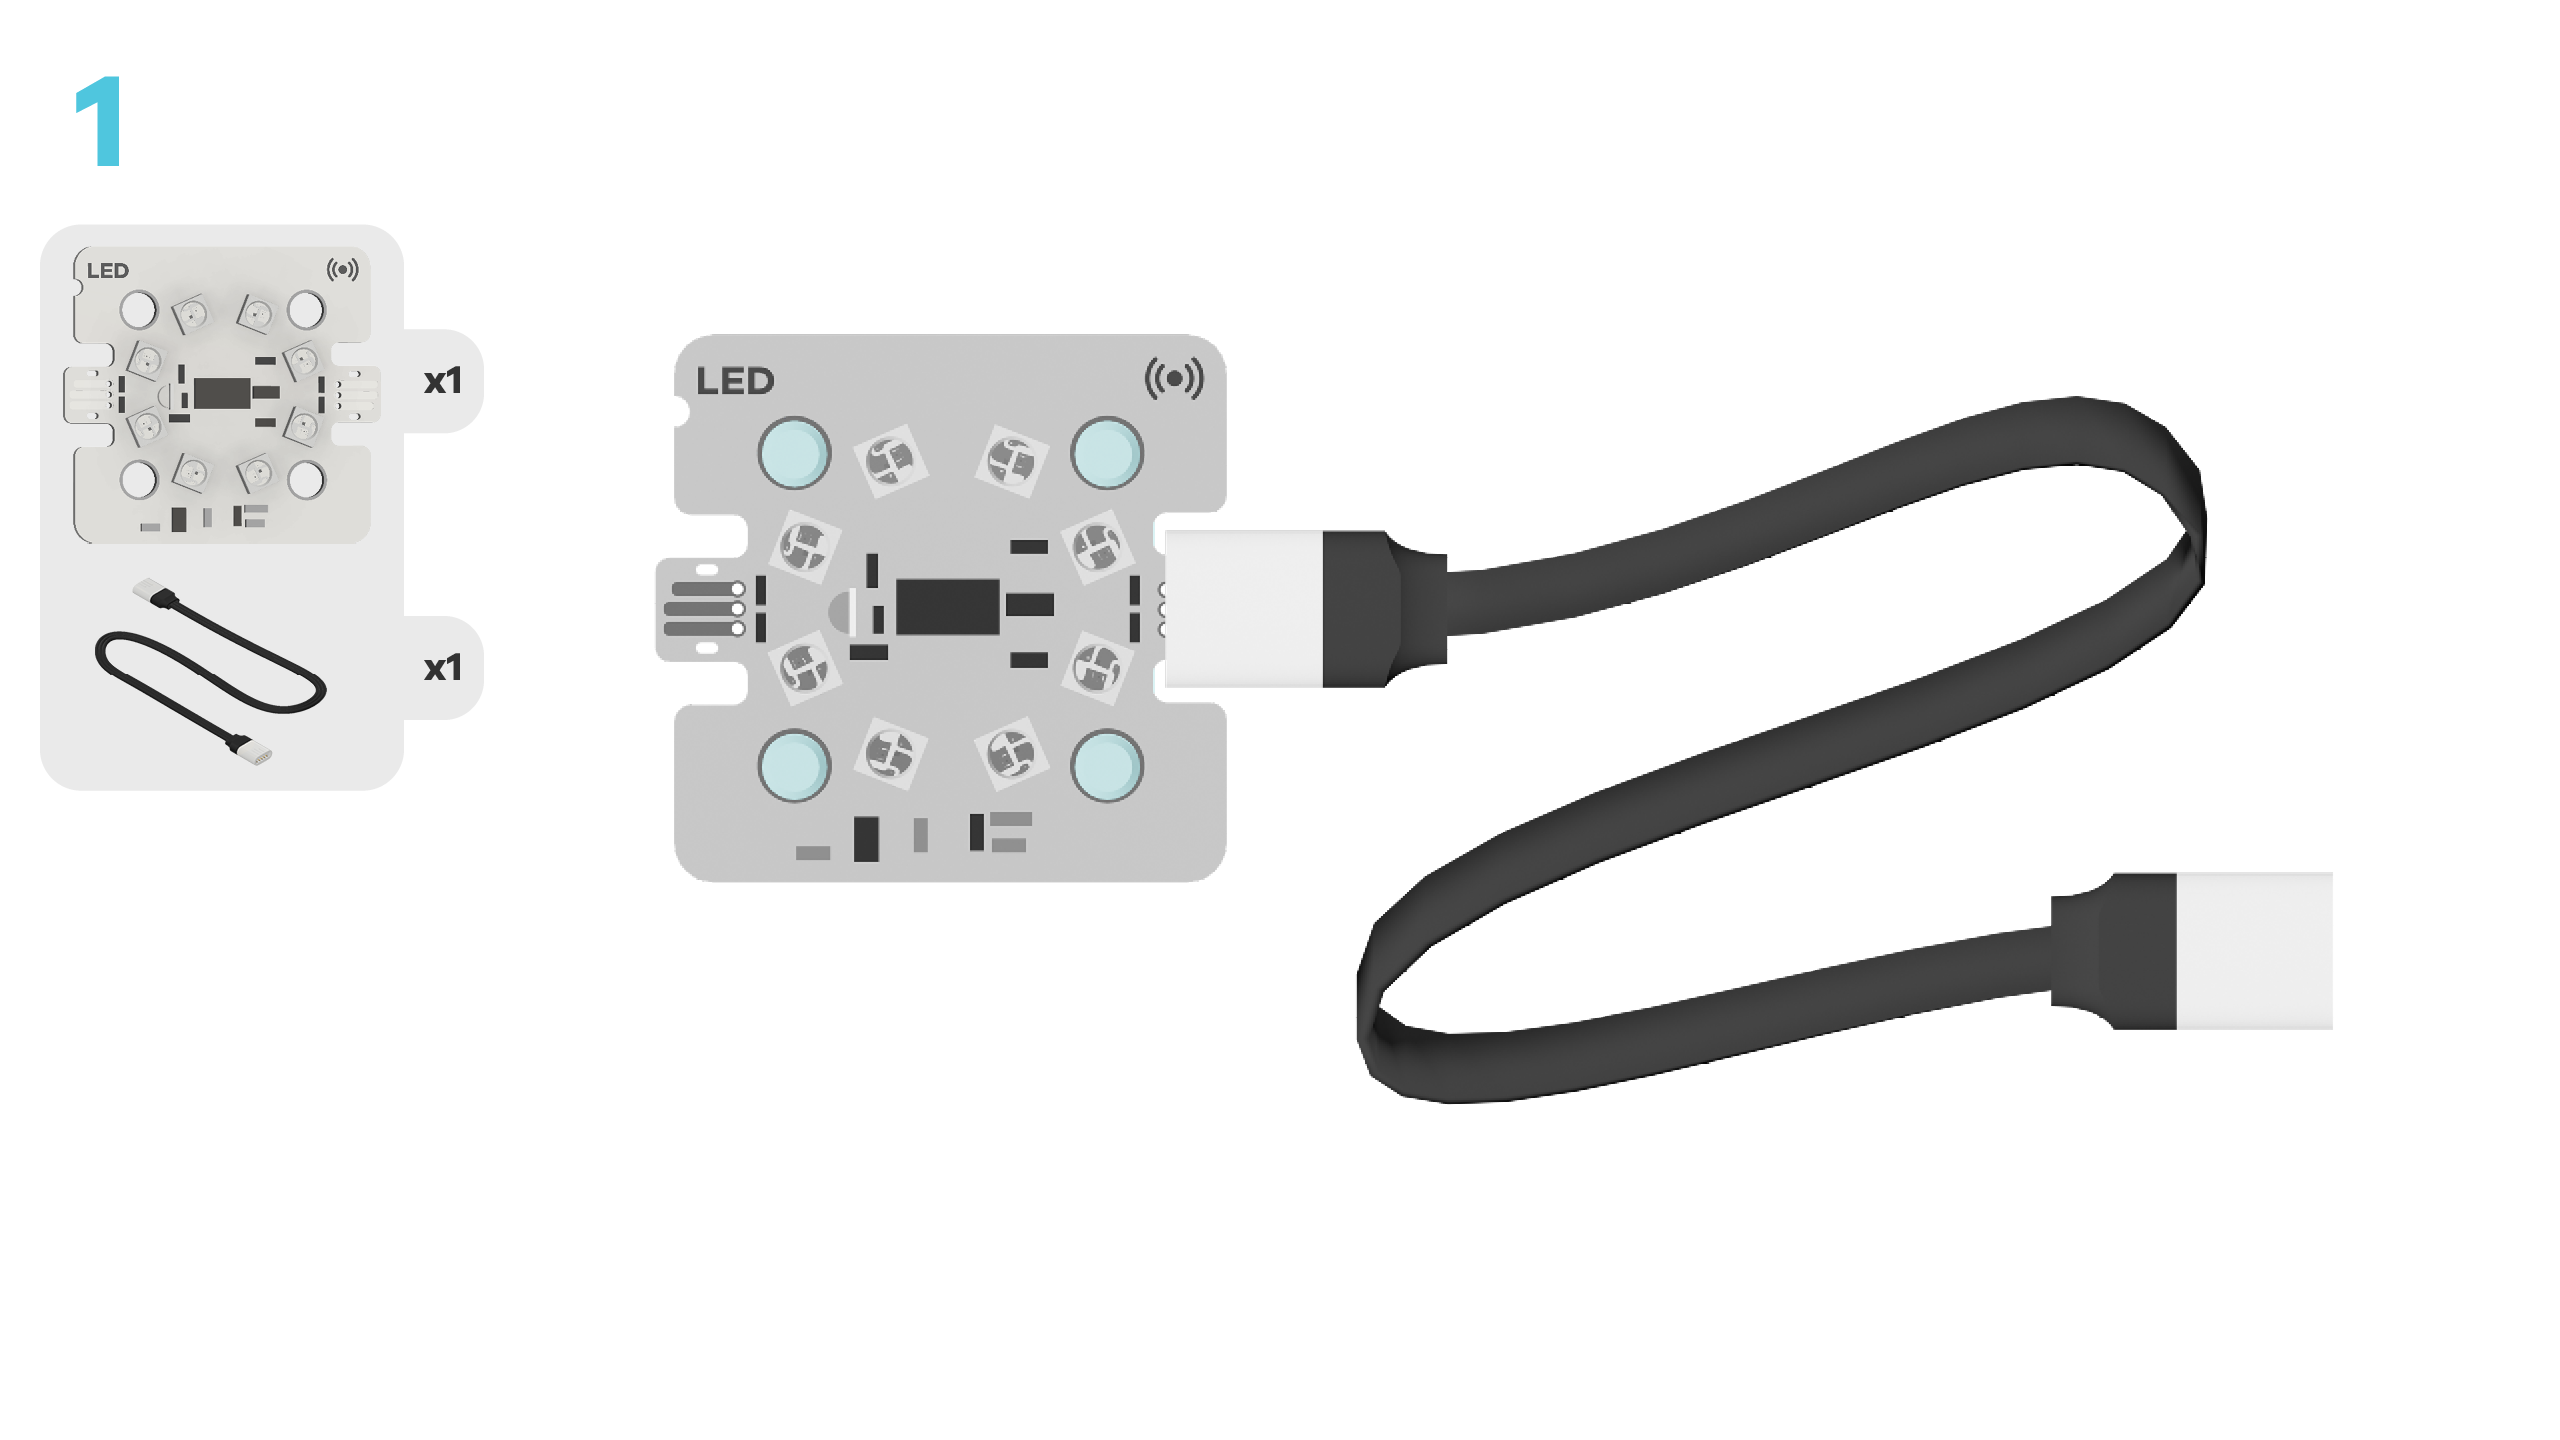
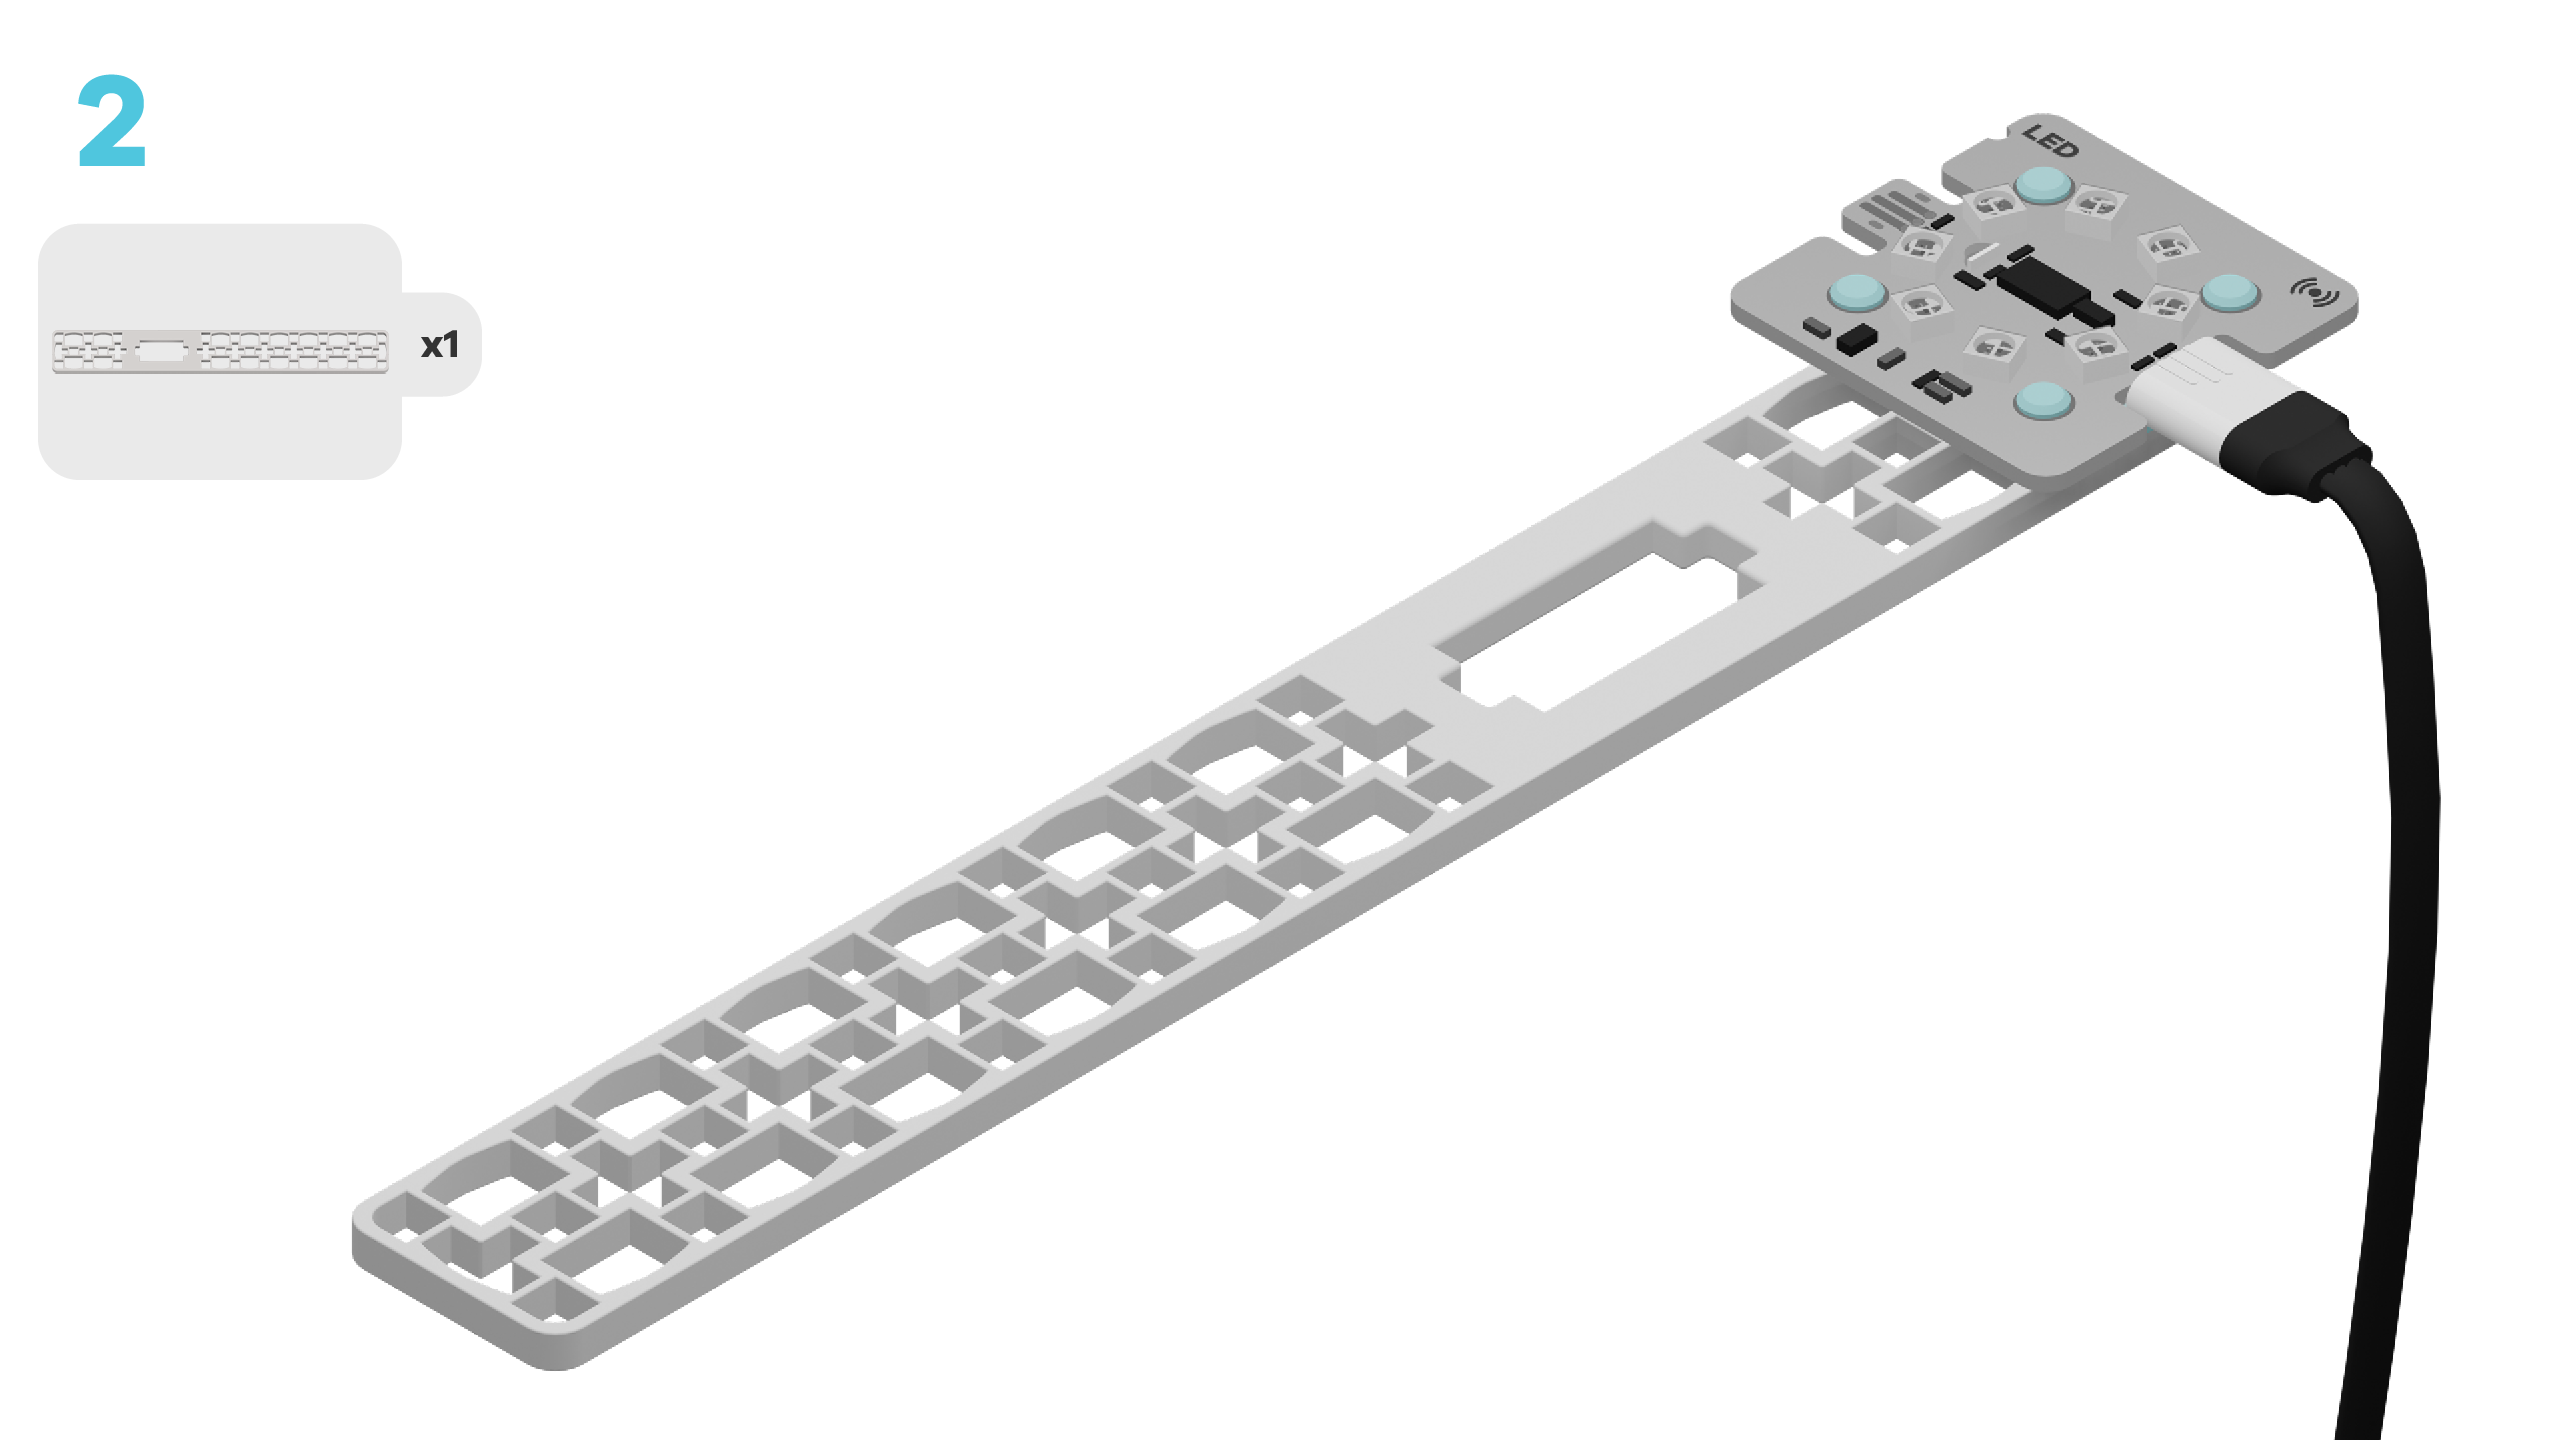
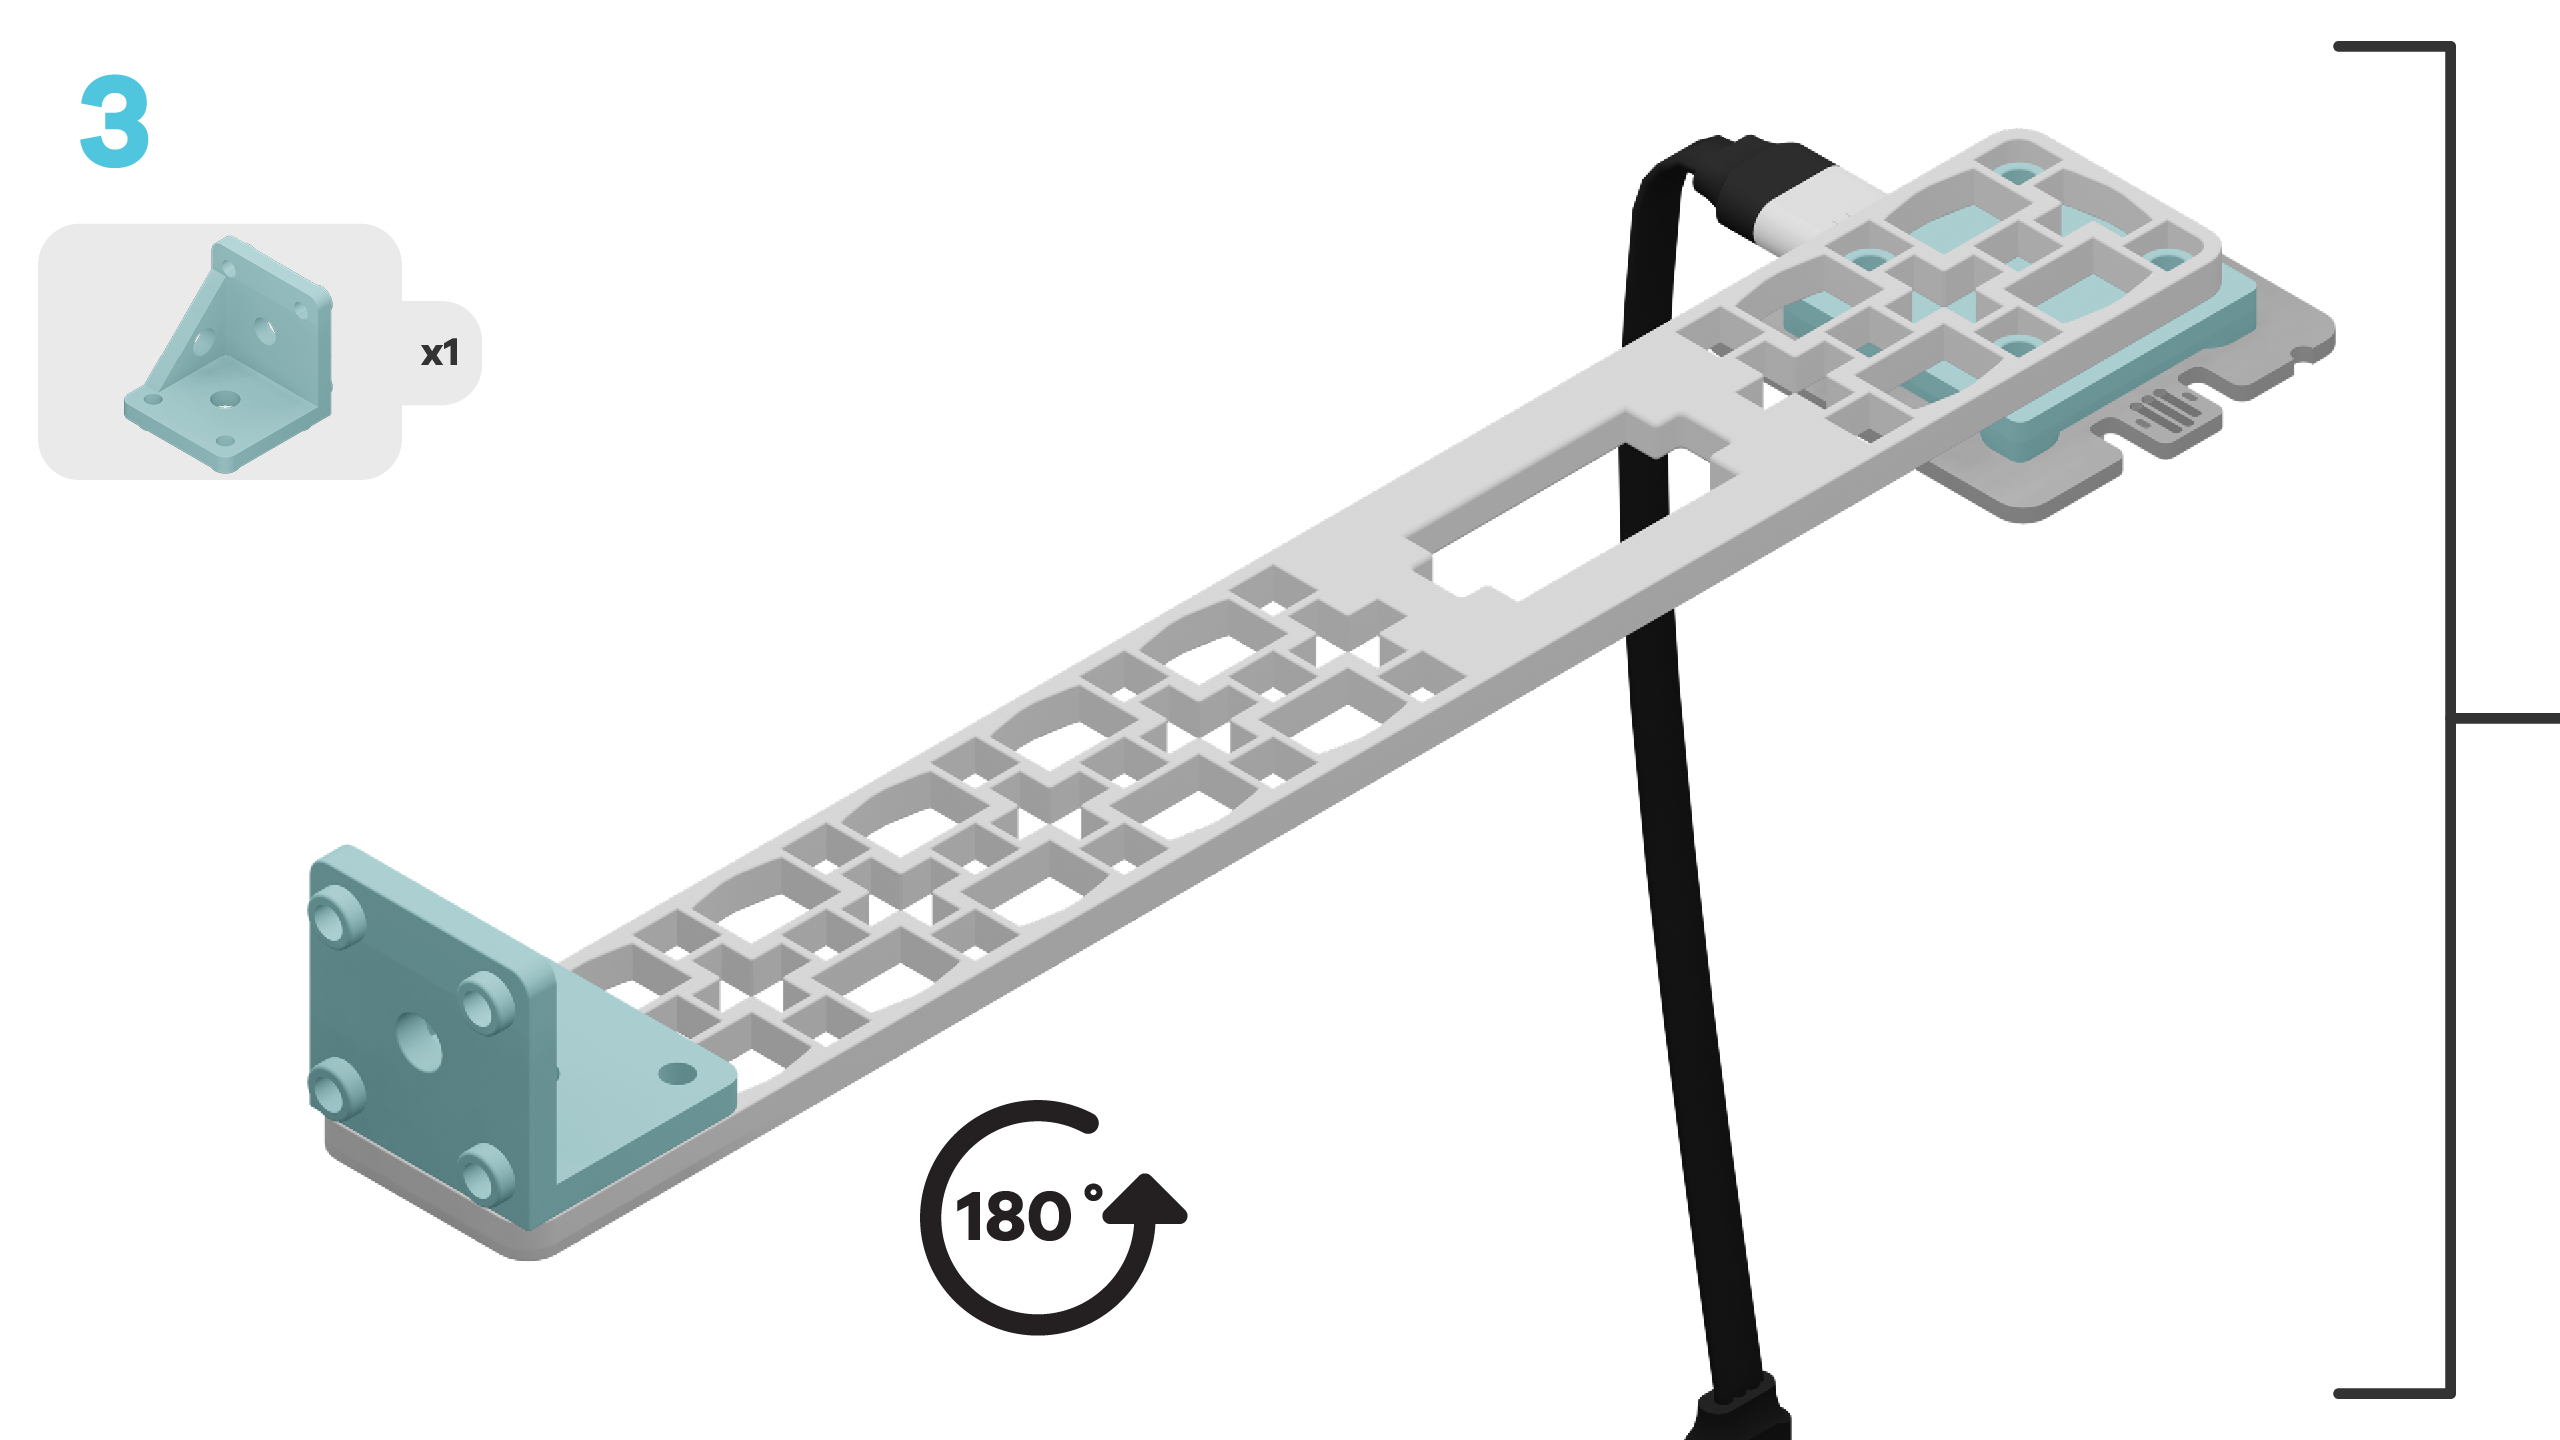
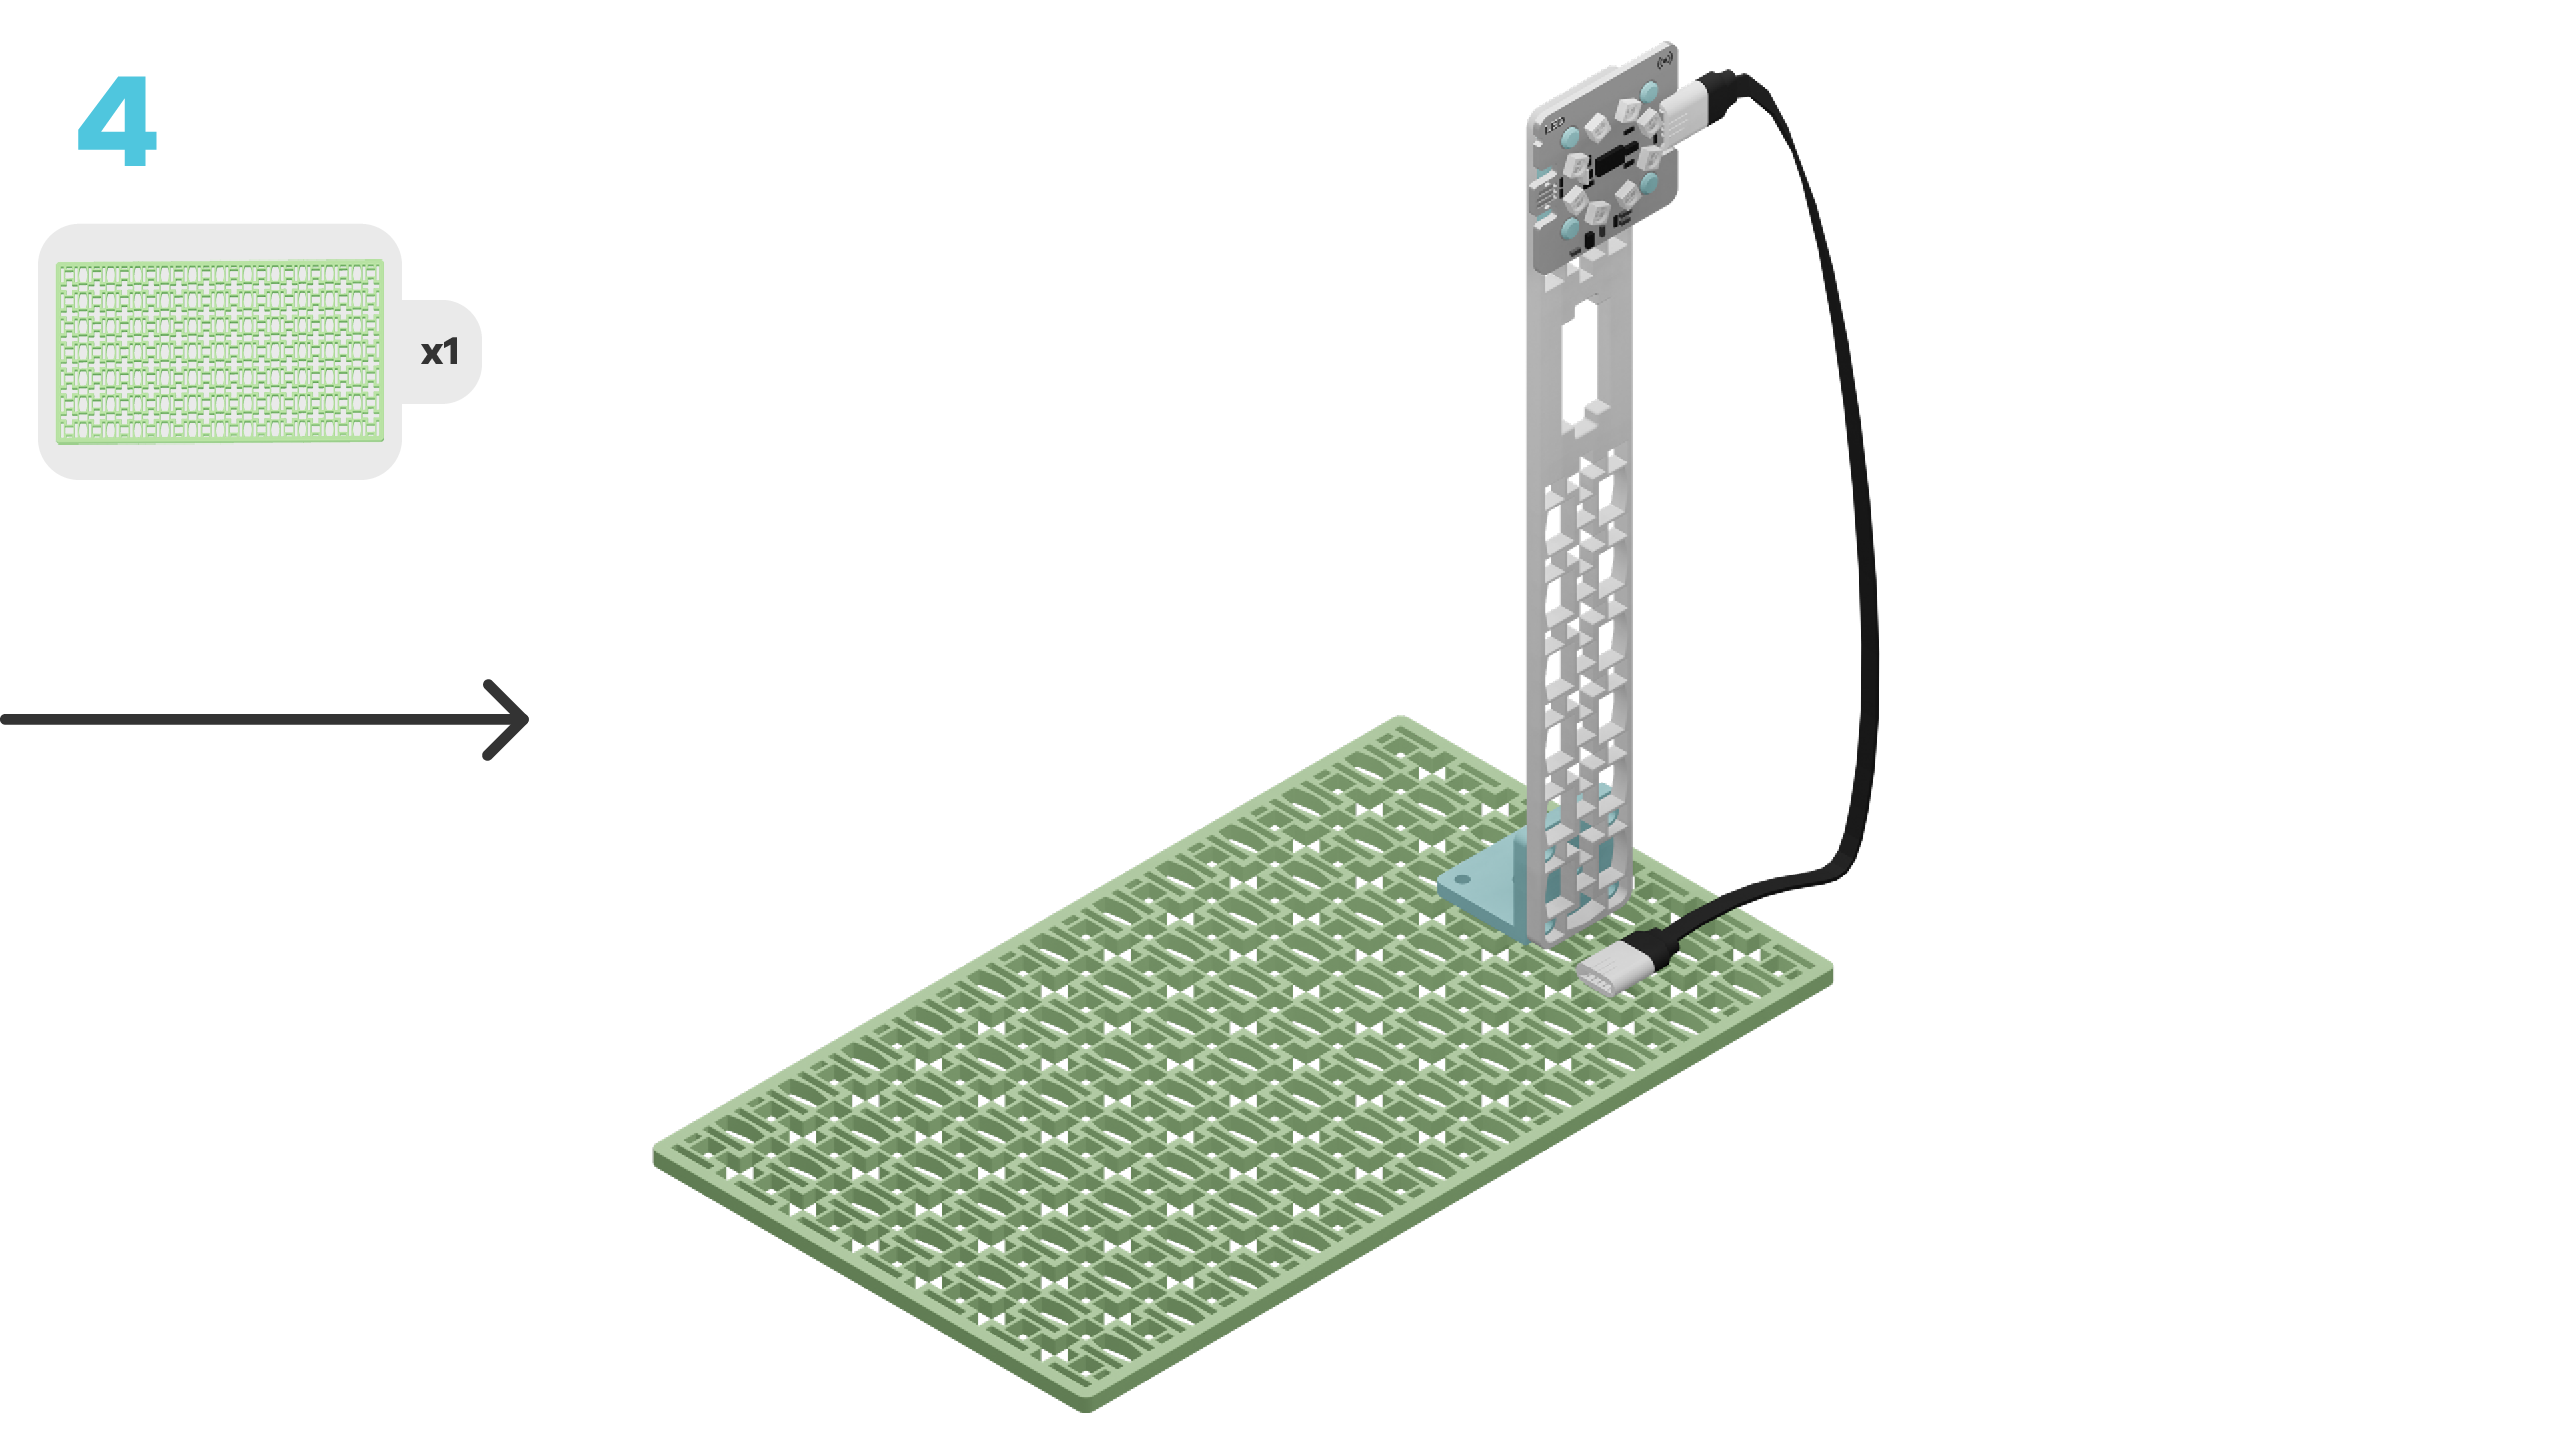
Welcome to the bee counter project! We are going to do this in 4 steps!
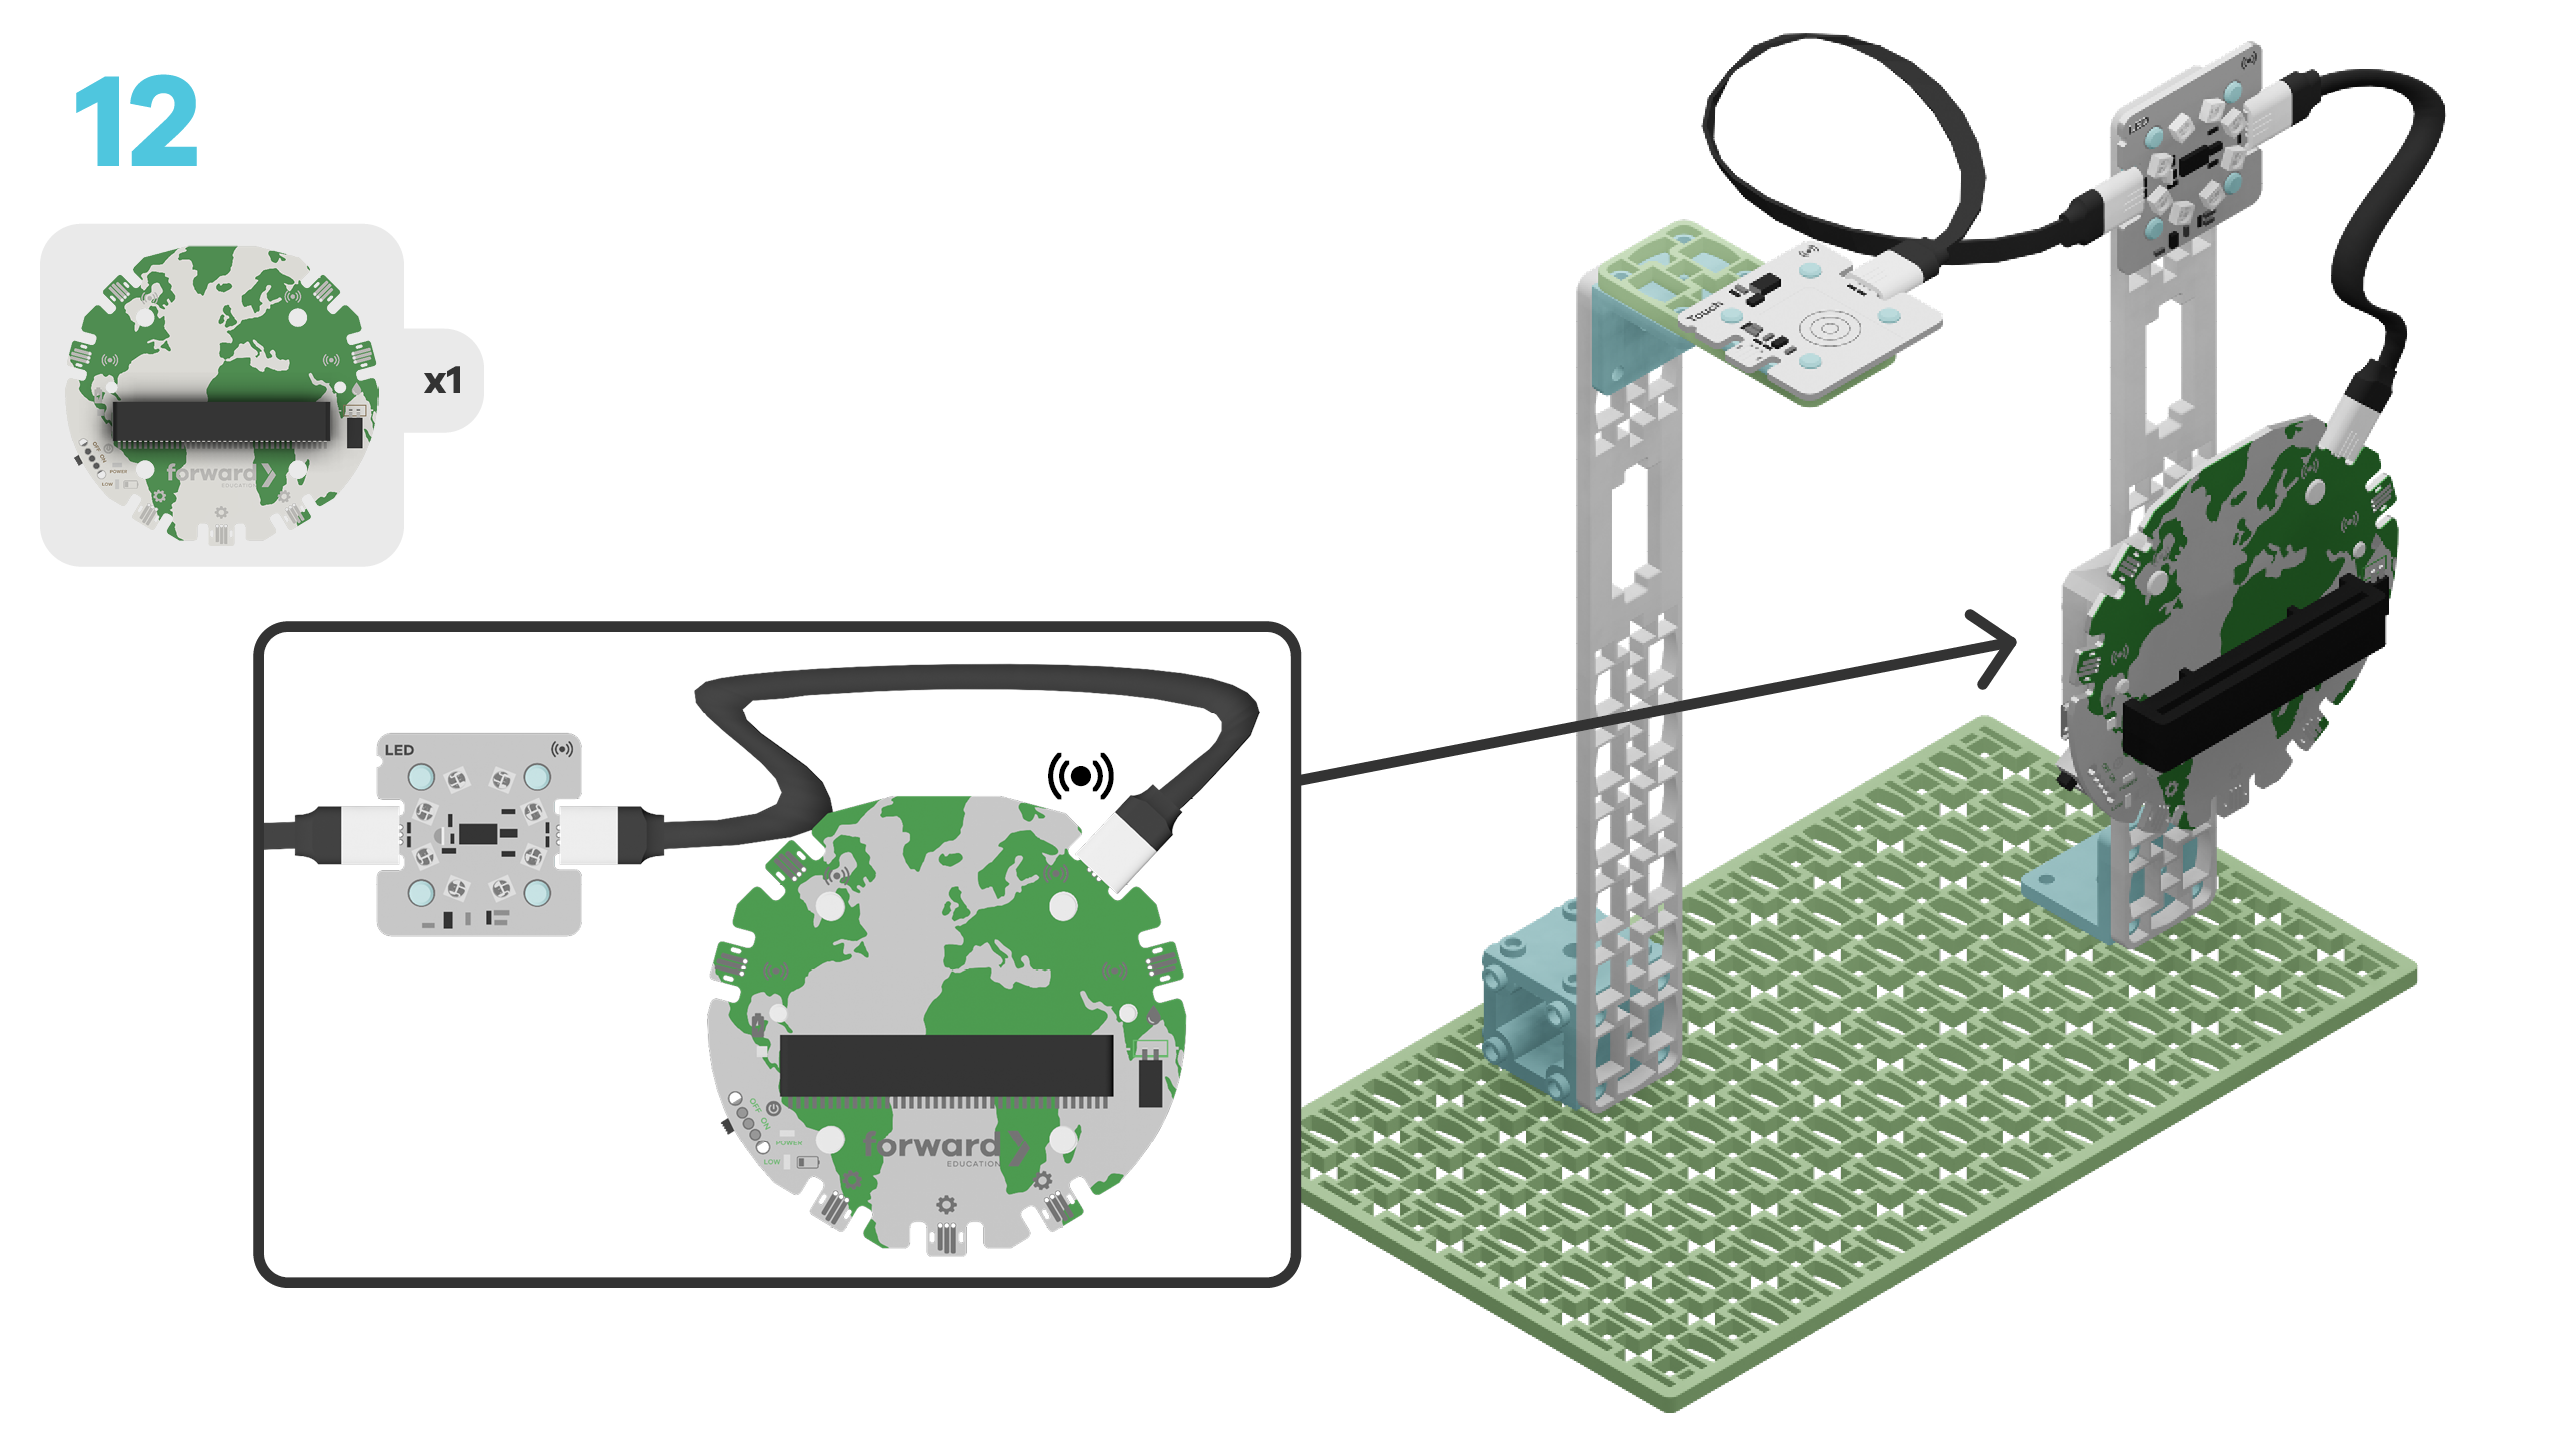
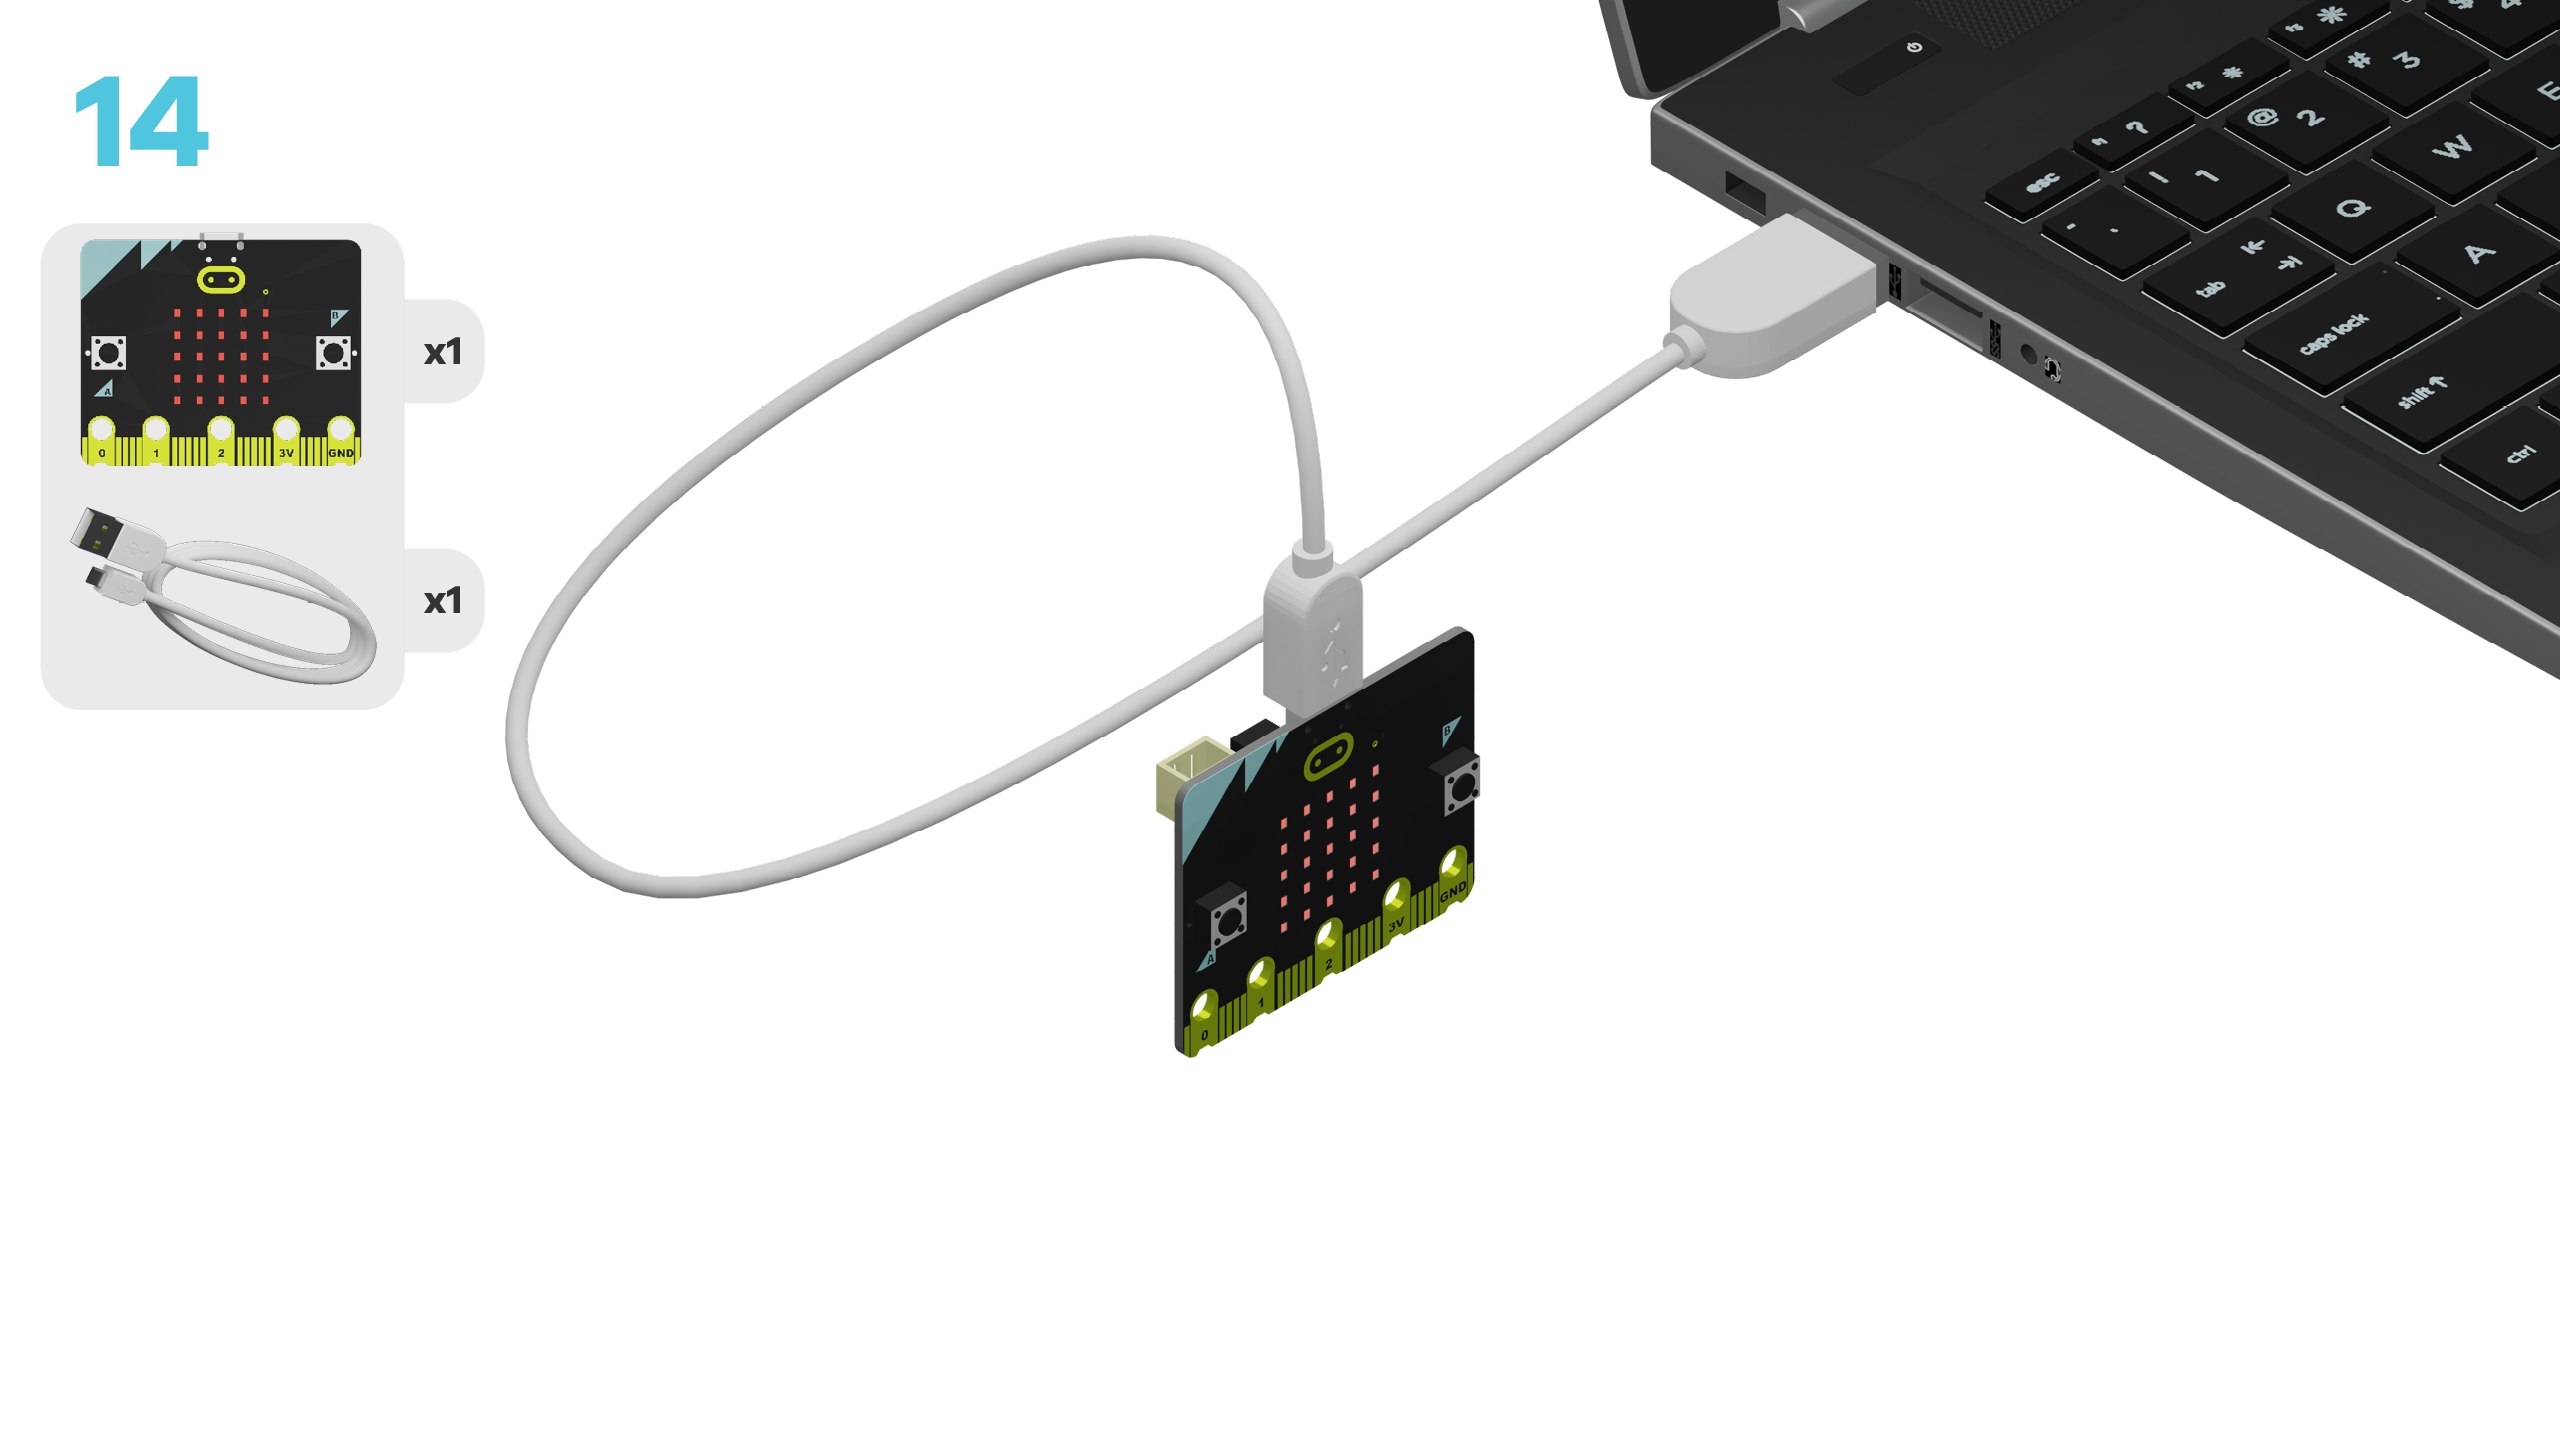
We need to connect our project to the computer to make it come to life with code!
The code will be the instructions that tell our micro:bit what to do.
let bugVisits = 0
bugVisits = 0
basic.showNumber(bugVisits)
basic.forever(function () {
    if (fwdSensors.touch.fwdIsPressed()) {
        bugVisits += 1
        basic.showNumber(bugVisits)
    }
})
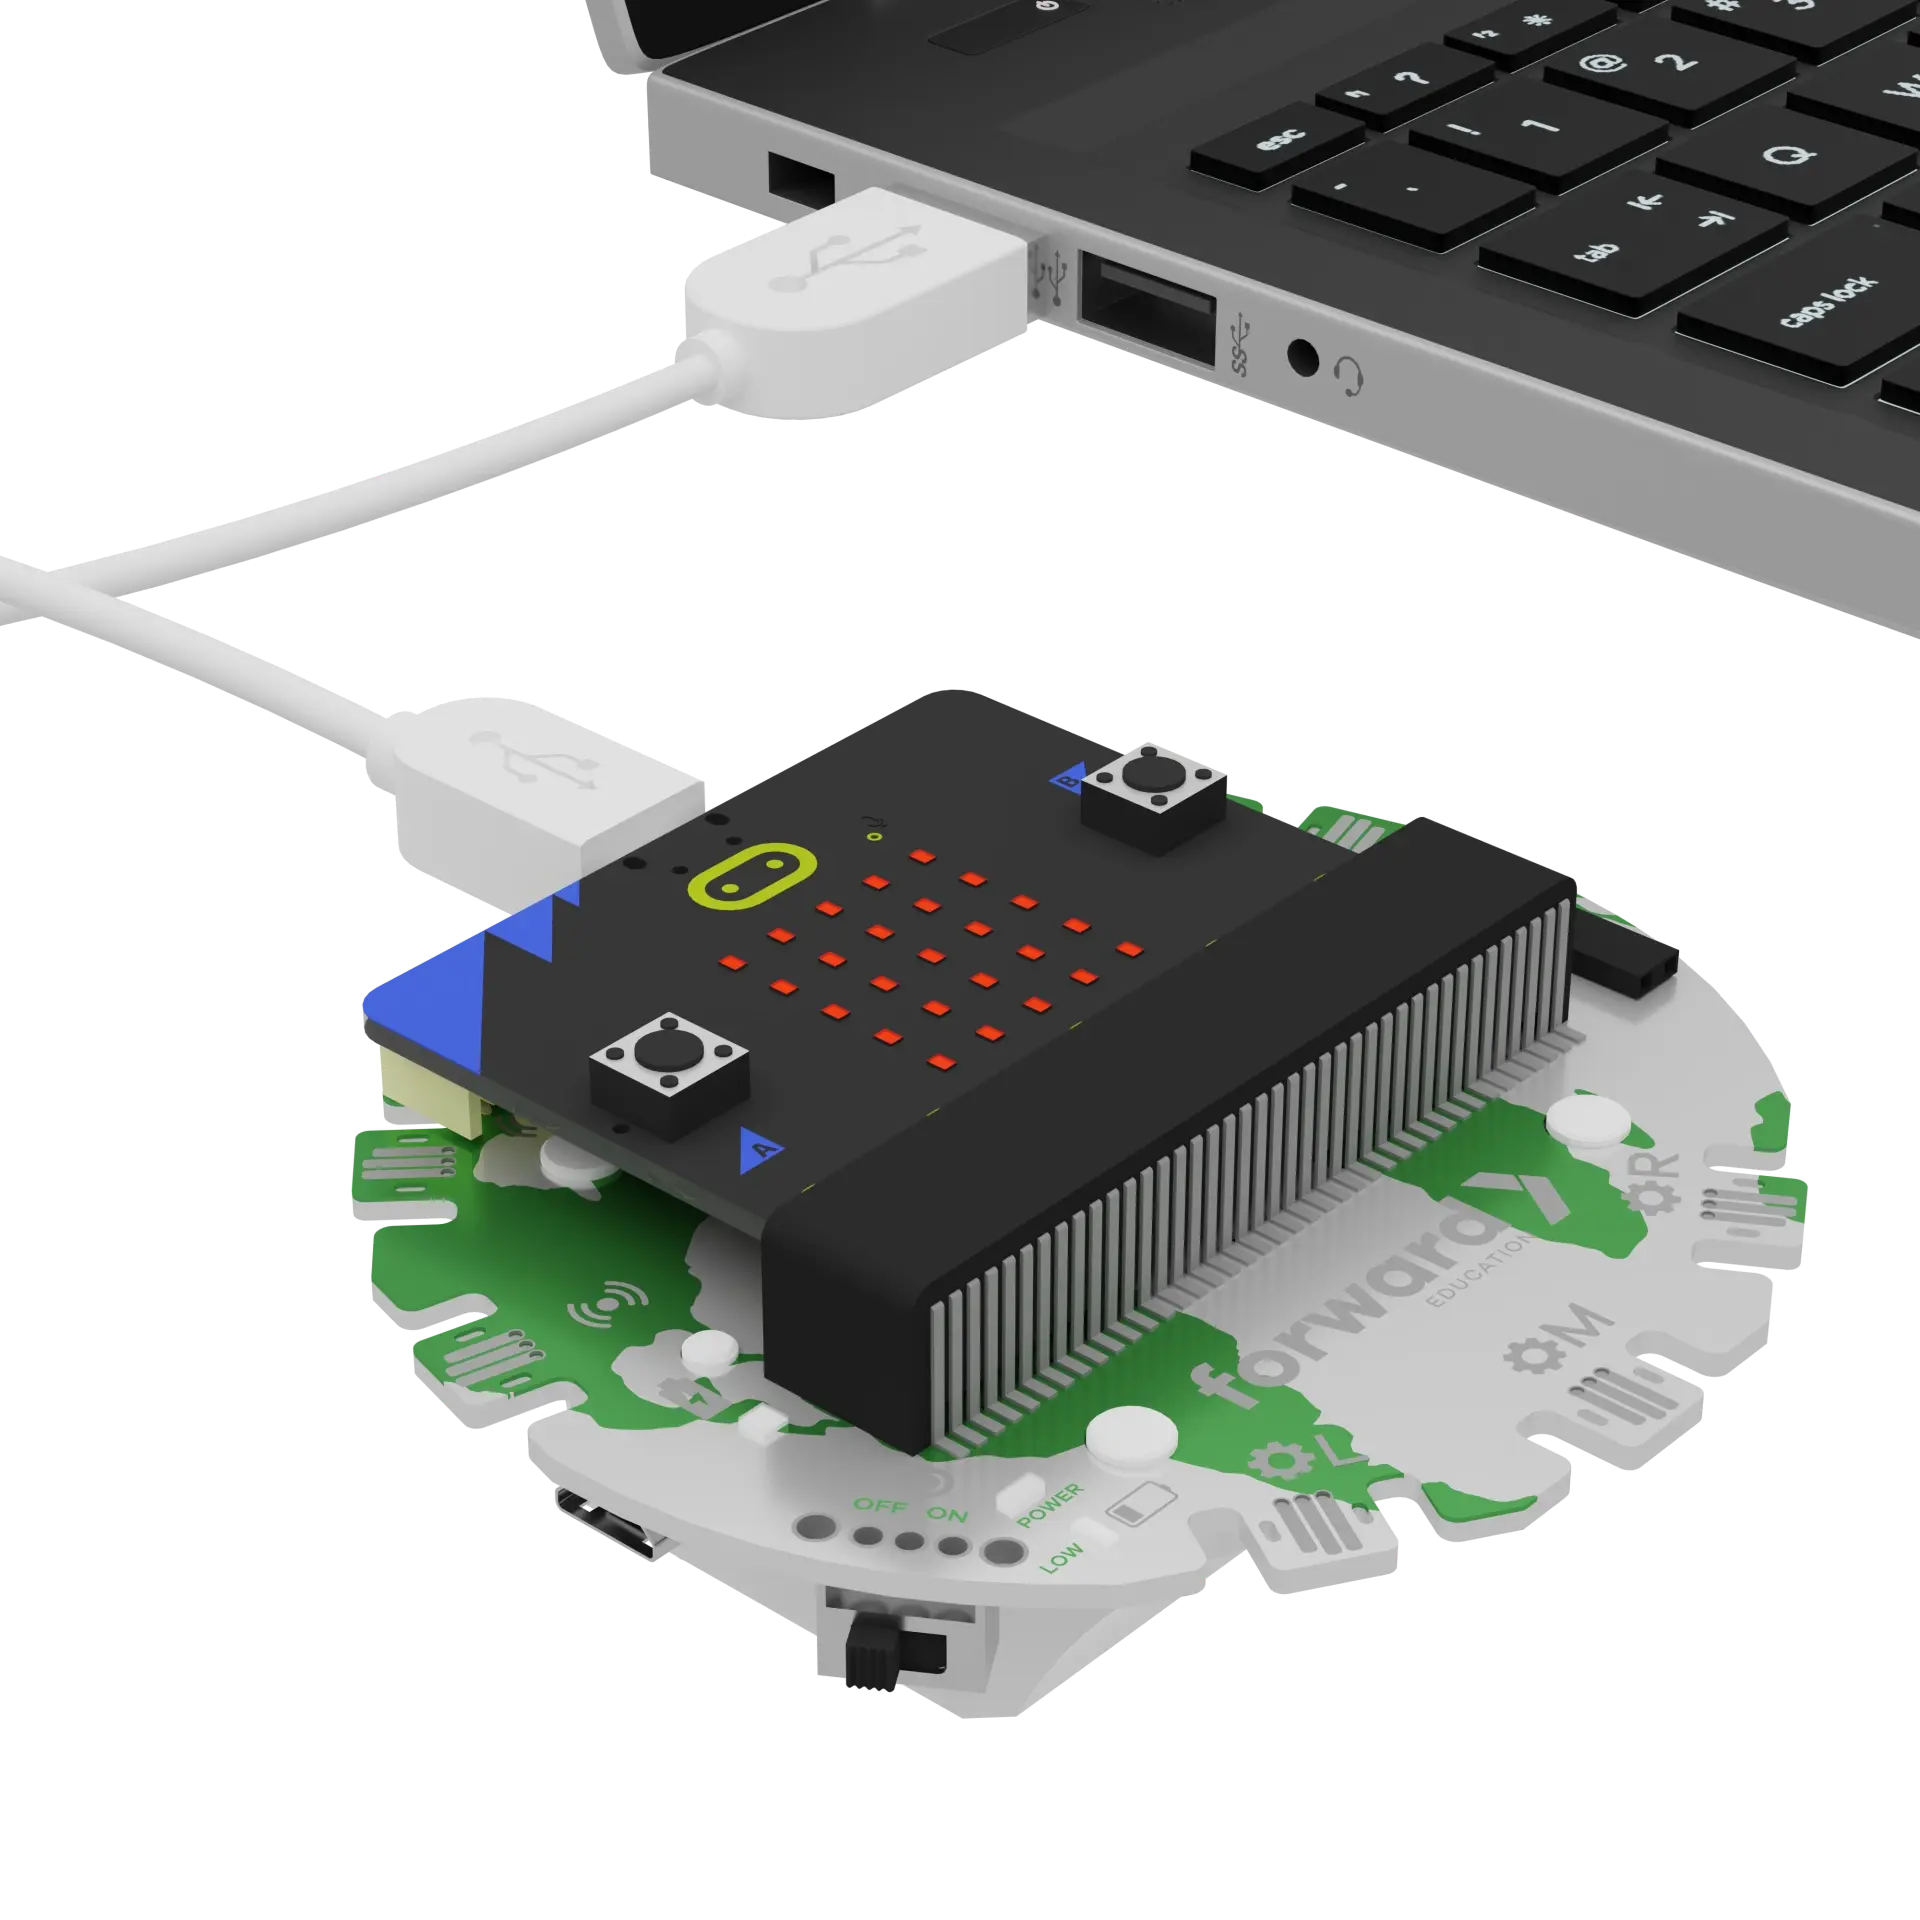
Make sure your Climate Action Kit Breakout Board is turned on and your micro:bit is plugged into your computer.
Click the three dots beside the |Download| button, then click on Connect Device. Next, follow the steps to pair your micro:bit.
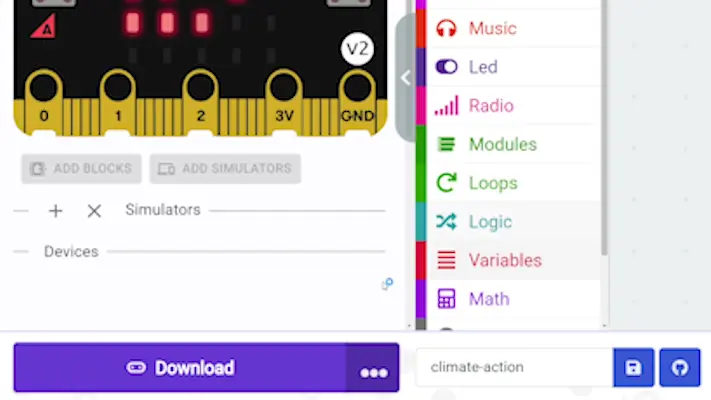
Next, click the |Download| button to download the code to your project.
We are ready to modify our bee counter!
Follow the instructions at the top of the screen. When you are ready for more information, click 'Tell me more!'
After each change, you will need to |Download| your updated code to your project.
In this project, we are tracking the number of bees that visit our flower - like a scientist!
We are going to use something called a ||Variables:Variable|| to track this number. In this program, our variable is named 'bugVisits'.
~hint Tell me more!
- In coding, we can store information using variables.
- Think of a variable like your piggy bank. Money can go in and out. Whenever you want to know how much money you have, you look inside. hint~
Let's look at variables in action.
What number do you see on the micro:bit right now? What do you think this number means?
~hint Tell me more!
- The number we see on the micro:bit is '0'.
- It is the number of bees that have visited our flower so far.
- We set this number to '0' by putting the
||variables:set bugVisits to 0||block inside the||basic:on start||event. hint~
let bugVisits = 0
bugVisits = 0
Try changing the number inside the ||variables:set bugVisits to 0|| block to something between 1 and 5. What happens?
~hint Tell me more!
- The number we see on the micro:bit changes, too.
- Don't see the change? Remember to download the new code. hint~
Let's press the touch sensor a couple of times.
What do you see?
~hint Tell me more!
- Our touch is like a bee landing on the sensor.
- Each time you press the touch sensor, the number shown on the micro:bit goes up by '1'.
- This means the number in our variable is changing by '1'.
- We use a conditional statement in our code to make this work. hint~
Conditional statements are bits of code that help our micro:bit make decisions. We use conditional statements in our own lives. For example, "If the bell rings at recess, then I line up to go inside!"
Can you find the conditional statement in our code? Check the lightbulb for the answer!
    if (fwdSensors.touch.fwdIsPressed()) {
        bugVisits += 1
        basic.showNumber(bugVisits)
    }
What happens when you increase the number in ||Variables:change bugVisits by 1||?
Try changing it to '3' now, then |download| the new code. When you are ready, press the touch sensor.
~hint Tell me more!
- Now each time you press the touch sensor, the number on the micro:bit goes up by '3'.
- This block changes the number in our variable.
- Remember the piggy bank? It's like when we add money to it! hint~
Now that you've got the hang of how variables work, let's adjust the number in ||Variables:change bugVisits by 3|| back to '1' and ||Variables:set bugVisits to 3|| to '0' again.
~hint Tell me more!
- We want to count each bee visit as one.
- Keeping the number at '3' would mix up our count! It's like counting every single bee as 3 bees. hint~
let bugVisits = 0
bugVisits = 0
basic.showNumber(bugVisits)
basic.forever(function () {
    if (fwdSensors.touch.fwdIsPressed()) {
        bugVisits += 1
        basic.showNumber(bugVisits)
    }
})
Let's try and use the LED lights! Can you make the LED lights turn on each time a bee lands?
First, we need to control the LED lights. Go to ||fwdSensors:Sensors|| and drag and drop ||fwdSensors:set all ledRing LEDs to|| block into the workspace.
~hint Tell me more!
- Just like a painter picks the right brush for a stroke, we need the right block to control our LED lights.
- This block tells all the LEDs what to do at once. hint~
Now, think about when you want these lights to turn on. After a bee lands, right? Where should we put this block to make that happen?
Use the lightbulb icon to check your work!
~hint Tell me more!
- Remember, the order in which we place our blocks is very important, just like the steps in a dance routine!
- This block should go right after we count a bee visit, under the
||variables:change bugVisits by 1||block. hint~
basic.forever(function () {
    if (fwdSensors.touch.fwdIsPressed()) {
        bugVisits += 1
        fwdSensors.ledRing.fwdSetAllPixelsColour(0xff0000)
        basic.showNumber(bugVisits)
    }
})
Can you make the light turn green? Use the lightbulb icon to check your work!
~hint Tell me more!
- Don't forget to test your changed code by downloading it! hint~
basic.forever(function () {
    if (fwdSensors.touch.fwdIsPressed()) {
        bugVisits += 1
        fwdSensors.ledRing.fwdSetAllPixelsColour(0x00ff00)
        basic.showNumber(bugVisits)
    }
})
We’ve got green for go—when bees visit. How about red for when our garden is calm, with no bees around? Let’s grab another ||fwdSensors:set all ledRing LEDs to|| block from ||fwdSensors:Sensors||. Think about the best spot to place this block.
Check your work against the lightbulb!
~hint Tell me more!
- We want the lights to be a different colour BEFORE a bug visits. This block should be placed within the
||basic:forever||block, above the||logic:if then||block. - Don't forget to download your changed code onto the micro:bit. hint~
let bugVisits = 0
bugVisits = 0
basic.showNumber(bugVisits)
basic.forever(function () {
    fwdSensors.ledRing.fwdSetAllPixelsColour(0xff0000)
    if (fwdSensors.touch.fwdIsPressed()) {
        bugVisits += 1
        fwdSensors.ledRing.fwdSetAllPixelsColour(0x00ff00)
        basic.showNumber(bugVisits)
    }
})
You've completed the activity!
Think about something about this project that challenged you.
How did you overcome the challenge?
How did that make you feel?
In the next step, you can click the |Done| button to finish the tutorial.

