To run this code you need to be on the cluster IDUN at NTNU and clone this repository. You can change the arguments in the train.sh file to run the different tasks.
This script is designed for submitting a job to a SLURM-based cluster for medical image processing tasks 🖥️. It primarily focuses on UNET-based models for organ segmentation tasks such as spleen, liver, and pancreas 🏥.
- UNETR: For 3D image segmentation with transformers.
- UNet: A convolutional network for biomedical image segmentation.
-
Set Parameters:
AUGMENTATION: Choose the type of augmentation (baseline,rand_affine,rand_noise,rand_gamma) 🎛️.MODEL: Select the model (unet,unetr) 🧬.ORGAN: Select the model (liver,pancreas,spleen) 🧬.
-
Run the Script:
- Execute the script in a Bash environment:
./train.sh. - The script will automatically perform the following steps:
- Generate a unique identifier 🆔.
- Define the job name and output file path 📝.
- Define and prepare the code path 🛤️.
- Copy the necessary code to the cluster 🔄.
- Submit the job to the SLURM scheduler with the configured environment variables 🚀.
- Execute the script in a Bash environment:
- Matplotlib: For plotting and saving figures.
- fastMONAI: A high-level API for medical image analysis, extending MONAI capabilities.
- Scikit-Learn: Used for splitting datasets into training and testing sets.
- Pandas: For data manipulation and analysis.
- NumPy: For handling large, multi-dimensional arrays and matrices.
- MONAI: Specifically for medical image informatics, providing models like UNet and UNETR.
- Helpers: Custom utility functions for directory creation and data transformations.
- Unique Job Identification: Generates a unique identifier based on the current date and time 🕒.
- Model and Augmentation Selection: Allows the user to choose between different models and augmentation techniques 🔄.
- Code Synchronization: Utilizes
rsyncto copy the relevant code to the destination path, excluding unnecessary files and directories 📁. - Job Submission: Submits the job to the SLURM scheduler with specified resources and settings ⚙️.
- Access to a SLURM-based cluster 🖥️.
- Required directory structure and files on the cluster 📚.
- Ensure that the paths and modules are correctly set up in your cluster environment 🔧.
- Modify the SLURM parameters as needed to suit the cluster configuration and job requirements 🛠️.
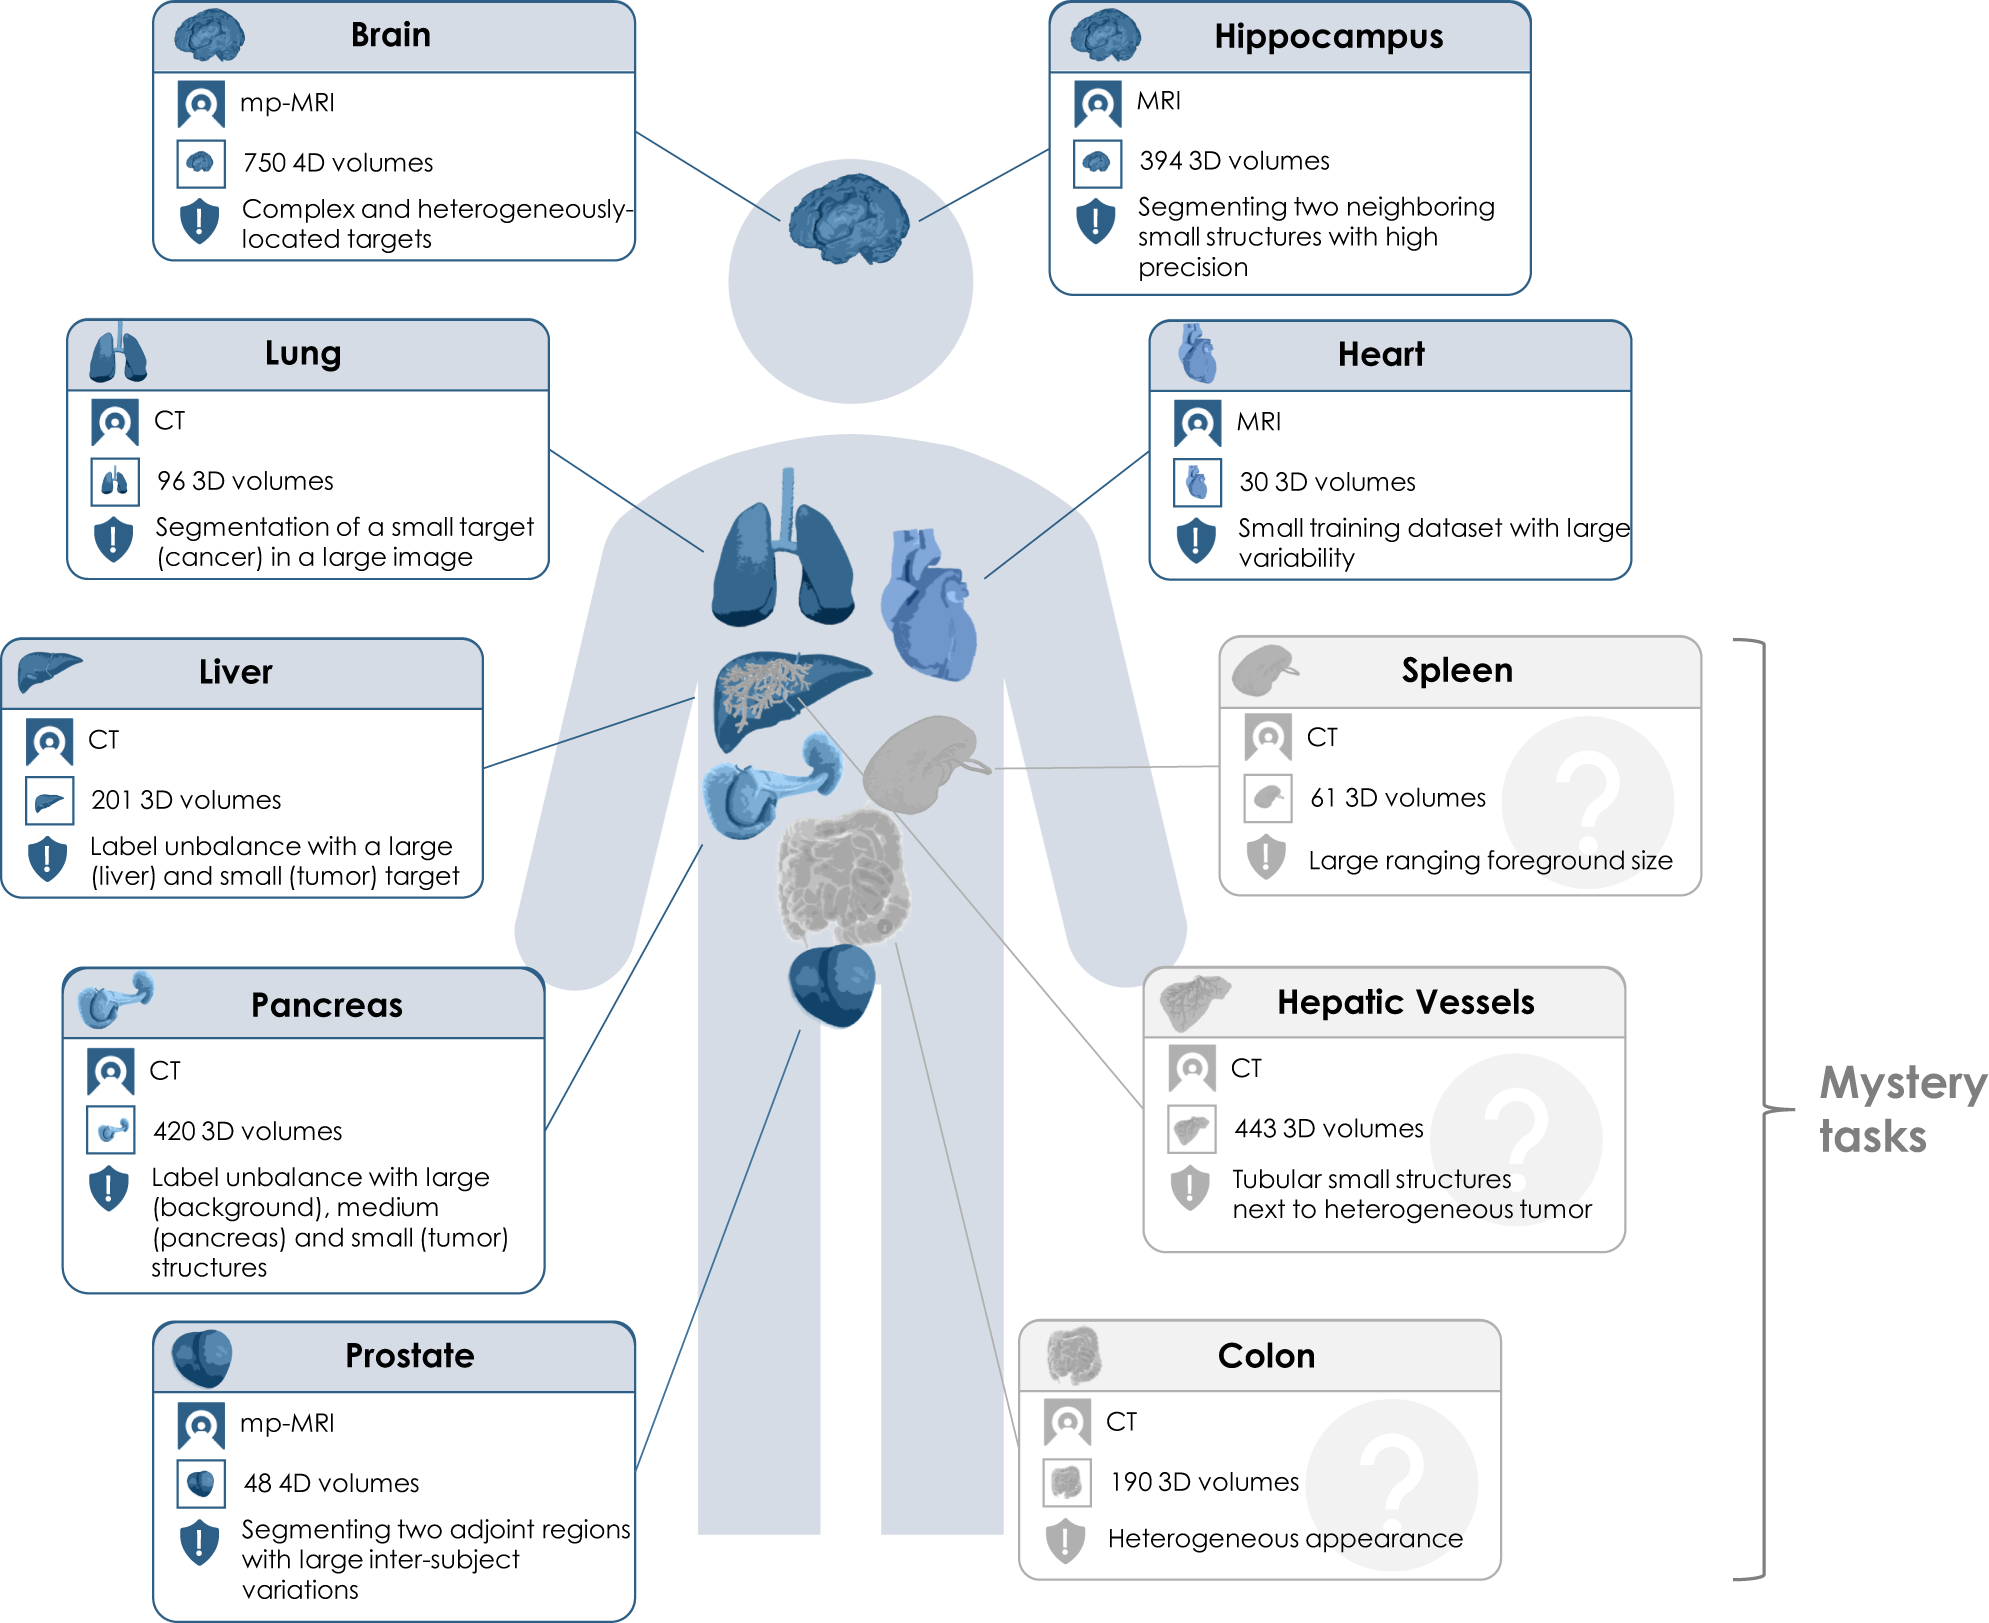
| Task Number | Organ |
|---|---|
| 01 | BrainTumour |
| 02 | Heart |
| 03 | Liver |
| 04 | Hippocampus |
| 05 | Prostate |
| 06 | Lung |
| 07 | Pancreas |
| 08 | HepaticVessel |
| 09 | Spleen |
| 10 | Colon |
(1) Log in to IDUN
(2) Create a new slurm-file
#!/bin/sh
#SBATCH --partition=GPUQ
#SBATCH --account=YOUR-ACCOUNT
#SBATCH --time=08:00:00
#SBATCH --nodes=1
#SBATCH --ntasks-per-node=1
#SBATCH --mem=4G
#SBATCH --job-name="JOB_NAME"
#SBATCH --output=jupyter.out
#SBATCH --gres=gpu:1
module load Anaconda3/2022.05
jupyter notebook --no-browser
(3) Run the slurm-file sbatch slurm-file.slurm
$ sbatch slurm-file.slurm
Submitted batch job 123456
(4) You need the node name, this is how you do it:
$ scontrol show job 123456
JobId=123456 JobName=JOB_NAME
. . .
   JobState=RUNNING Reason=None Dependency=(null)
. . .
   NodeList=NODE_NAME
. . .
   StdOut=/cluster/home/USER/jupyter.out
(5) In order to now find the link to open the notebook you need to look at the output file from the slurm-job.
$ cat /cluster/home/USER/jupyter.out
(6) Open new terminal DO NOT CLOSE THIS!
Here you need to add portnumber found in the output file. Also add the NODE-NAME from the scontrol show job 123456 command.
ssh -L 8889:127.0.0.1:8889 -J [email protected] taheeraa@idun-04-08
(7) At the end of the output file which was opened in step 5 you will find a link -- Paste this in your web browser
GOOD JOB 💗
