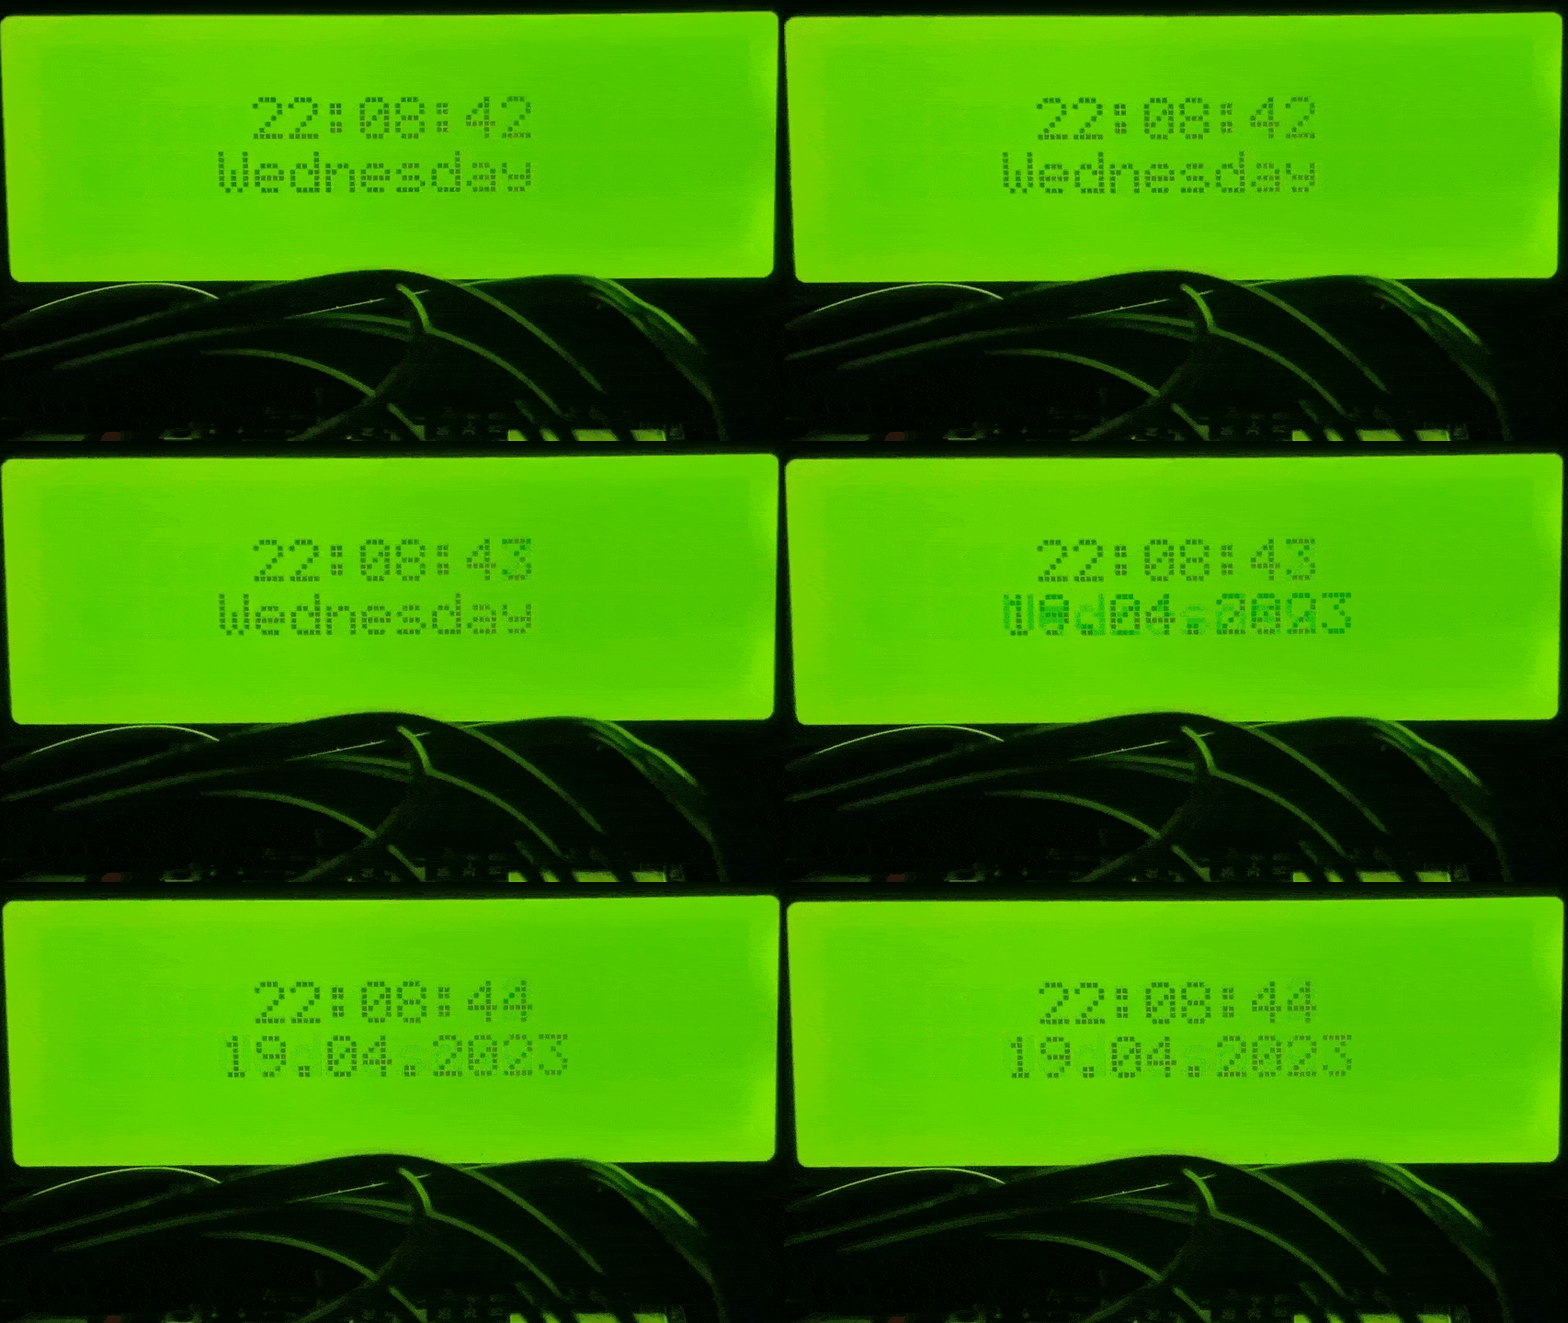
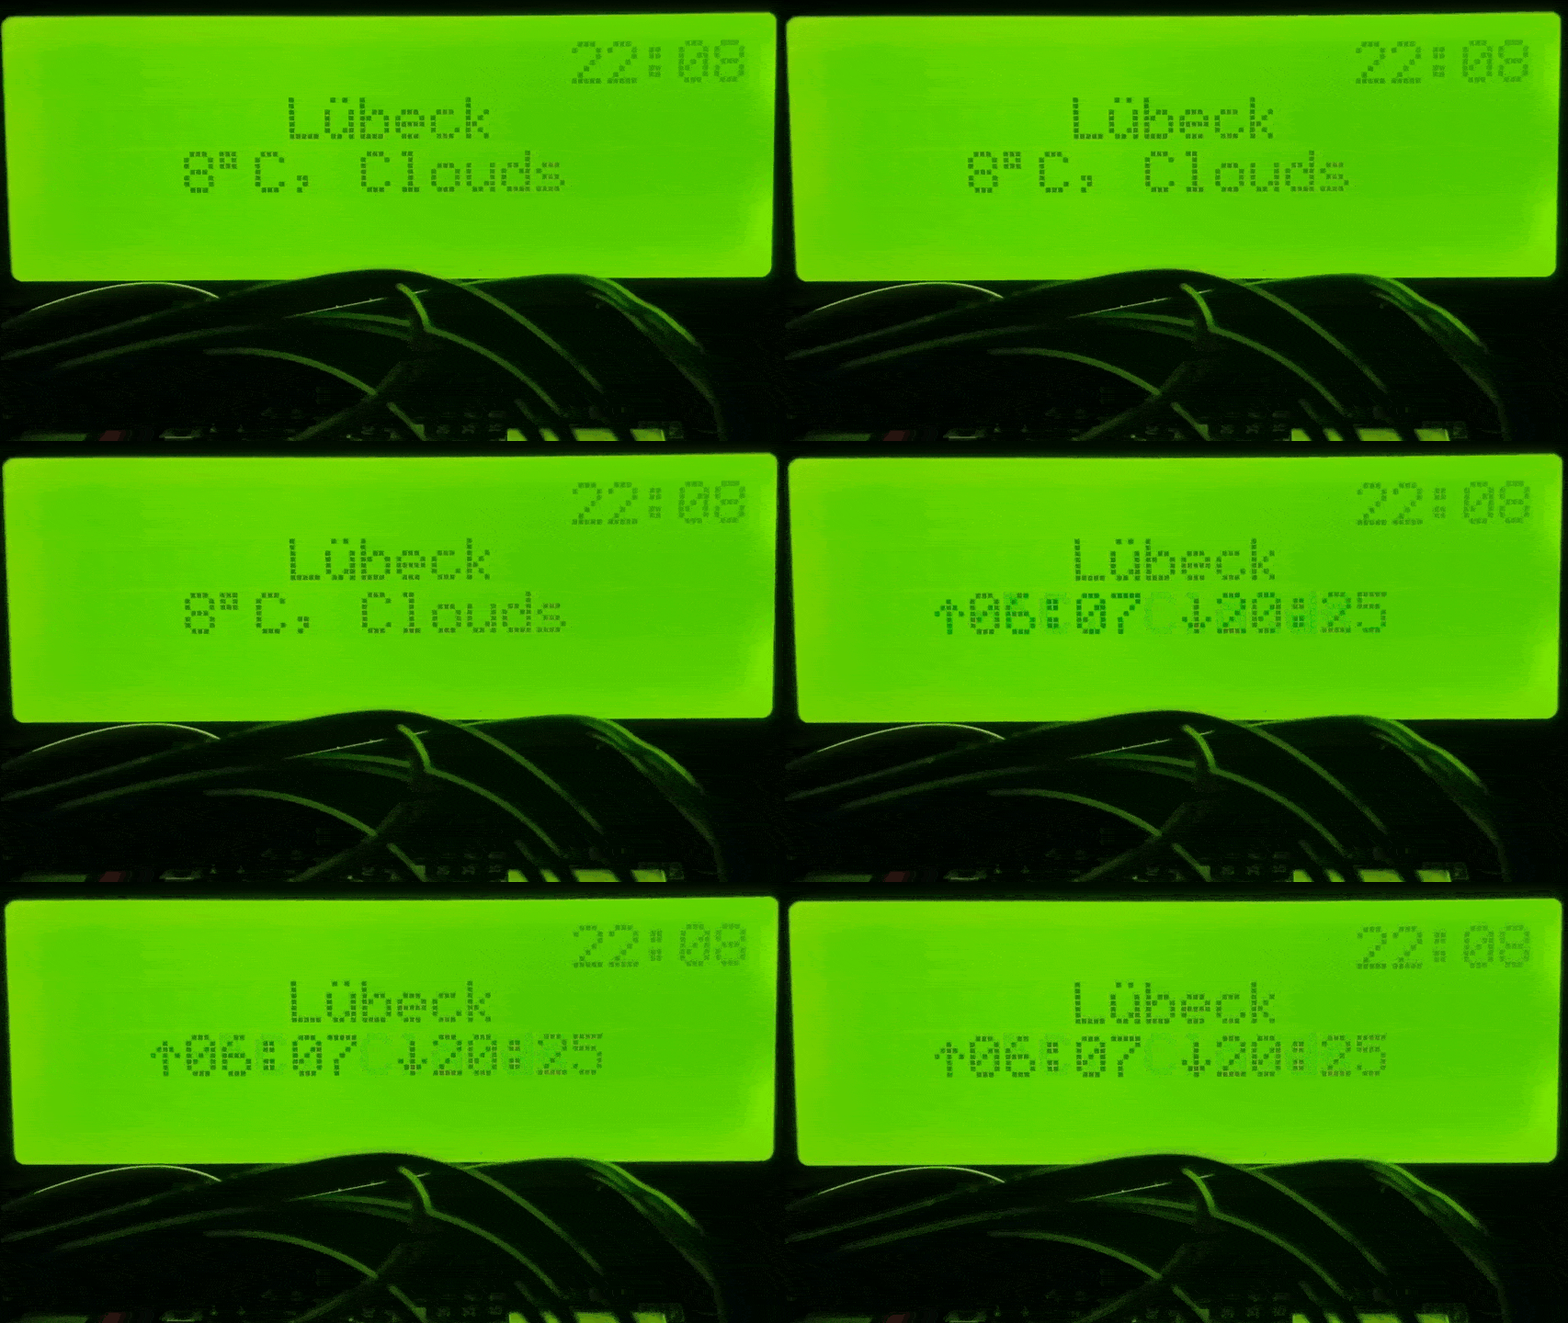
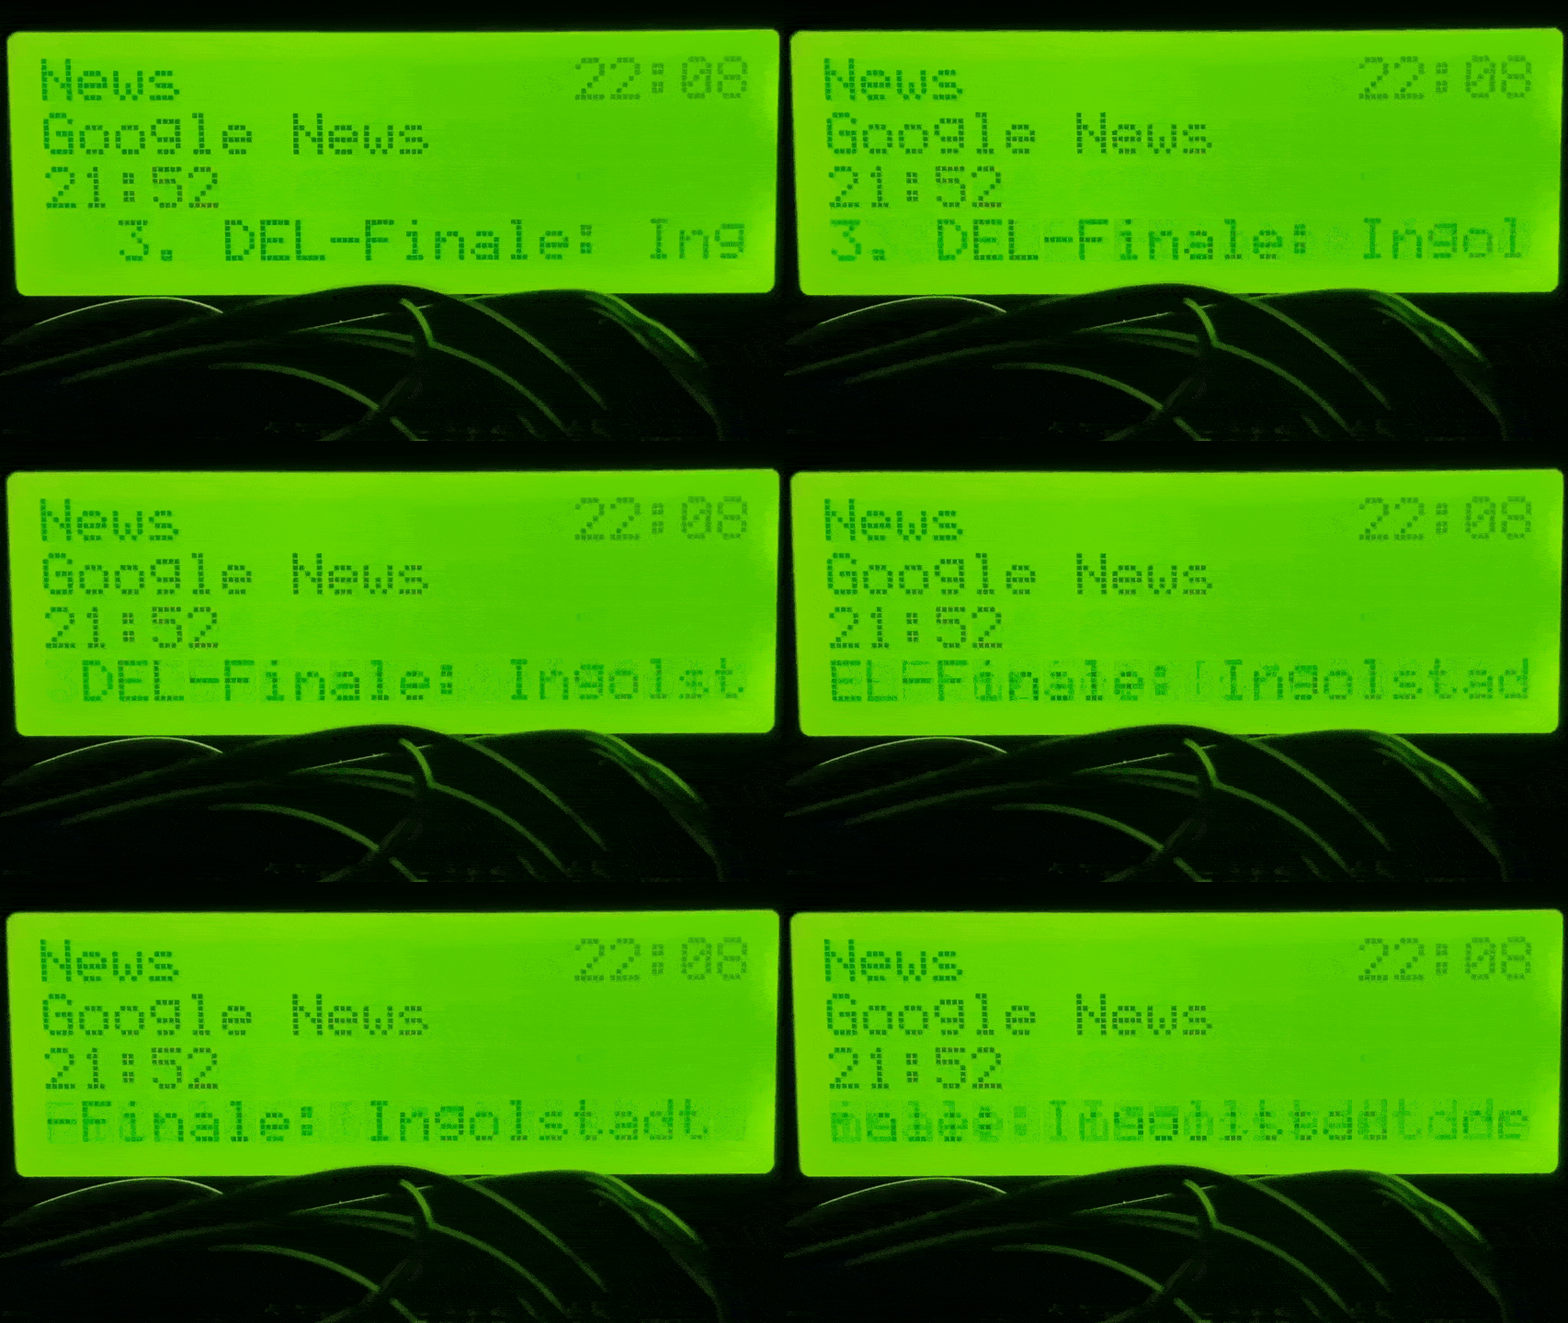
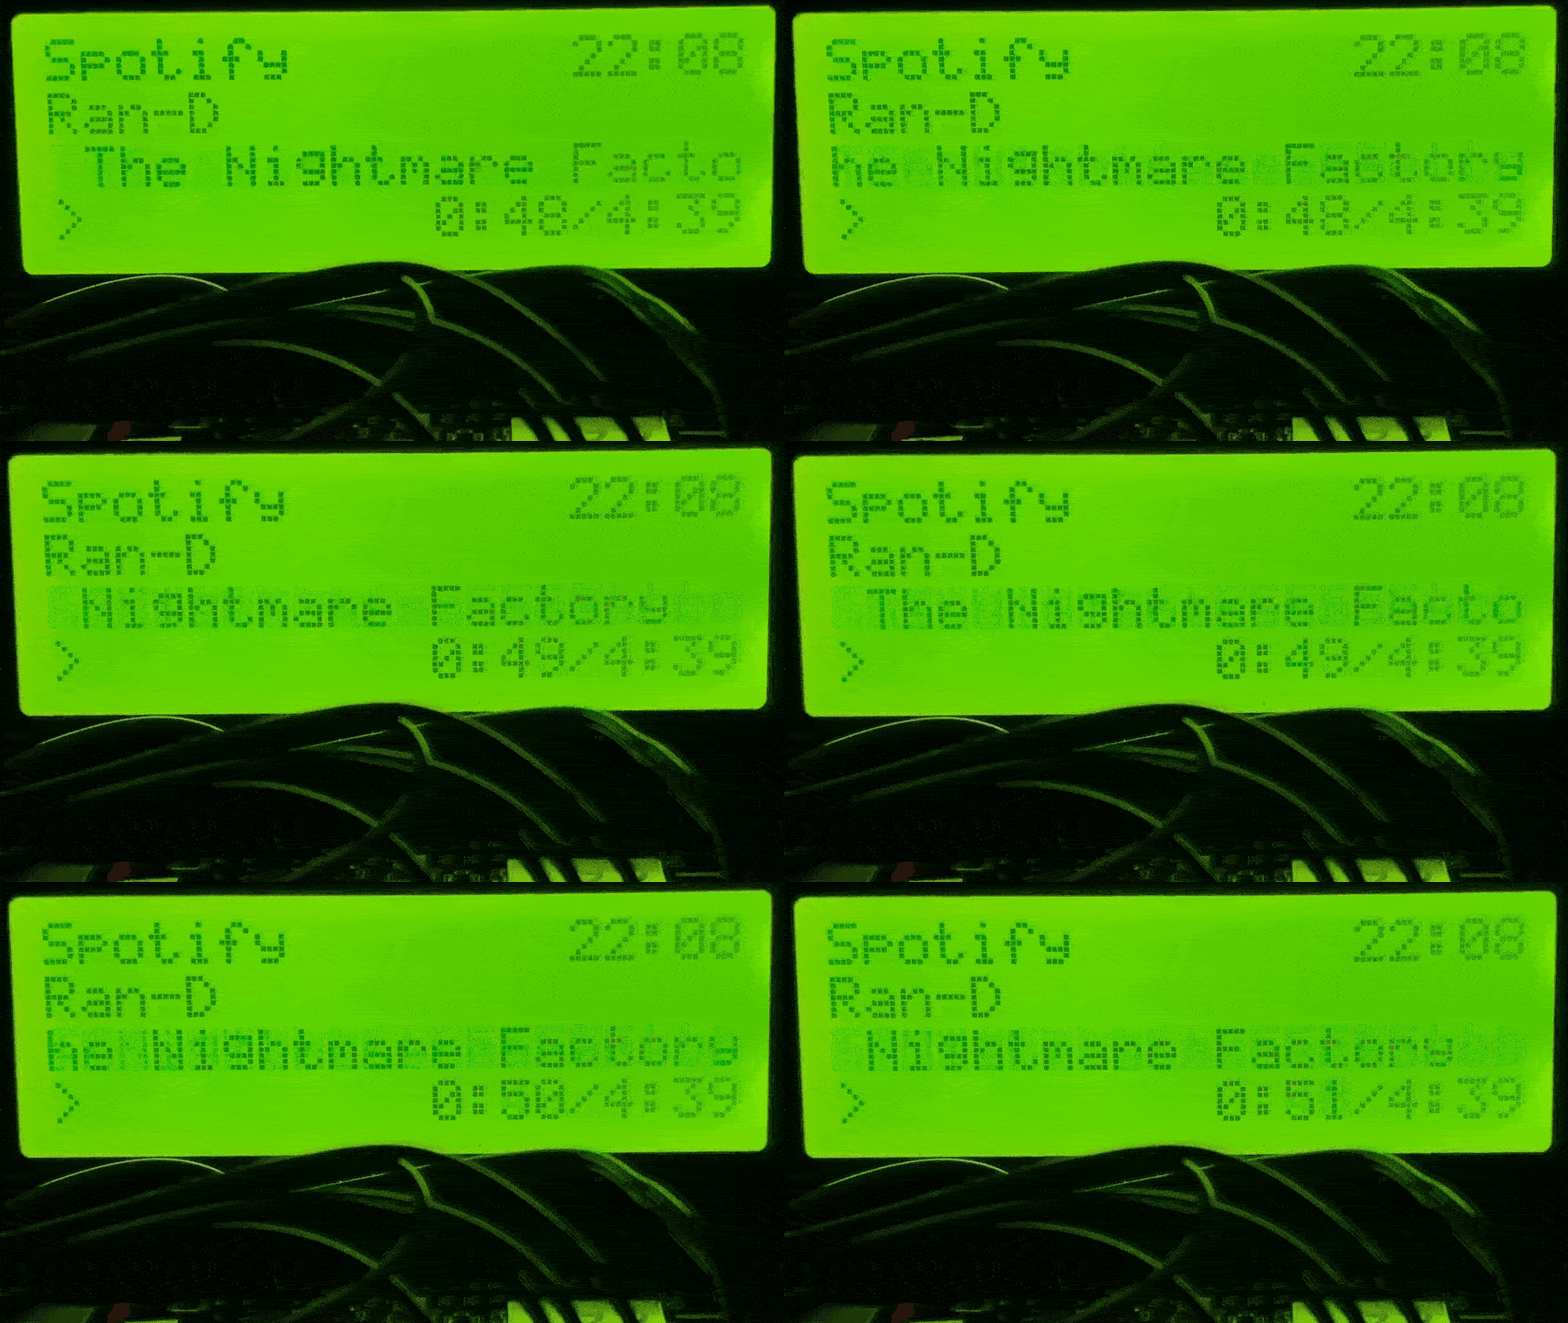
Multifunctional desk internet clock, powered by an ESP8266 or ESP32 and a 4x20 LCD display.
The device cycles between a collection of pages (configurable), which you can see below.
The firmware contains a separate setup mode, which can be toggled by bridging the setup pins listed below (for example using a switch).
Inside the setup mode a WiFi network is spawned, allowing you to connect and configure the device using the web browser of another device (e.g. mobile phone).
- ESP8266 or ESP32 (Amazon)
I recommend buying one with already soldered pins (these are called dev boards/kits). This allows you to connect it easily. - LCD Display 4 rows x 20 columns (Amazon)
They are available in Green & Blue. You need one with the 'Serial Adapter', preferably pre-soldered if you can find one.
Connect the VCC (aka 5V power) and GND (ground) pins of the display to the respective pins on your microcontroller.
They usually have the same name.
ESP8266:
- SDA: D2
- SCL: D1
- setupMode switch: D0 -> GND
- backlight switch: D3 -> GND
ESP32:
- SDA: 21
- SCL: 22
- setupMode switch: 19 -> GND
- backlight switch: 18 -> GND
TBA
There are two methods of configuring your nodemcu-clock.
You can either use the aforementioned setupMode at runtime or edit the config.cpp file at compile-time.
Setup Mode (click to expand)
- Bridge the setupMode pins listed above (for example with a switch which you can easily toggle)
- Connect power to the board or reset it
- The board should power up and display "Entering Setup" instead of "Connecting"
- Follow the instructions on the screen:
    - Open the WiFi settings on your phone and find the "nodemcu-clock setup wifi"
    - Connect to it with the password "setuppassword136"
    - Open your browser and open the webpage "192.168.1.1"
    - When done making changes, click "Save" at the bottom
    - Unbridge the setupMode pins again and reset the device

Continue reading below to learn what needs to be configured.
Compile-time Config (click to expand)
- Open the `config/config.cpp` file in a text editor
- When done making changes, save the file, recompile the firmware and flash it onto the device.
  See [Compiling and flashing firmware](https://github.com/3urobeat/nodemcu-clock/#compiling-and-flashing-firmware) for more information.

Note:
Changes made here will only be applied if no settings have already been saved onto the
device by a previous start with compile-time config or by using the setup mode.
To circumvent this you can uncomment the `CLOCK_IGNOREFS` build flag in `platformio.ini`.
Recompile and flash the firmware again.
The internal storage will now be ignored and only the compile-time config will be used.
What needs to be configured?
- You always need to have at least one wifi network configured.
- Depending on which pages you use, you need to have the required API keys configured (see Pages for more information)
Everything else can be left at default.
How do I get the API keys?
TBA
The clock won't connect to my iPhone hotpot!
Open the settings app and leave the "Personal Hotspot" page open while the clock attempts to connect to available WiFi networks.
This ensures that the WiFi network is visible.


