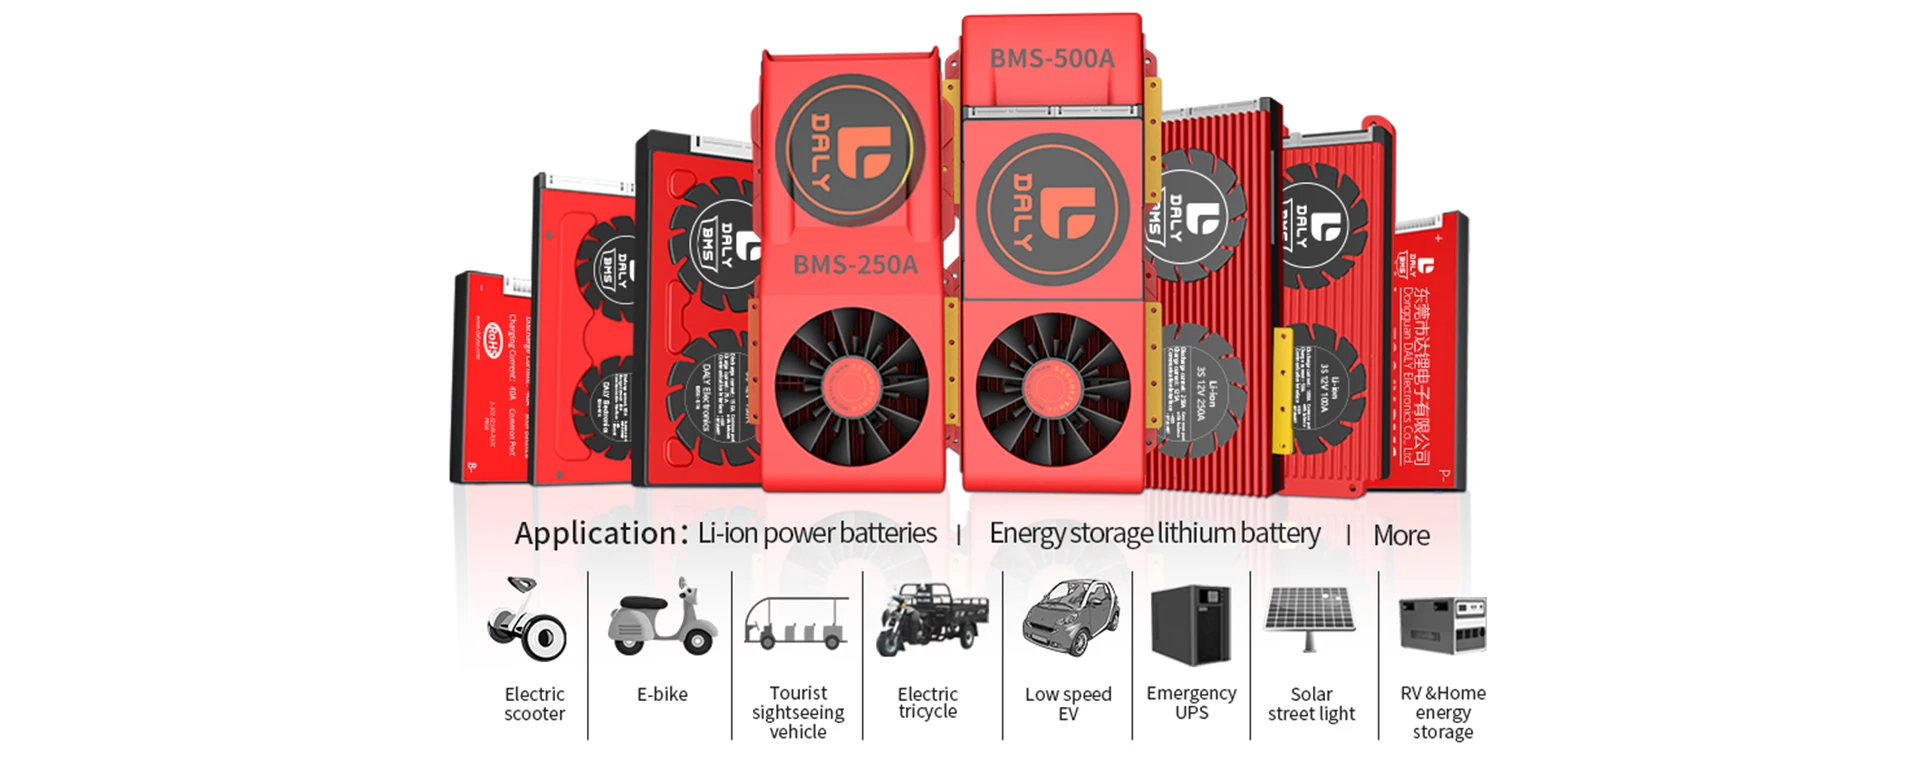
Monitor a Daly Smart BMS connected through UART USB to raspberry and publish the data to MQTT. If HA have MQTT discovery enabled, the sensors will be added automatically to HA.
Preferisci l'italiano? lingua italiana
Based on the protocol docs found here https://github.com/jblance/mpp-solar/blob/master/docs/protocols/DALY-Daly_RS485_UART_Protocol.pdf and the discussion here https://diysolarforum.com/threads/decoding-the-daly-smartbms-protocol.21898/
Original repo here: https://github.com/MindFreeze/dalybms
The main code is in monitor.py, if you want to expand or change it.
Preferisci l'italiano? lingua italiana
Clone this repo in your preferred directory:
git clone https://github.com/Arfa03/dalybms
Set your MQTT and battery data in config.py
cd dalybms
sudo nano config.py
Then exit nano with ctrl+s and ctrl+x. Left the folder and build docker image:
cd ..
docker build dalybms
Copy the image ID in the message Succesfully built >id< Then run the image for checking if data flows, correct the USB port if needed
docker run -it --device=/dev/ttyUSB0 --name bms-daly --restart unless-stopped <image-id>
When you see data flowing, in about 1 mins, you're set! Stop the execution by hitting ctrl+c. Now you can start the container in background for leave him do it's magics.
docker container start bms-daly
You're set! The sensors will automatically appear in HomeAssistant if you have enabled MQTT autodiscovery, otherwise you've to add it manually.
Just execute monitor.py after configured parameter in config.py. In dalybms folder:
python3 monitor.py
Here the guide for execute automatically on startup:
https://raspberrypi-guide.github.io/programming/run-script-on-boot
You can do this easily. For power in W, just create a template sensor and multiply current * voltage. https://www.home-assistant.io/integrations/template/
Then to get kWh for energy you can create an integration sensor from the power sensor. https://www.home-assistant.io/integrations/integration/
For those who are hurted by the inaccurate SoC reading of the Daly, being strange with the pass of time! Now you can set an automation in Home Assistant, which send an MQTT message with the SoC value in the topic "homeassistant/command/dalybms/soc" with an integer number, eg. 80, and the Daly SoC will be immediately set to this value! You can for example set up an automation which when the battery voltage reach 55v in charging mode, will be send once an MQTT message with the value 90, so, at every full charge you're set with you're correct SoC.
///////////////////////////////////////////////////////////////////////////////////////////////////////////
Controlla uno Smart BMS Daly collegato ad un raspberry tramite USB e pubblica i dati su un server MQTT. Se la tua istanza di Home Assistant ha la funzione autodiscovery dei dispositivi MQTT abilitata, i sensori saranno aggiunti automaticamente.
Clona questa repo nella directory che preferisci
git clone https://github.com/Arfa03/dalybms
Imposta i dati del tuo server MQTT e della batteria in config.py
cd dalybms
sudo nano config.py
Dopodiché esci da nano con ctrl+s, poi ctrl+x Esci dalla cartella ed effettua il build con docker dell'immagine
cd ..
docker build dalybms
Copia l'ID dell'immagine appena creata nel messaggio Succesfully built >id< A questo punto avvia l'immagine e controlla che dopo circa un minuto arrivino i dati. Seleziona la porta USB corretta se necessario.
docker run -it --device=/dev/ttyUSB0 --name bms-daly --restart unless-stopped <image-id>
Quando vedrai i dati a schermo, tutto è andato come dovrebbe! Ferma l'esecuzione premendo ctrl+c. Ora puoi far partire il container in background, per lasciargli fare le sue magie.
docker container start bms-daly
Finito! I sensori appariranno automaticamente in HomeAssistant se hai precedentemente abilitato la funzione autodiscovery, altrimenti dovrai aggiungerli manualmente.
Avvia semplicemente monitor.py dopo aver configurato i parametri in config.py. Recati nella cartella dalybms ed esegui il comando:
python3 monitor.py
Per far sì che si avvii automaticamente all'avvio del sistema, qui trovi la guida:
https://raspberrypi-guide.github.io/programming/run-script-on-boot
Puoi ottenerle facilmente. Per la potenza in W crea un modello template e moltiplica corrente * tensione
https://www.home-assistant.io/integrations/template/
Per ottenere l'energia in kWh invece, puoi creare un sensore integrativo.
https://www.home-assistant.io/integrations/integration/
Per coloro che sono infastiditi dalla lettura imprecisa del SoC del Daly, che peggiora con il passare del tempo! Ora puoi impostare un'automazione in Home Assistant, che invia un messaggio MQTT con il valore SoC nel topic "homeassistant/command/dalybms/soc" con un numero intero, ad es. 80, e il SoC verrà subito impostato su questo valore! Puoi ad esempio impostare un'automazione che quando la tensione della batteria raggiunge i 55v in modalità di ricarica, invierà una volta un messaggio MQTT con il valore 90, quindi, ad ogni carica completa sei allineato con il tuo SoC corretto.
