-
Notifications
You must be signed in to change notification settings - Fork 69
Release testing instructions for WC Payments 2.7.0
Chris Aprea edited this page Jul 5, 2021
·
10 revisions
- Create a subscription product and sign up, if not already done.
- Go to WooCommerce > Subscriptions, and click into a subscription.
- Use Subscription actions at the top right to Create pending renewal order and click the arrow button.
- Navigate to the new order through the link in the Order notes.
- The order will have a Customer payment page link above the Status, click that link.
- Ensure that the checkout page will have the correct price listed.
- Ensure that the shipping costs and taxes should still convert correctly.
- Ensure that all other products in the shop should still convert correctly.
- Ensure that one should be able to add a simple product to the cart with the proper conversion.
-
Navigate to WooCommerce > Settings
-
Select the Multi-Currency tab
-
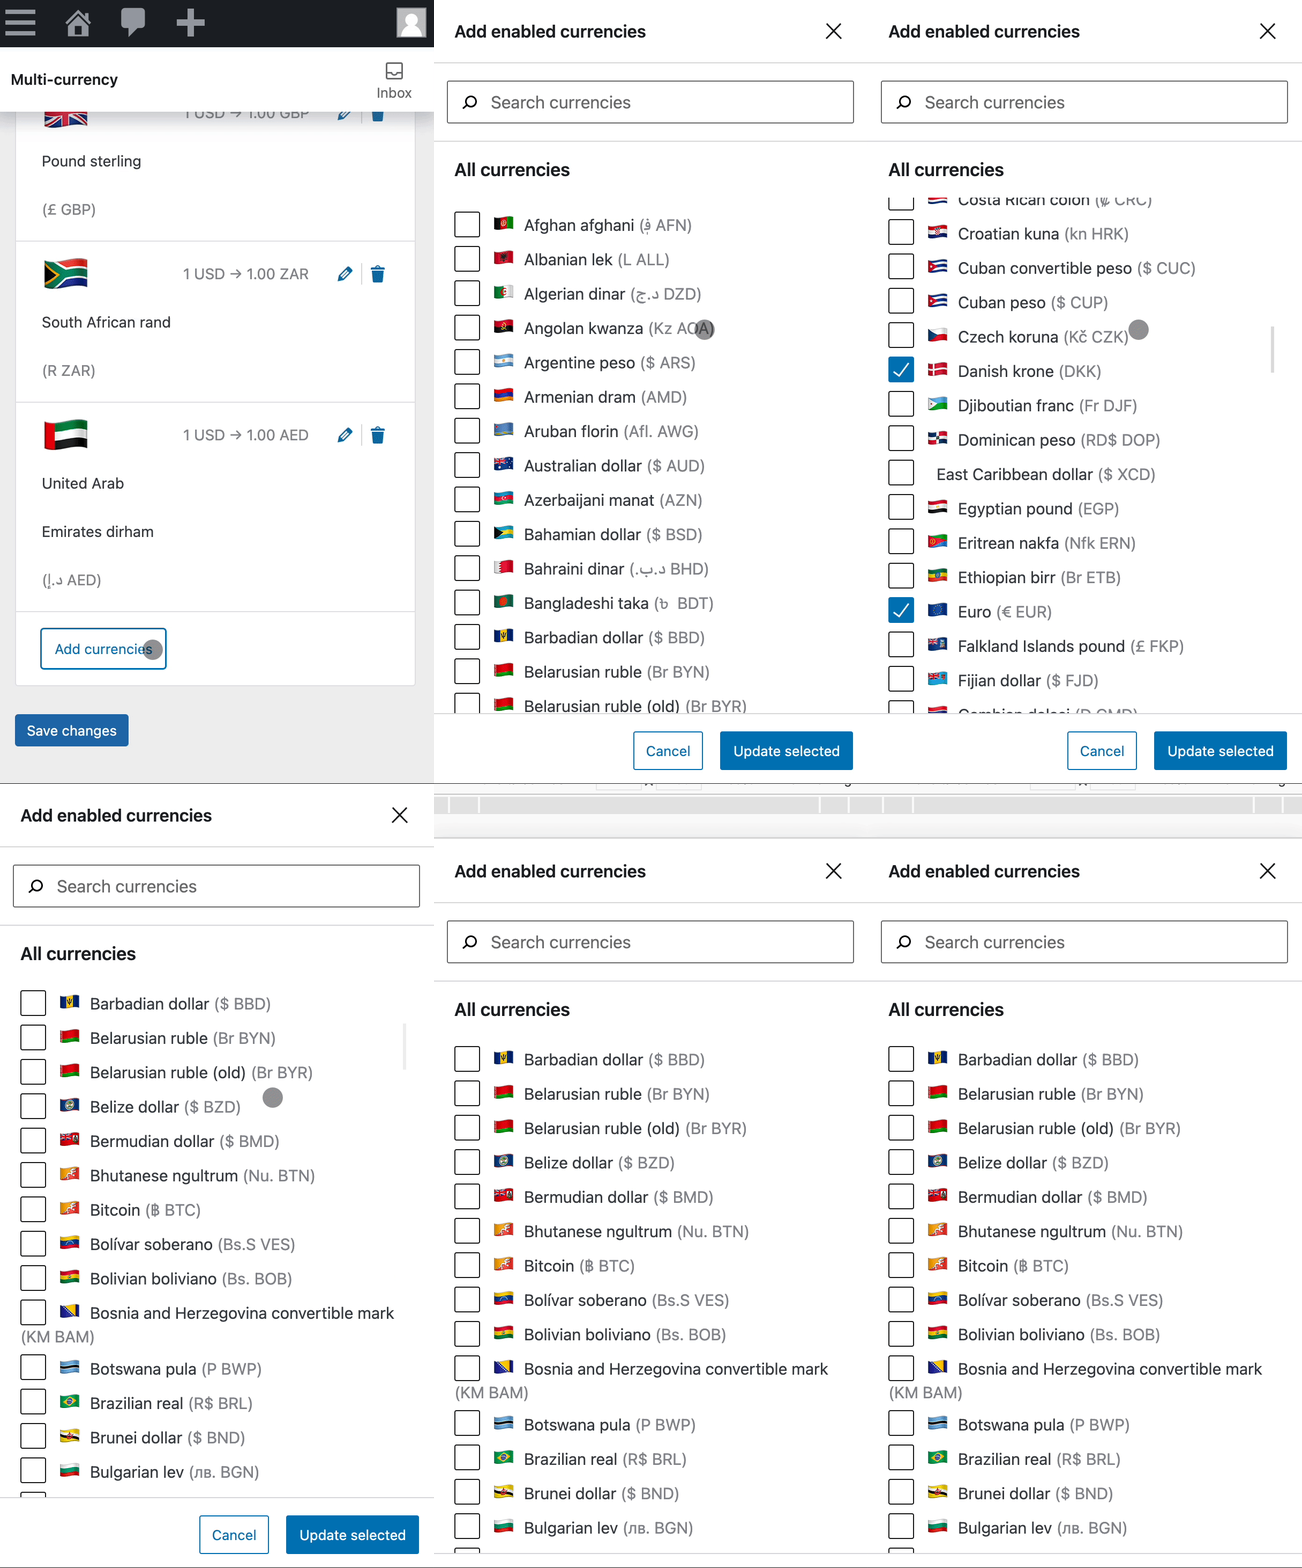
Below the "Enabled Currencies" table, click the "Add currencies" button
-
Desktop tests
- Ensure that the styling if the list height is bigger than 350px with more than 10-15 currencies visible (should be no)
- Ensure that the styling if the list height is smaller than 350px with less than 10-15 currencies visible (should be no, too)
-
Mobile tests
- Ensure if the buttons are on bottom, the header and search input is intact while the currency list is scrollable.


- Start with a new site, or disconnect your site from WCPay/Stripe using the WCPay dev plugin.
- Open this page:
http://<YOUR_SITE>/wp-admin/admin.php?page=wc-admin&path=/payments/deposits - Observe you are redirected to
/wp-admin/admin.php?page=wc-admin&path=%2Fpayments%2Fconnect
- In the WCPay client, create a new multicurrency account.
- Ensure the account has at least 2 payout bank accounts (e.g. CAD and USD).
- Make 2 test purchases on the store, one in USD and one in CAD (make sure you use testing cards in the correct currency, see the Stripe docs for currency-specific cards).
- Navigate to
/wp-admin/admin.php?page=wc-admin&path=/payments/deposits - Observe the "Bank account" column contains the deposit destination.
- Click on a deposit to view the deposit details screen.
- Observe the deposit destination appears in the top left under the deposit status (i.e. "Estimated")
| Before | After |
|---|---|
 |
 |
 |
 |
- Place an order using a test card number that will simulate a dispute. You can use
4000000000000259, or see https://stripe.com/docs/testing#disputes - Navigate to
/wp-admin/admin.php?page=wc-admin&path=/payments/disputes - Click the newly created dispute to view the dispute details.
- Click the "Challenge dispute" button.
- Fill in some example dispute evidence.
Save evidence flow
- Click the "Save for later" button.
- Observe the snackbar notice in the bottom left-hand side of the screen with the "Return to evidence submission" link.
- Clicking the link will return you to the "Challenge dispute" page.
Submit evidence flow
- Click the "Submit evidence" button.
- Observe the snackbar notice in the bottom left-hand side of the screen with the "View submitted evidence" link.
- Clicking the link will return you to the "Challenge dispute" page.
Evidence saved flow:
| Before | After |
|---|---|
 |
 |
Evidence submitted flow:
| Before | After |
|---|---|
 |
 |