-
Notifications
You must be signed in to change notification settings - Fork 2
Balena Installation
- Install the Pi into it's case
- Install the probe you've chosen, this is the GPIO Pinout configuration that I used: GPIO Pinout
- Install balenaEtacher on the computer you'll use to flash the SD card
- Ensure that you have created an account at Balena.io
- Ensure you have the balina-cli installed
Start by creating a new application on your Balena dashboard. I'll be calling mine PiProbes. Select Raspberry Pi 3 for the device type. Leave the project type as Starter.
Enable the 1-Wire interface for your whole fleet by adding RESIN_HOST_CONFIG_dtoverlay = w1-gpio to your fleet configuration.
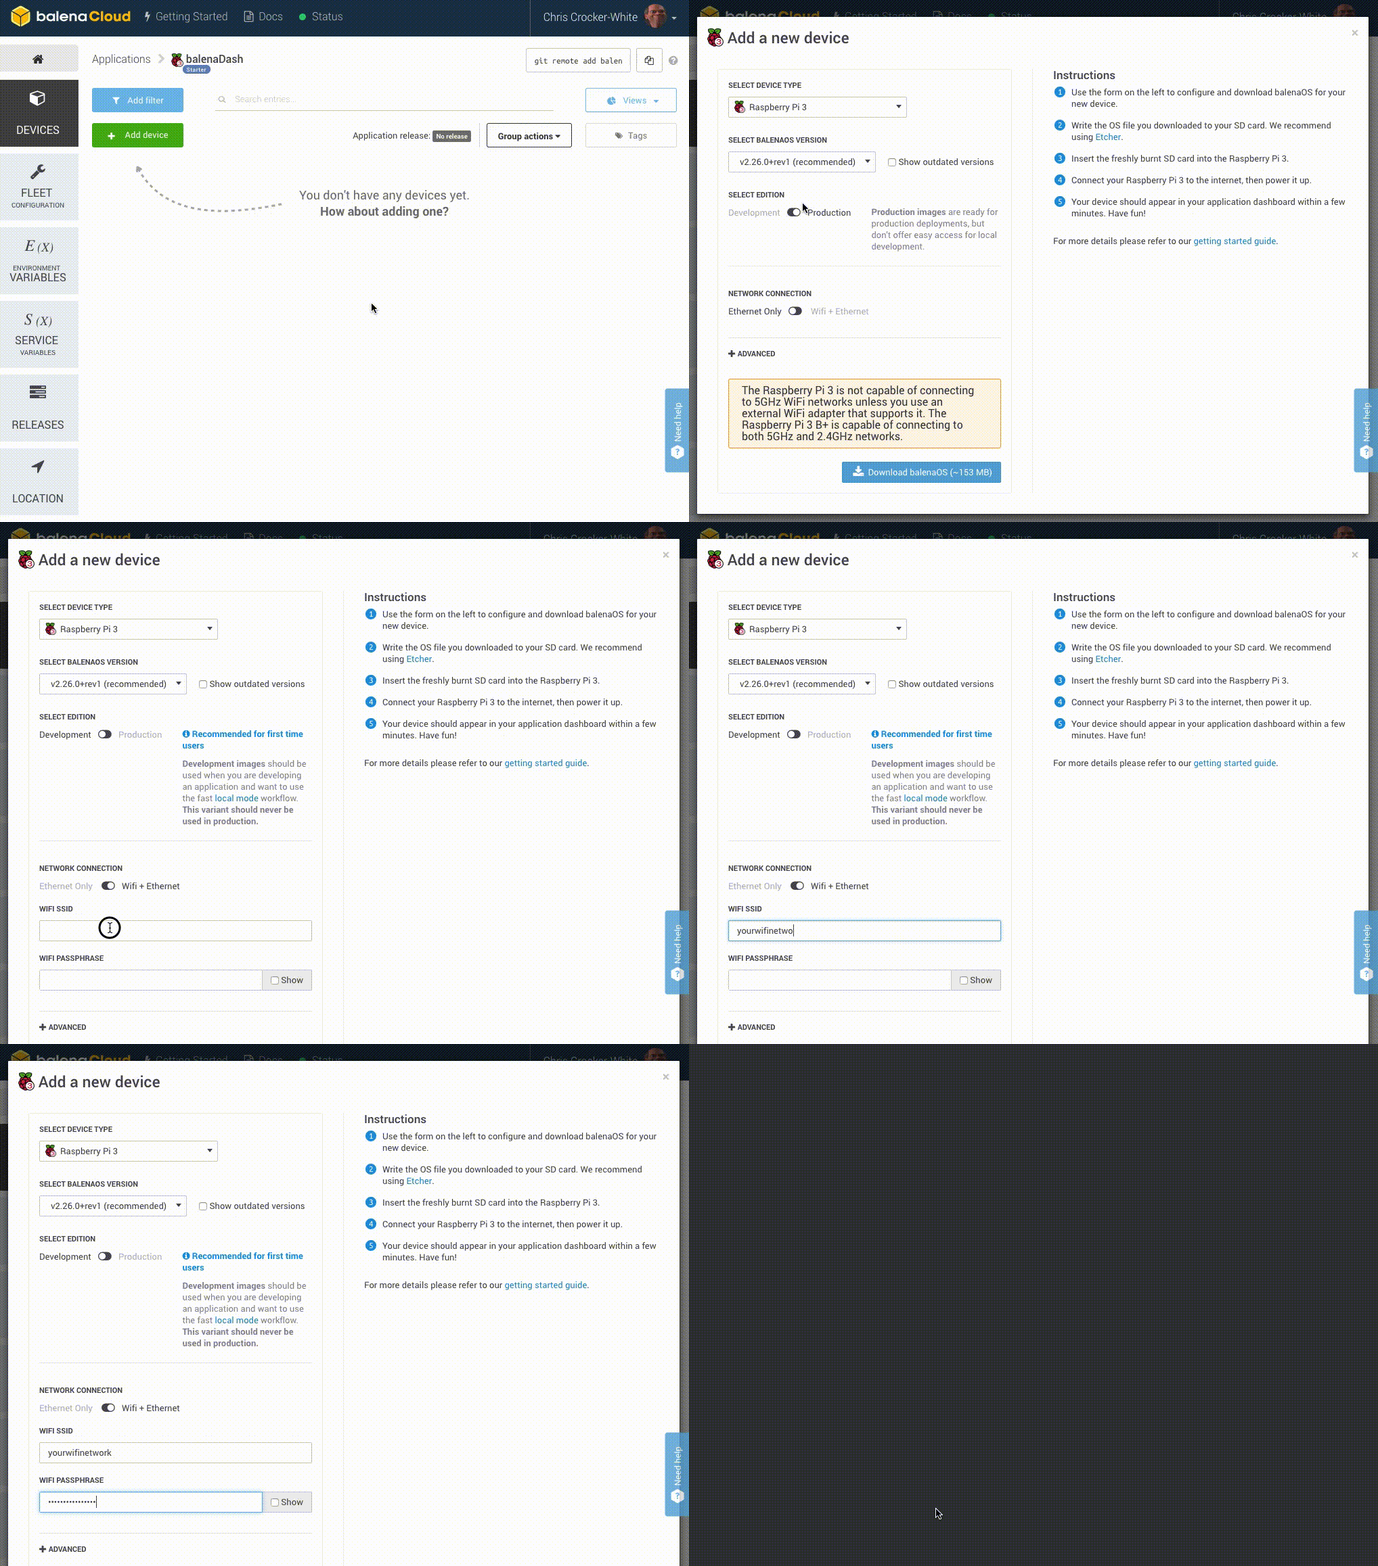
Create a device image by clicking the + Add Device button within your application. Select either Development or Production for the image type. I'll be using Production. Enable wireless if desired and enter your Wifi credentials. Then download the image.
After the image has downloaded, open balenaEtcher, select the image zip file, ensure the right disk is selected, and finally then flash it.
Once the image has flashed, insert the SD card into your Pi and turn it on. You'll see it populate in the devices section of your dashboard.
Authorize the balena-cli with your account. You only need to do this the first time you use the belena-cli.
Clone this repo to your machine, enter that directory and checkout to the latest tag. Then deploy piProbe to your application, in my example the application name is PiProbes.
git clone https://github.com/MelonSmasher/piProbe.git && cd piProbe;
git checkout $(git describe --tags `git rev-list --tags --max-count=1`);
balena deploy PiProbes;From the Balena console configure your fleet service variables (not device service variables). Add the following variables:
| Service | Name | Required | Default Value | Valid Values | Description |
|---|---|---|---|---|---|
| piProbe | INFLUXDB_HOST | Yes | "" | STRING | The ip or hostname of your InfluxDB server |
| piProbe | INFLUXDB_PORT | No | 8086 | INT | The port InfluxDB is listening on |
| piProbe | INFLUXDB_USER | No | "" | STRING | The InfluxDB user used to authenticate |
| piProbe | INFLUXDB_PASSWORD | No | "" | STRING | The InfluxDB user password |
| piProbe | INFLUXDB_DB | Yes | False | STRING | The db name where the measurements will be stored |
| piProbe | INFLUXDB_INTERVAL | No | 10 | INT | The interval to measure data and write to InfluxDB |
| piProbe | INFLUXDB_SSL | No | False | STRING: Yes/No | Should the client use ssl to connect to InfluxDB? |
| piProbe | INFLUXDB_SSL_VERIFY | No | False | STRING: Yes/No | Should the client verify ssl to certs on InfluxDB? |
| piProbe | GPIO_PIN | No | 4 | INT | The GPIO 1-Wire pin |
| piProbe | GPIO_SENSOR | Yes | "" | STRING: DHT11/DHT22/AM2302 | The sensor model |
Next navigate back to your devices, select your Pi, and click on Service Variables. From here you'll fill out the INFLUXDB_LOCATION_TAG for this device. This lets you know where the device is physically located when you query the database. The value can be any string.
| Service | Name | Required | Default Value | Valid Values | Description |
|---|---|---|---|---|---|
| piProbe | INFLUXDB_LOCATION_TAG | Yes | "" | STRING | where is this probe? living room, the moon, Winterfel? Fill this out so you know where the probe is. |
After Filling out the variables, the piProbe service will restart automatically on your device and it will begin reporting to your InfluxDB server!


