- 🗒️ 실습 예제
- 🖇️ 준비사항
- 🗒️ 실습 예제 사양
- 🏠 랜딩페이지 배포하기
- 📈 Umami 배포 및 랜딩페이지 적용하기
- Notion 커스텀 페이지 배포
- 📋 Ghost 블로그 배포하기
- 🦖 Docusaurus 배포하기
- 🟢 Uptime Kuma 배포 및 적용하기
- 📖 References
- 💬 Contact
- 랜딩페이지
- 노션페이지
- 블로그
- 개발 문서
- 서비스 상태 모니터링
- 웹 사이트 트래픽 추적 및 분석
- Node v18.19.0 이상
git clone https://github.com/cloudtype-examples/webinar-04-landing.git- Username: admin
- Password: umami
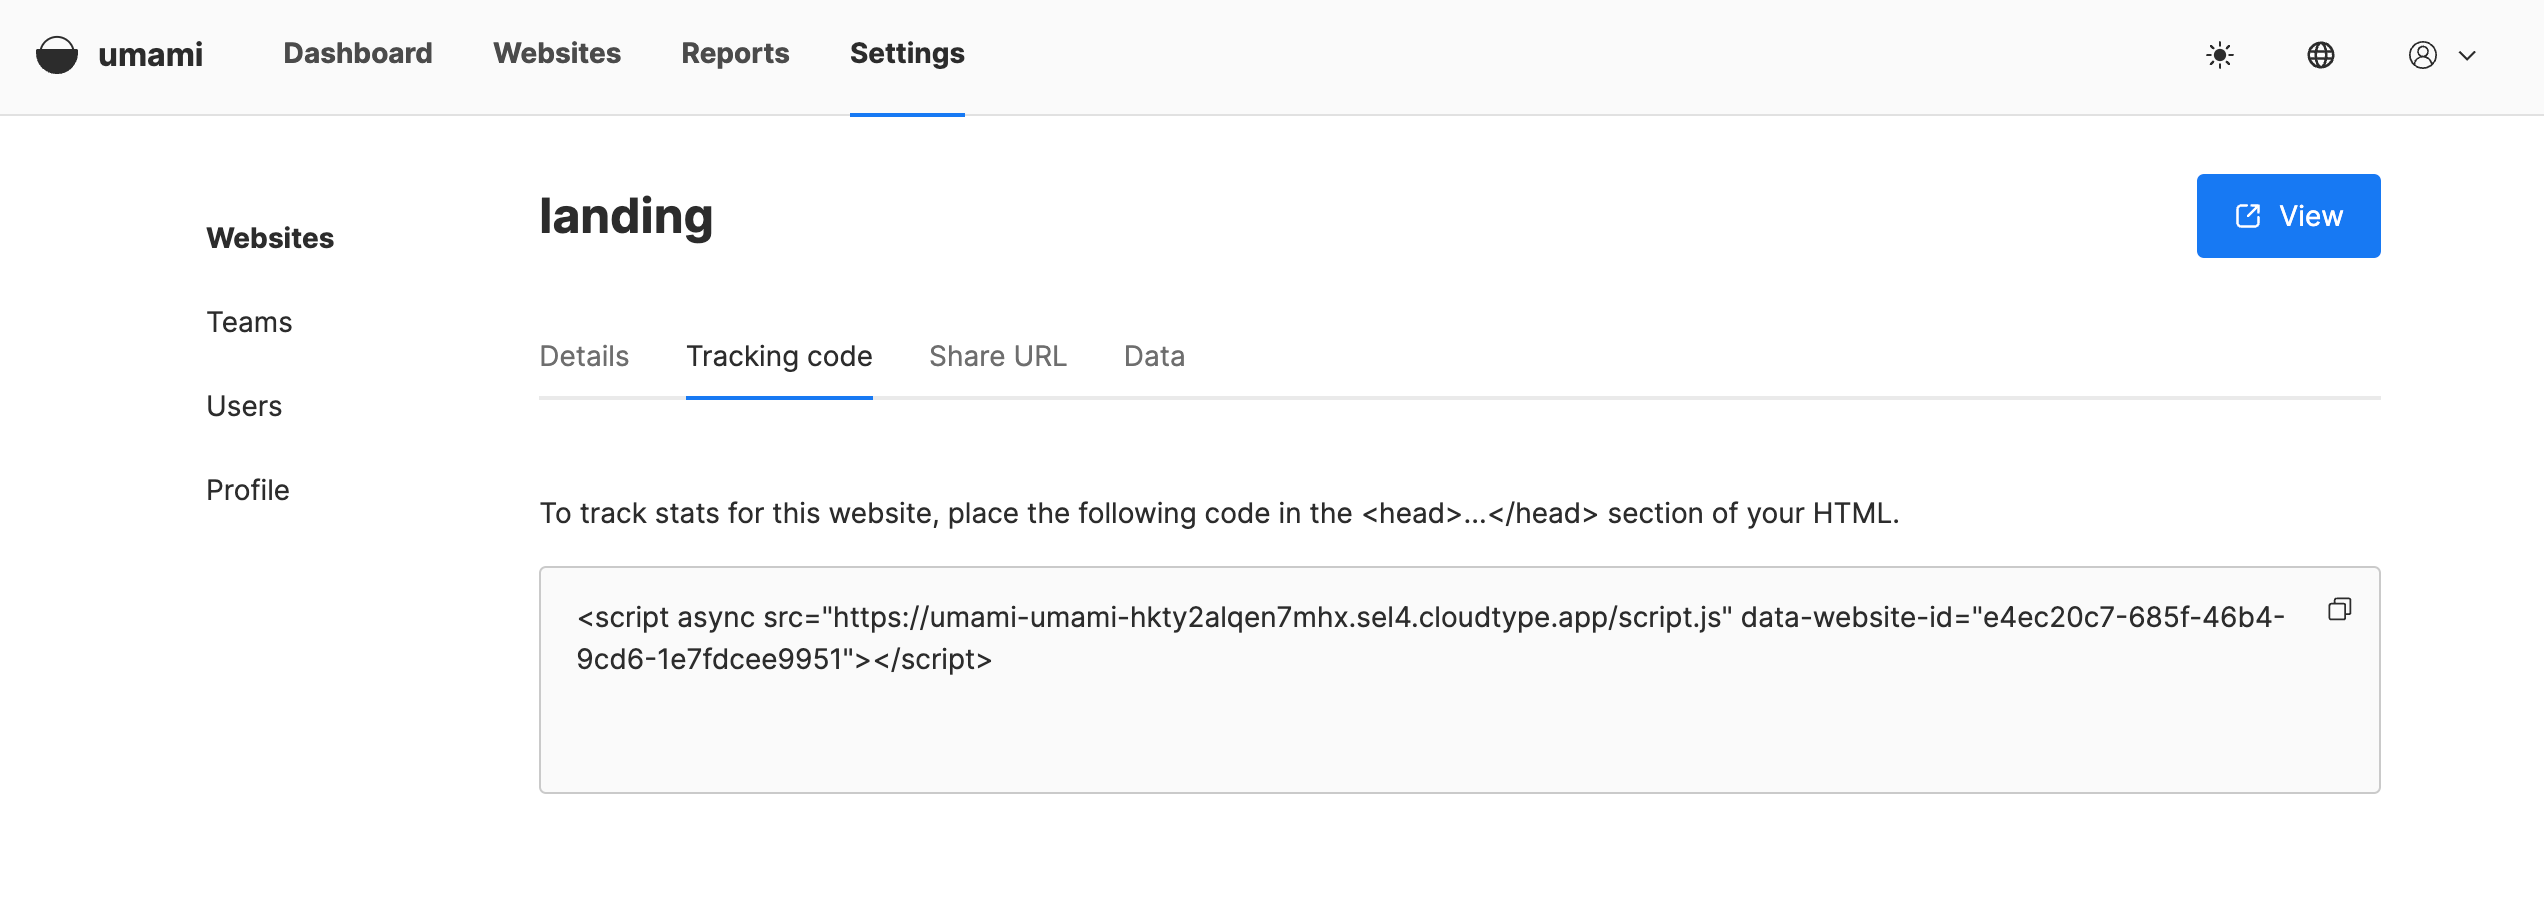
Umami에서 추가한 웹 사이트의 Tracking Code 탭에서 코드를 복사한 후 HTML <head> 태그 내부에 작성합니다.
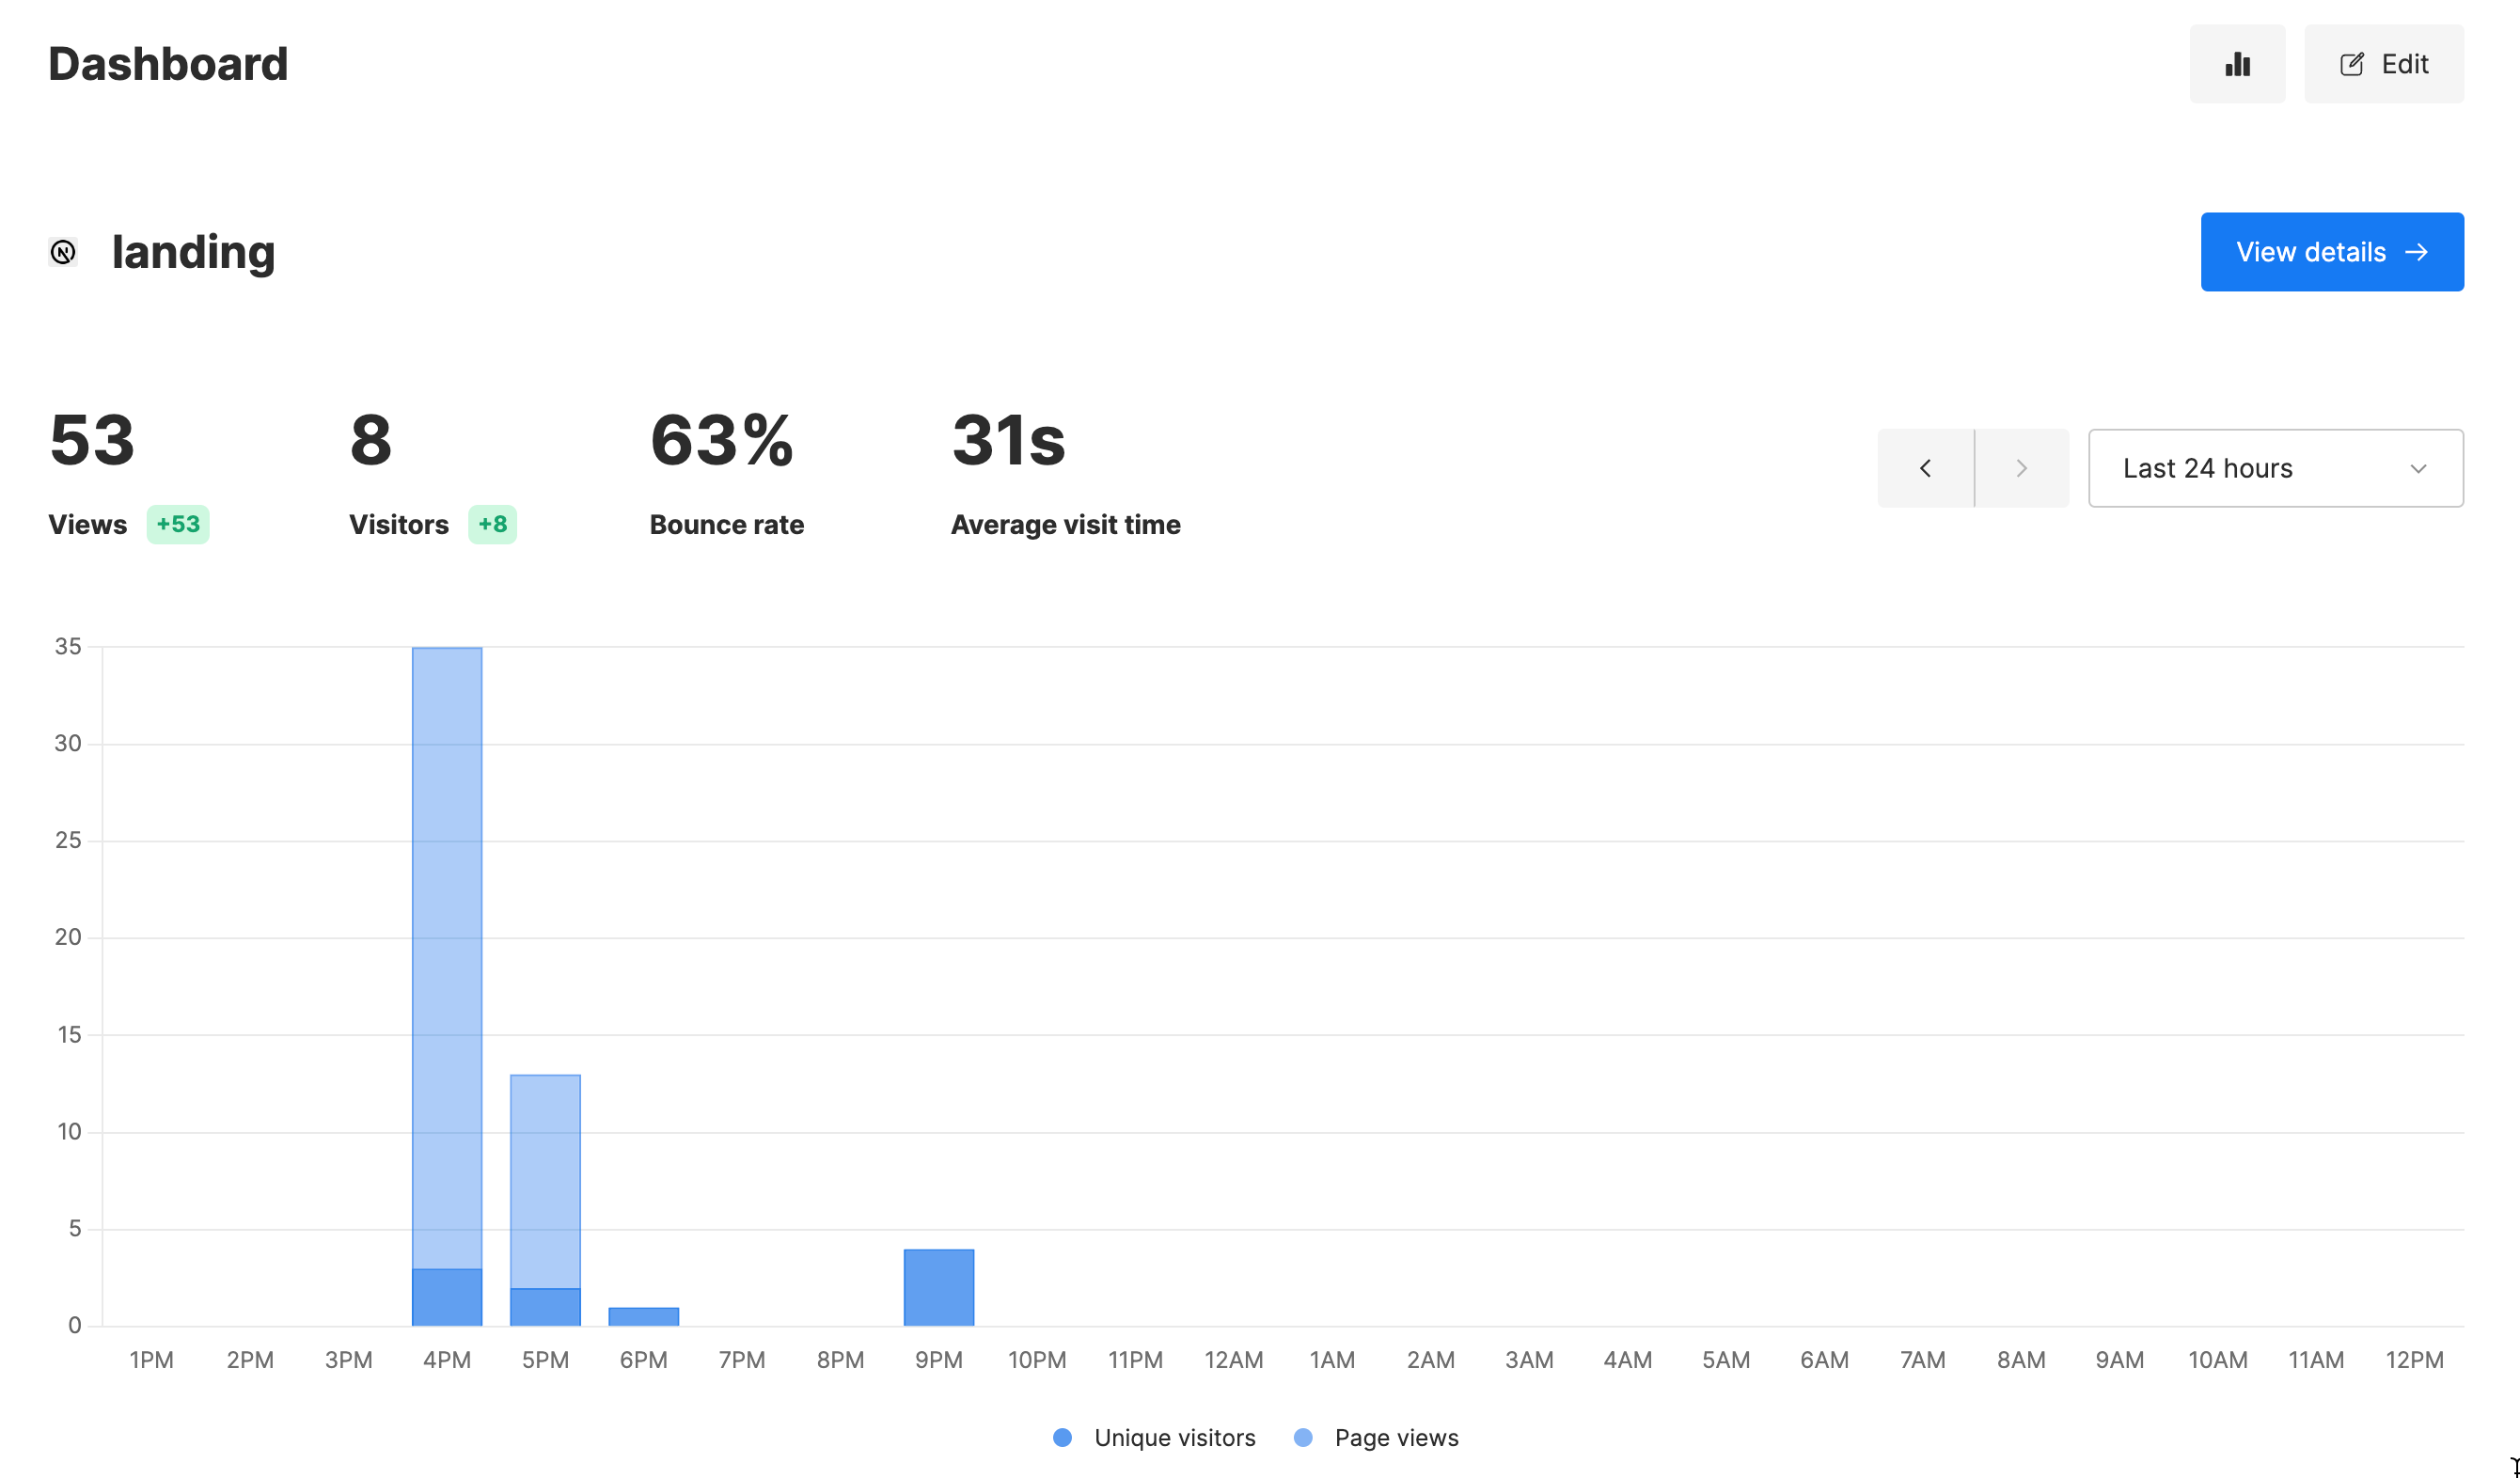
클라우드타입에서 랜딩페이지를 재배포 하여 Umami를 적용합니다.
Notion 페이지의 링크를 복사한 뒤 다음 표시된 부분의 페이지 ID를 확인합니다.
https://www.notion.so/<페이지 ID>?pvs=4
다음의 저장소를 clone 한 뒤, site.config.js 의 다음 부분에 위에서 확인한 페이지 ID를 작성합니다.
git clone https://github.com/cloudtype-examples/webinar-04-notion.gitimport { siteConfig } from './lib/site-config'
export default siteConfig({
// the site's root Notion page (required)
rootNotionPageId: '<페이지 ID>',
// if you want to restrict pages to a single notion workspace (optional)
// (this should be a Notion ID; see the docs for how to extract this)
rootNotionSpaceId: null,
...https://<호스트>/ghost
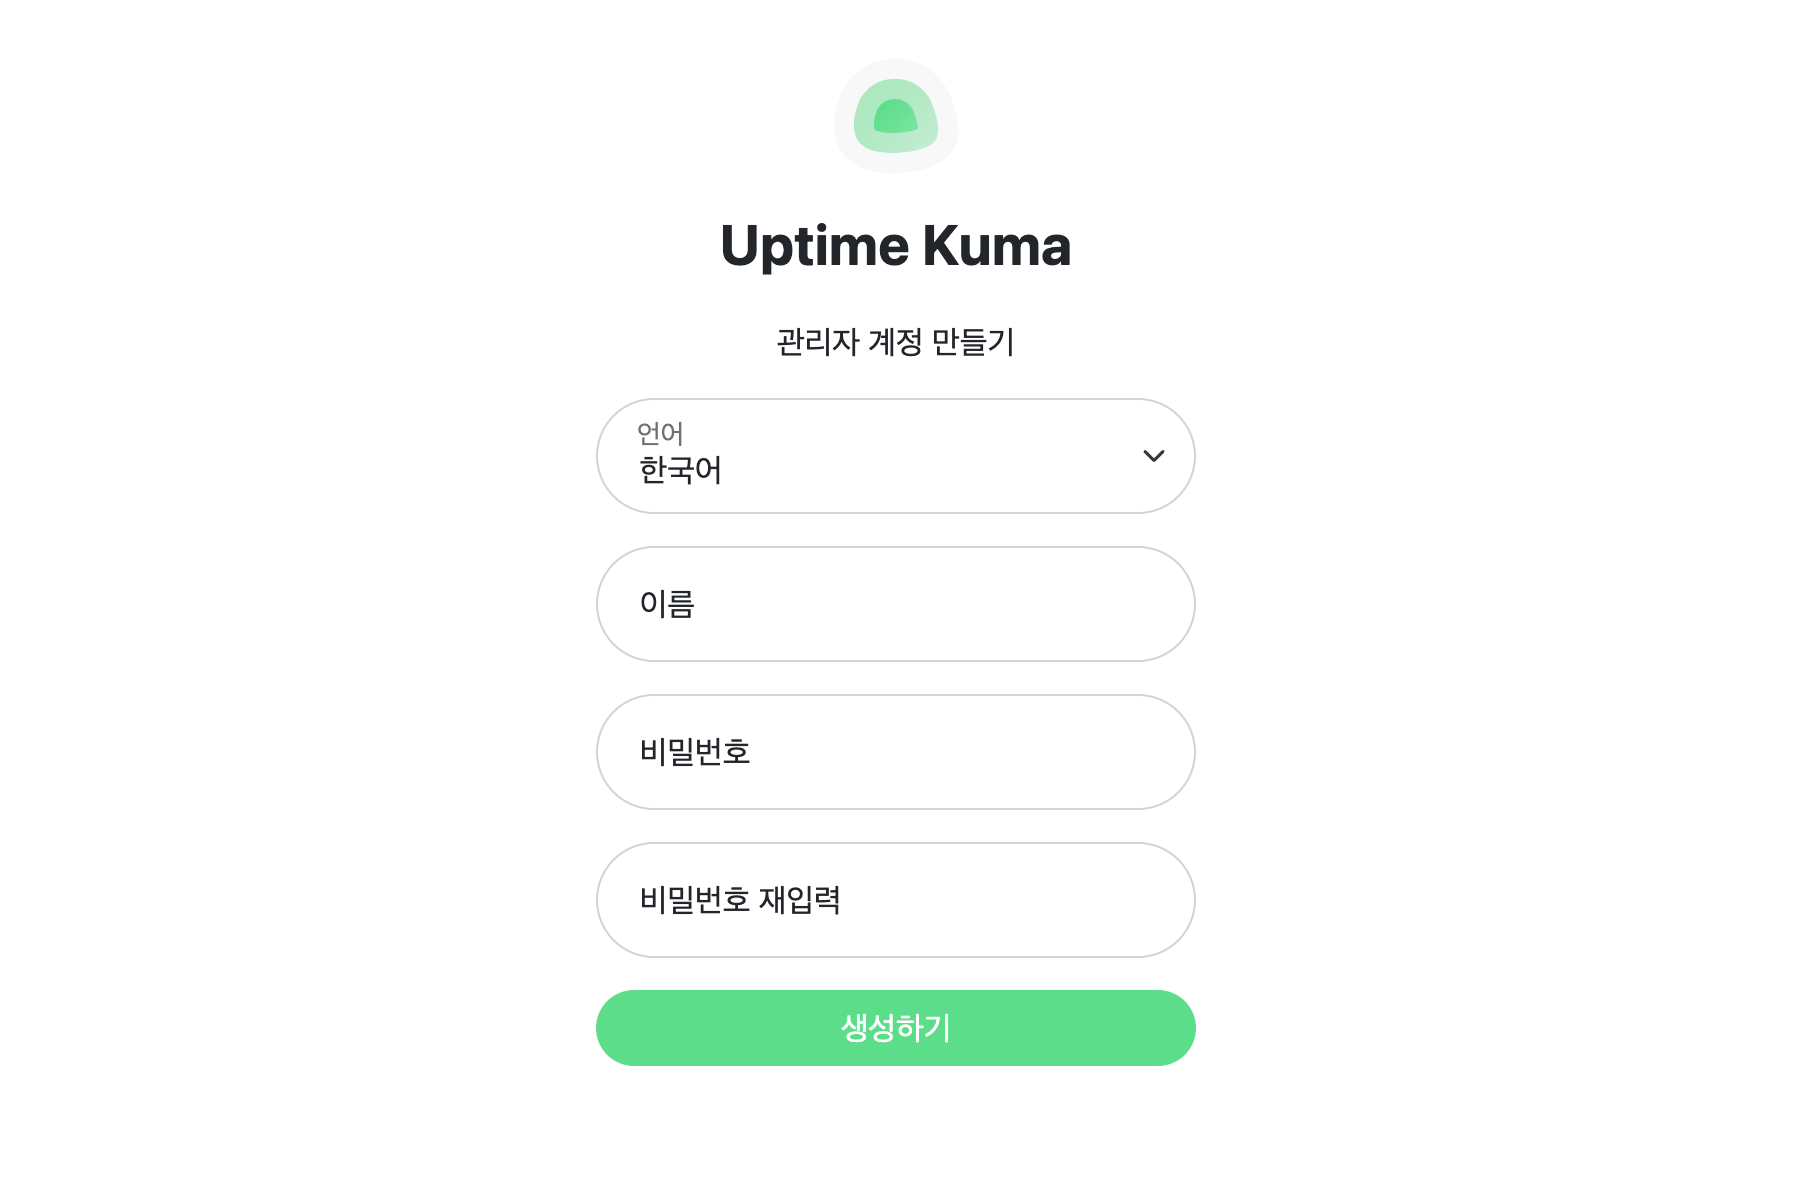
배포 후 최초 접속 시 관리자 계정 생성이 진행됩니다.
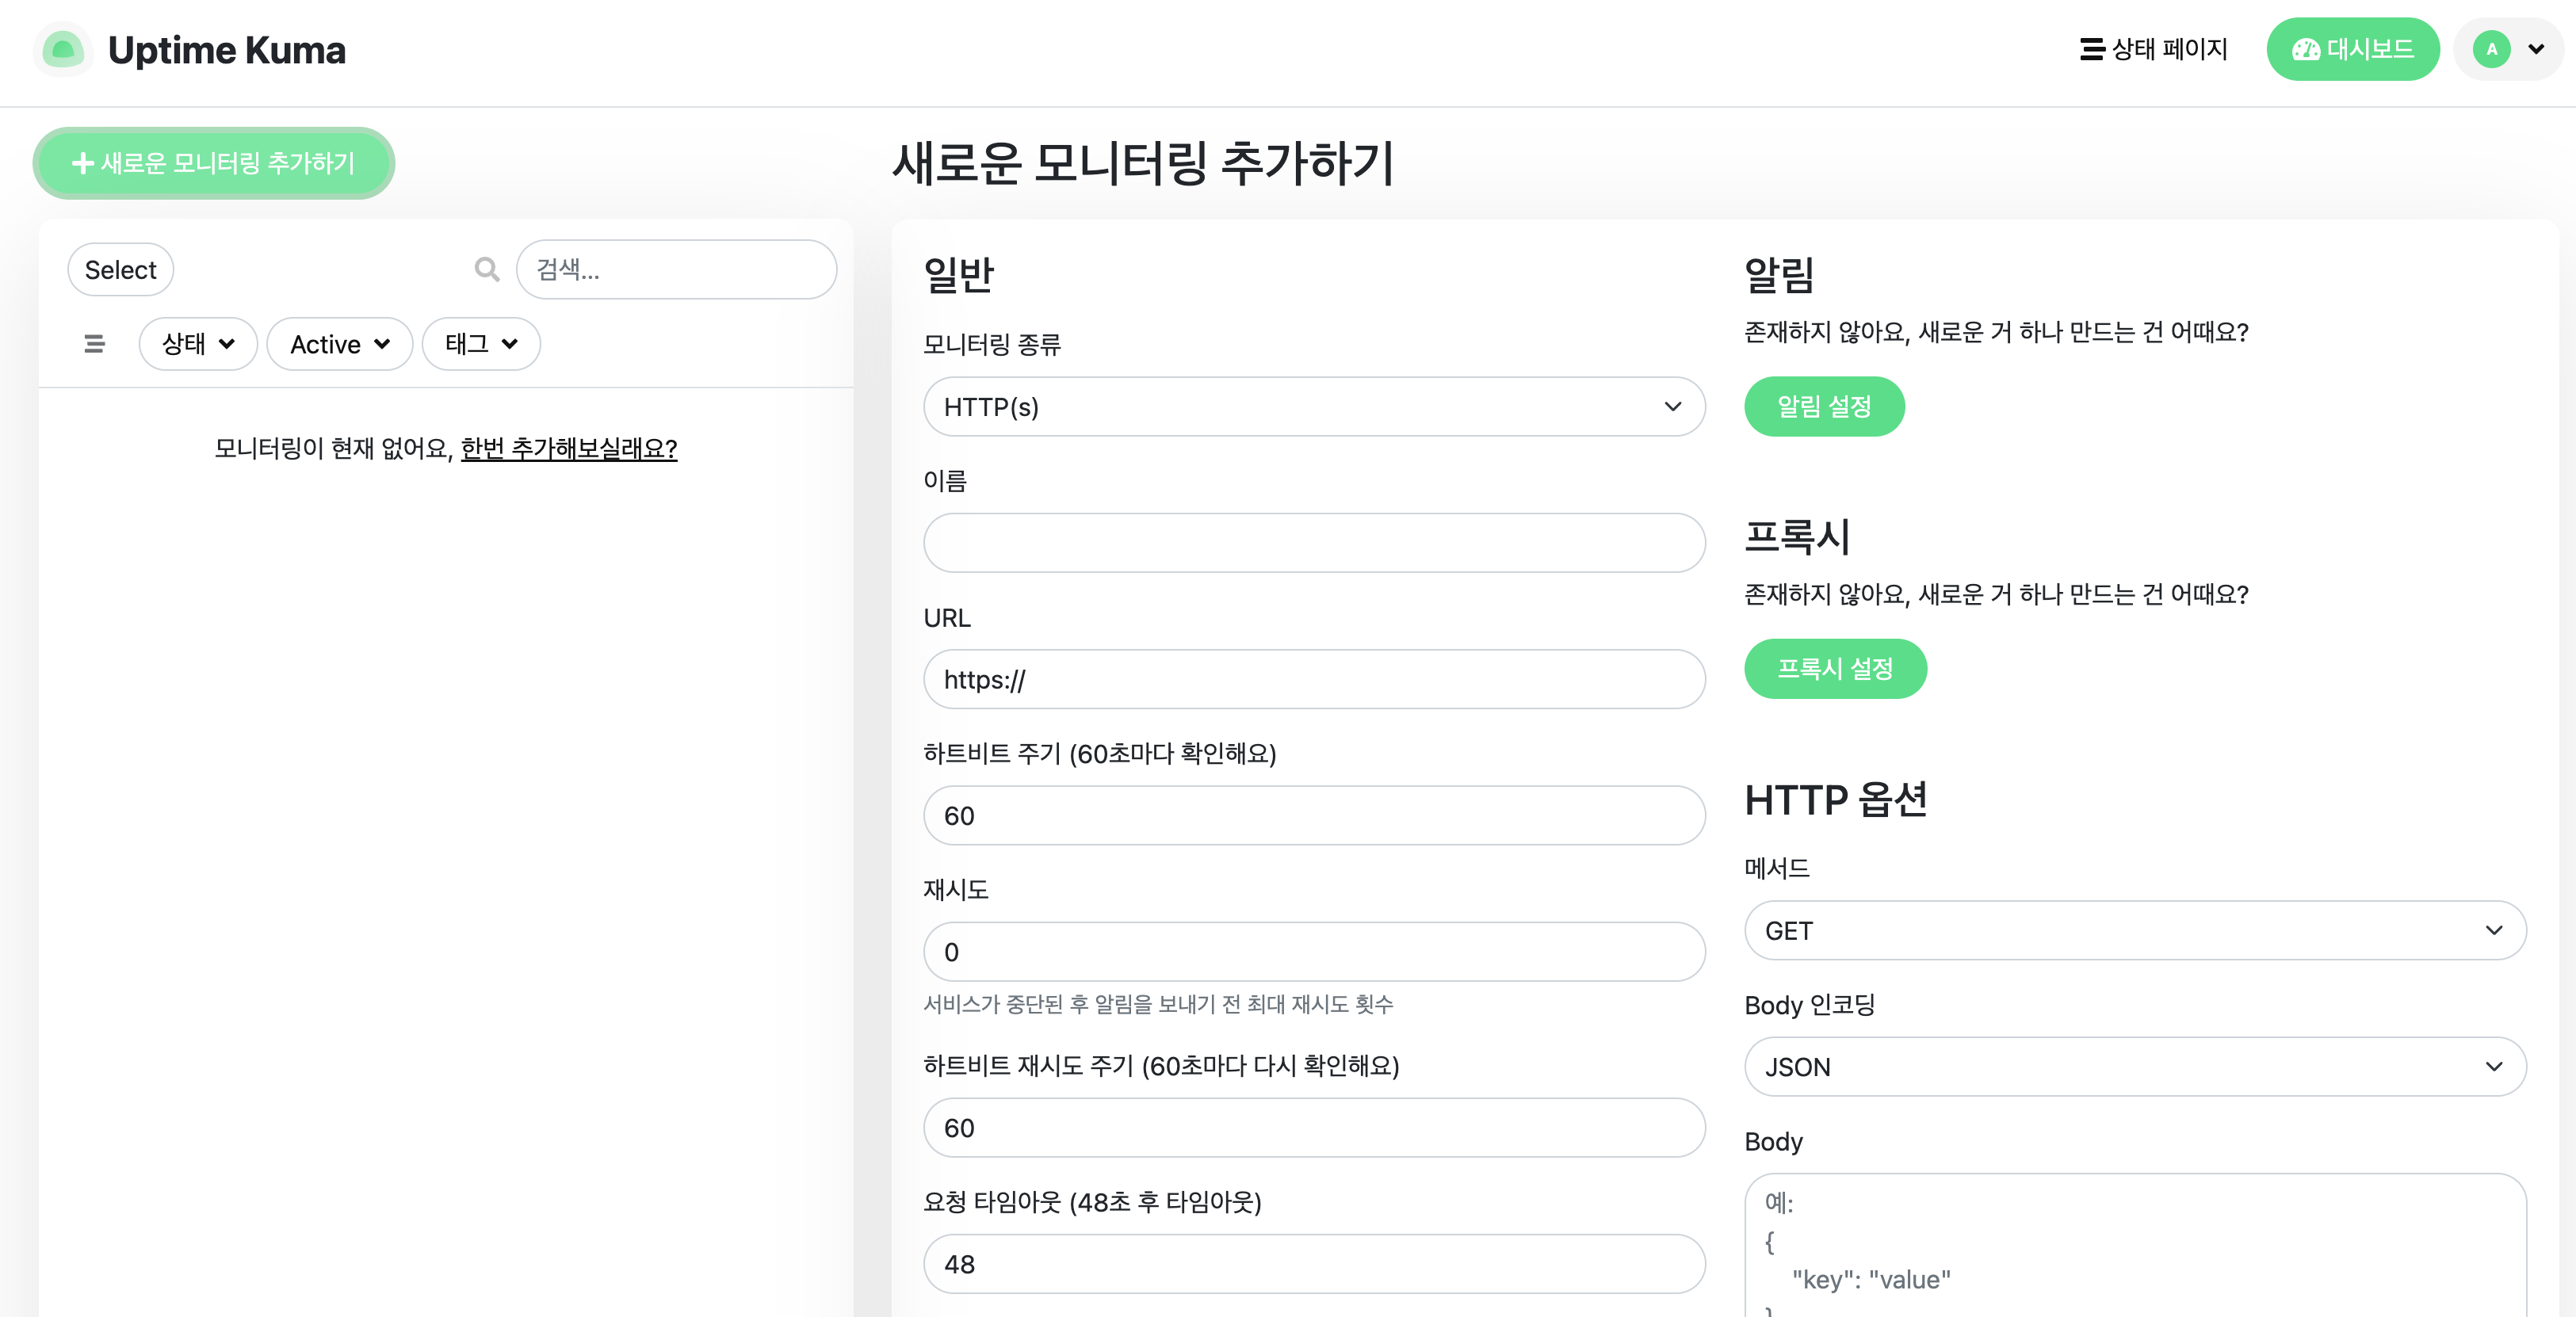
대시보드에서 모니터링 대상을 추가합니다. 모니터링 주기 등 각종 설정을 상황에 맞게 변경할 수 있습니다.


