The bmi_wavewatch3 Python package provides both a command line interface and a programming interface for downloading and working with WAVEWATCH III data.
bmi_wavewatch3 provides access to the following raster data sources,
- 30 year wave hindcast Phase 1
- 30 year wave hindcast Phase 2
- Production hindcast Singlegrid
- Production hindcast Multigrid
All data sources provide both global and regional grids.
To install the latest release of bmi-wavewatch3 using pip, simply run the following in your terminal of choice:
$ pip install bmi-wavewatch3For a full description of how to install bmi-wavewatch3, including using mamba/conda, please see the documentation for our installation instructions.
If you would like to modify or contribute code to bmi-wavewatch3 or use the very latest development version, please see the documentation that describes how to install bmi-wavewatch3 from source.
To get started, you can download WAVEWATCH III data by date with the ww3 command (use ww3 --help to print a brief message),
ww3 fetch "2010-05-22"You can also do this through Python,
>>> from bmi_wavewatch3 import WaveWatch3
>>> WaveWatch3.fetch("2010-05-22")
The bmi_wavewatch3 package provides the WaveWatch3 class for downloading data and
presenting it as an xarray Dataset.
>>> from bmi_wavewatch3 import WaveWatch3
>>> ww3 = WaveWatch3("2010-05-22")
>>> ww3.data
<xarray.Dataset>
...
Use the inc method to advance in time month-by-month,
>>> ww3.date
'2010-05-22'
>>> ww3.inc()
'2010-06-22'
>>> ww3.data.time
<xarray.DataArray 'time' ()>
array('2010-06-01T00:00:00.000000000', dtype='datetime64[ns]')
...
This will download new datasets as necessary and load the new data into the data
attribute.
Note
If the new data are not cached on you computer, you will notice a delay while the new
data are download. If the lazy flag is set, the download will only occur once you
try to access the data (i.e. ww3.data), otherwise the data are downloaded
as soon as the date is set.
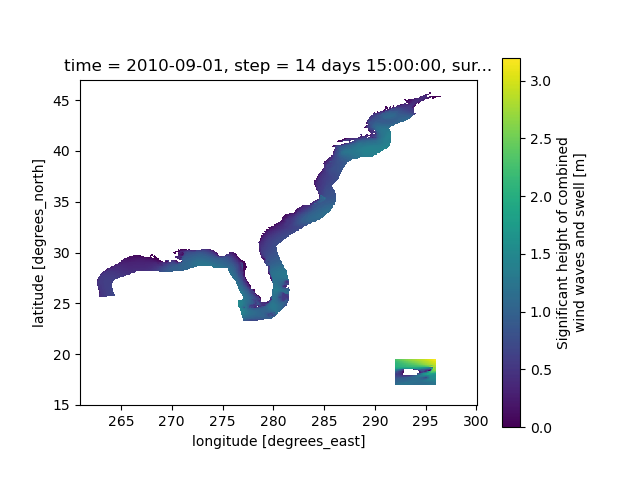
Running the following from the command line will plot the variable
significant wave height from the WAVEWATCH III at_4m grid. Note that the time of
day (in this case, 15:00) is separated from the date with a T (i.e. times can be
given as YYYY-MM-DDTHH)
ww3 plot --grid=at_4m --data-var=swh "2010-09-15T15"This example is similar to the previous but uses the bmi_wavewatch3 Python interface.
>>> from bmi_wavewatch3 import WaveWatch3
>>> ww3 = WaveWatch3("2009-11-08")
The data can be accessed as an xarray Dataset through the data attribute.
>>> ww3.data
<xarray.Dataset>
Dimensions:     (step: 241, latitude: 311, longitude: 720)
Coordinates:
    time        datetime64[ns] 2009-11-01
  * step        (step) timedelta64[ns] 0 days 00:00:00 ... 30 days 00:00:00
    surface     float64 1.0
  * latitude    (latitude) float64 77.5 77.0 76.5 76.0 ... -76.5 -77.0 -77.5
  * longitude   (longitude) float64 0.0 0.5 1.0 1.5 ... 358.0 358.5 359.0 359.5
    valid_time  (step) datetime64[ns] dask.array<chunksize=(241,), meta=np.ndarray>
Data variables:
    dirpw       (step, latitude, longitude) float32 dask.array<chunksize=(241, 311, 720), meta=np.ndarray>
    perpw       (step, latitude, longitude) float32 dask.array<chunksize=(241, 311, 720), meta=np.ndarray>
    swh         (step, latitude, longitude) float32 dask.array<chunksize=(241, 311, 720), meta=np.ndarray>
    u           (step, latitude, longitude) float32 dask.array<chunksize=(241, 311, 720), meta=np.ndarray>
    v           (step, latitude, longitude) float32 dask.array<chunksize=(241, 311, 720), meta=np.ndarray>
Attributes:
    GRIB_edition:            2
    GRIB_centre:             kwbc
    GRIB_centreDescription:  US National Weather Service - NCEP
    GRIB_subCentre:          0
    Conventions:             CF-1.7
    institution:             US National Weather Service - NCEP
    history:                 2022-06-08T16:08 GRIB to CDM+CF via cfgrib-0.9.1...
The step attribute points to the current time slice into the data (i.e number of
three hour increments since the start of the month),
>>> ww3.step
56
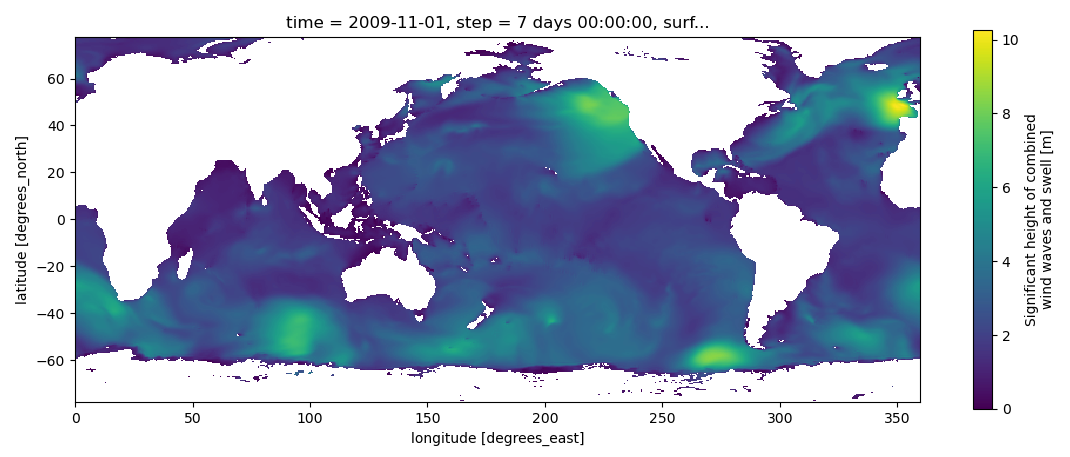
>>> ww3.data.swh[ww3.step, :, :].plot()


