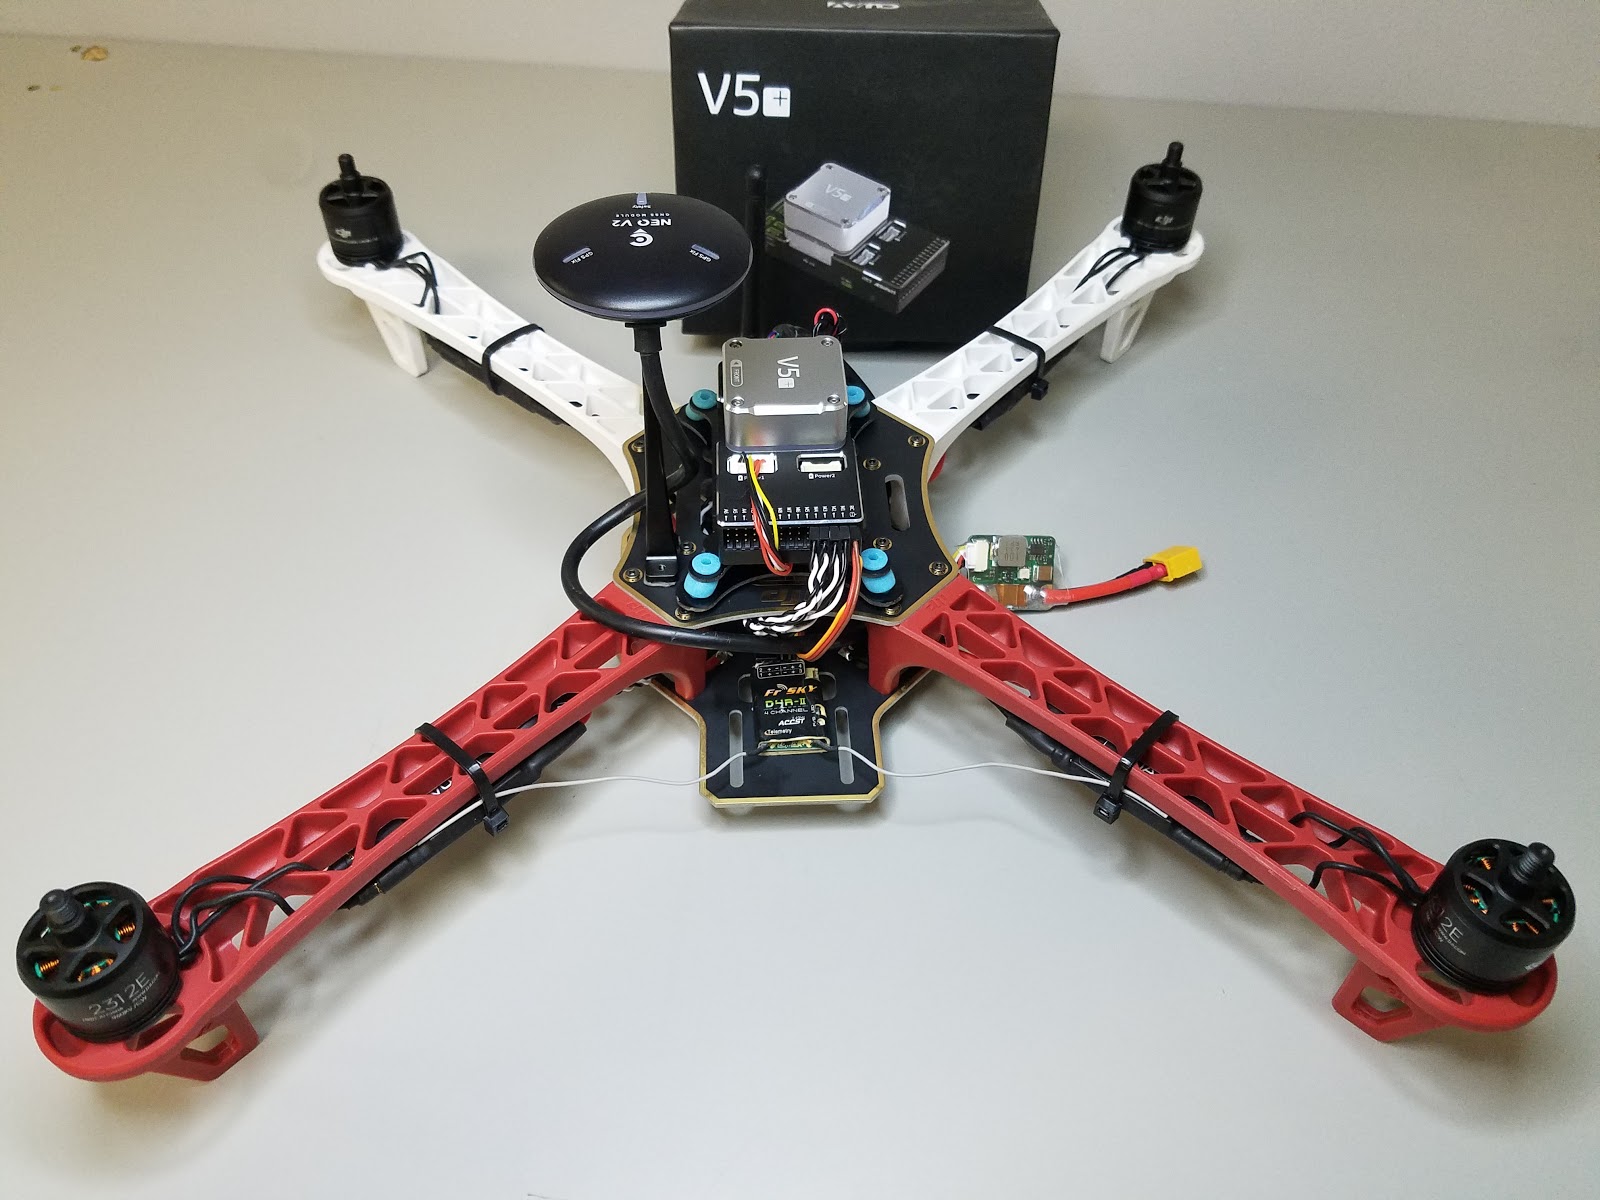
This topic provides full instructions for building the kit and configuring PX4 using QGroundControl.
Key information
- Frame: DJI F450
- Flight controller: CUAV V5+
- Assembly time (approx.): 90 minutes (45 minutes for frame, 45 minutes autopilot installation/configuration)
The components needed for this build are:
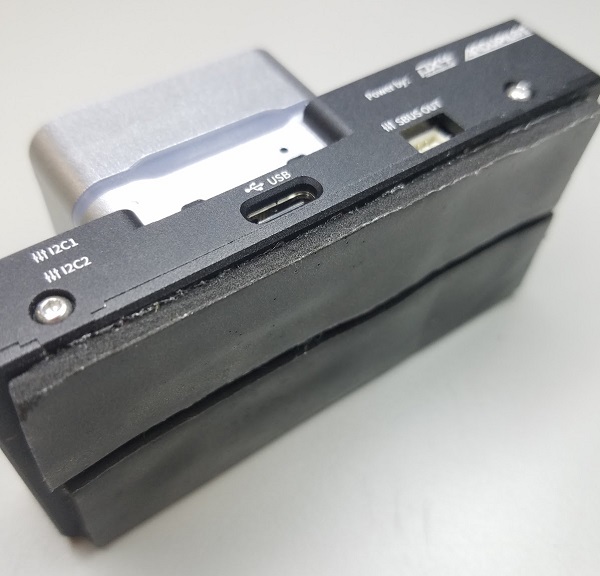
- Flight controller: CUAV V5+:
- GPS: CUAV NEO V2 GPS
- Power Module
- Frame: DJI F450
- Propellers: DJI Phantom Built-in Nut Upgrade Propellers 9.4x5
- Battery: Turnigy High Capacity 5200mAh 3S 12C Lipo Pack w/XT60
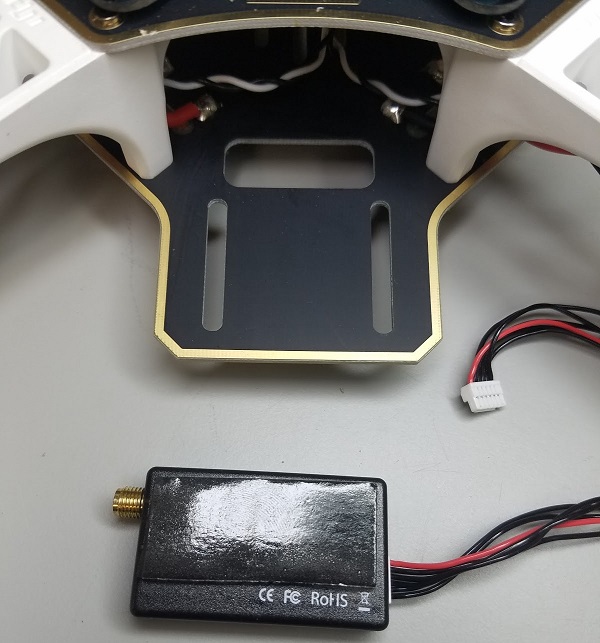
- Telemetry: Holibro Transceiver Telemetry Radio V3
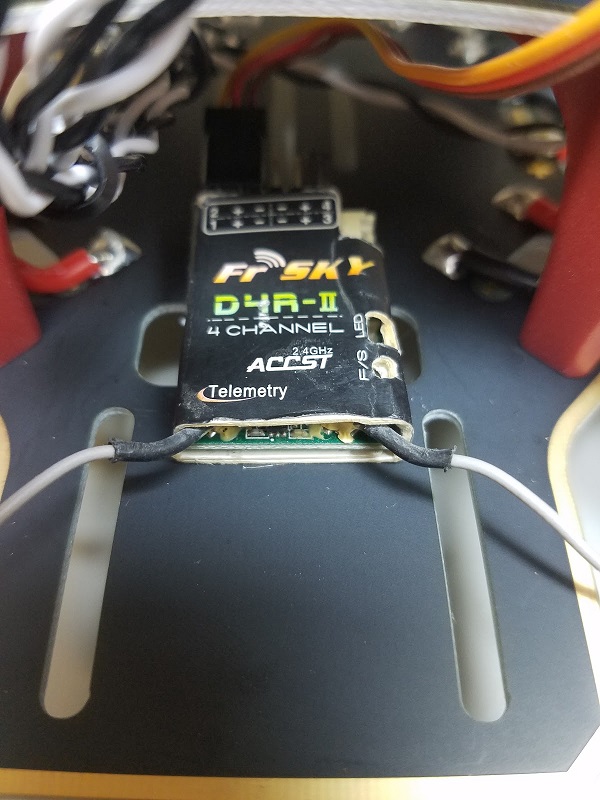
- RC Receiver: FrSky D4R-II 2.4G 4CH ACCST Telemetry Receiver
- Motors: DJI E305 2312E Motor (800kv,CW)
- ESC: Hobbywing XRotor 20A APAC Brushless ESC 3-4S For RC Multicopters
In addition, we used an FrSky Taranis controller. You will also need zip ties, double-sided tape, a soldering iron.
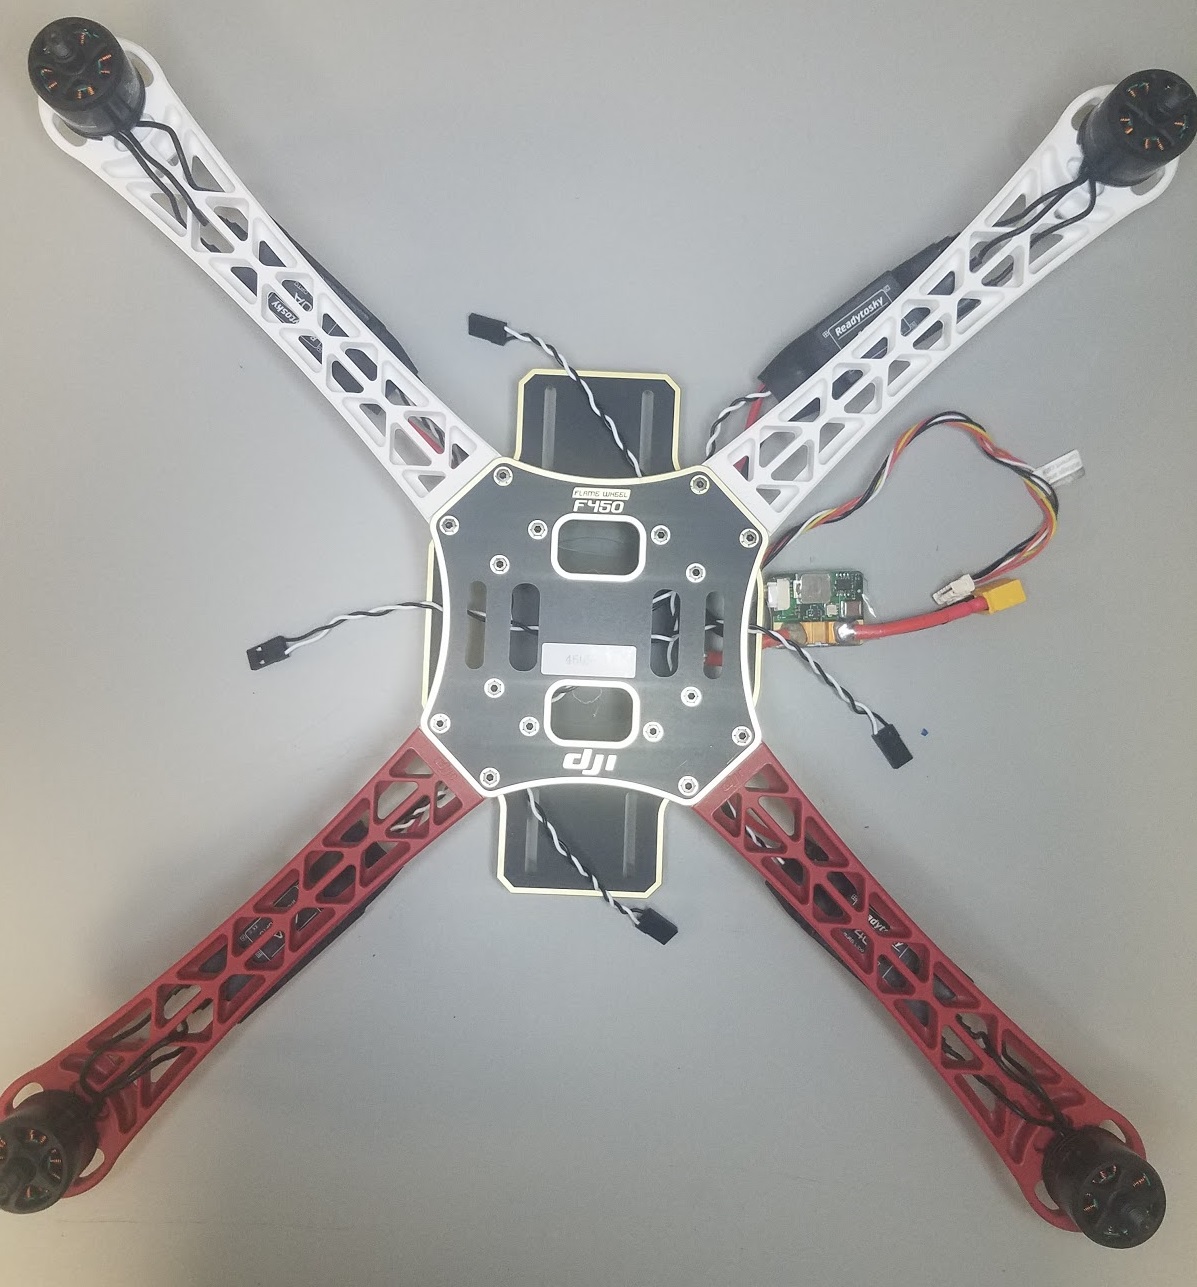
The image below shows both frame and electronic components.
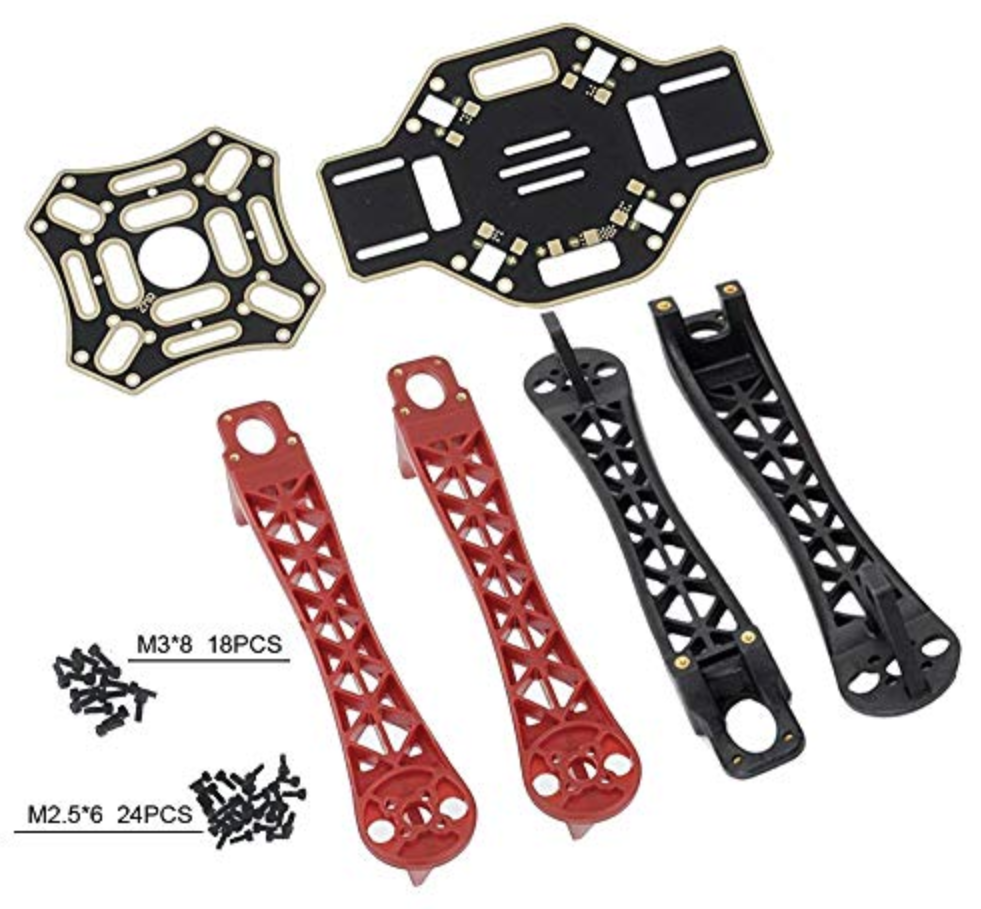
This section lists all hardware for the frame.
| 参数描述 | Quantity |
|---|---|
| DJI F450 Bottom plate | 1 |
| DJI F450 Top plate | 1 |
| DJI F450 legs with landing gear | 4 |
| M3*8 screws | 18 |
| M2 5*6 screws | 24 |
| Velcro Battery Strap | 1 |
| DJI Phantom Built-in Nut Upgrade Propellers 9.4x5 | 1 |
This section lists the components in the CUAV v5+ package.
| 参数描述 | Quantity (Default Package) | Quantity (+GPS Package) |
|---|---|---|
| V5+ Autopilot | 1 | 1 |
| DuPont Cable | 2 | 2 |
| I2C/CAN Cable | 2 | 2 |
| ADC 6.6 Cable | 2 | 2 |
| SBUS Signal Cable | 1 | 1 |
| IRSSI Cable | 1 | 1 |
| DSM Signal Cable | 1 | 1 |
| ADC 3.3 Cable | 1 | 1 |
| Debug Cable | 1 | 1 |
| Safety Switch Cable | 1 | 1 |
| Voltage & Current Cable | 1 | 1 |
| PW-Link Module Cable | 1 | 1 |
| Power Module | 1 | 1 |
| SanDisk 16GB Memory Card | 1 | 1 |
| 12C Expansion Board | 1 | 1 |
| TTL Plate | 1 | 1 |
| NEO GPS | - | 1 |
| GPS Bracket | - | 1 |
| 参数描述 | Quantity |
|---|---|
| CUAV V5+ | 1 |
| CUAV NEO V2 GPS | 1 |
| Holibro Telemetry | 1 |
| FrSky D4R-II 2.4G 4CH ACCST Telemetry Receiver | 1 |
| DJI E305 2312E Motor (800kv,CW) | 4 |
| Hobbywing XRotor 20A APAC Brushless ESC | 4 |
| Power Module(Included in the CUAV V5+ package) | 1 |
| Turnigy High Capacity 5200mAh 3S 12C Lipo Pack w/XT60 | 1 |
The following tools are used in this assembly:
- 2.0mm Hex screwdriver
- 3mm Phillips screwdriver
- Wire cutters
- Precision tweezers
- Soldering iron
Estimated time to assemble is approximately 90 minutes (about 45 minutes for the frame and 45 minutes installing the autopilot and configuring the airframe.
-
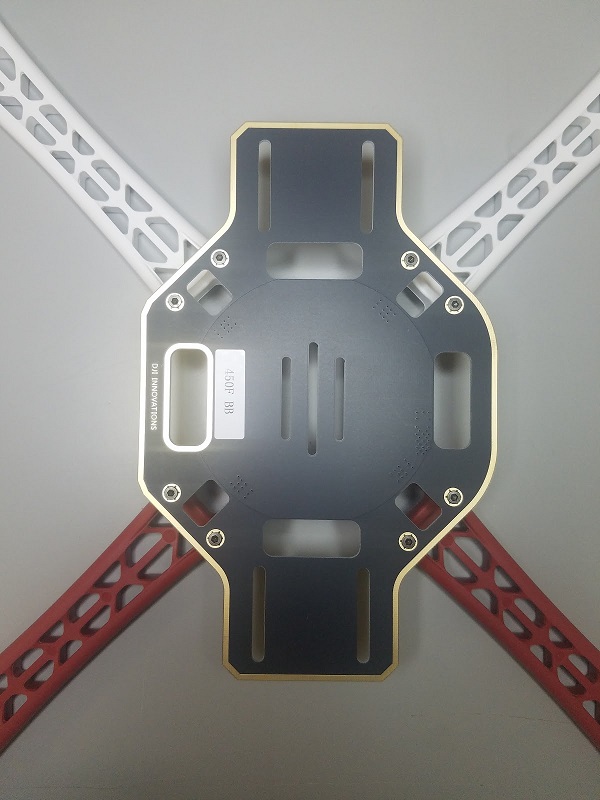
Attach the 4 arms to the bottom plate using the provided screws.
-
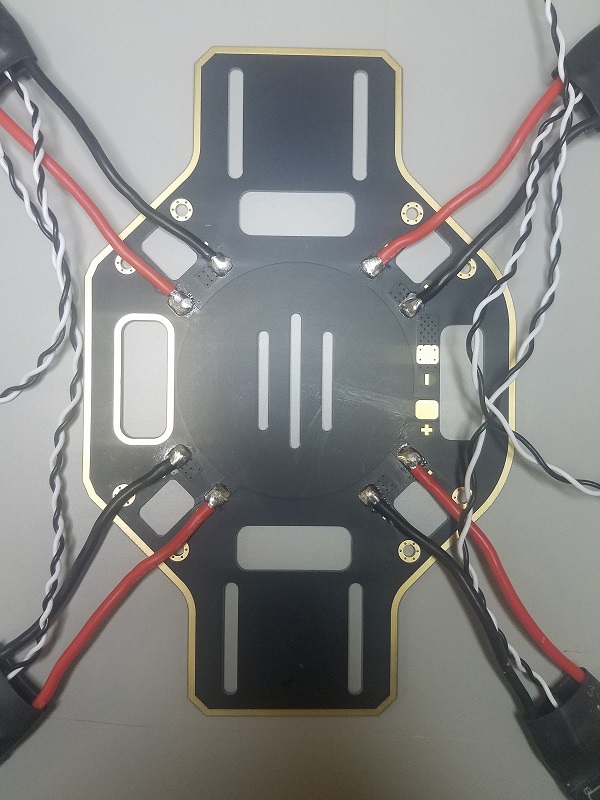
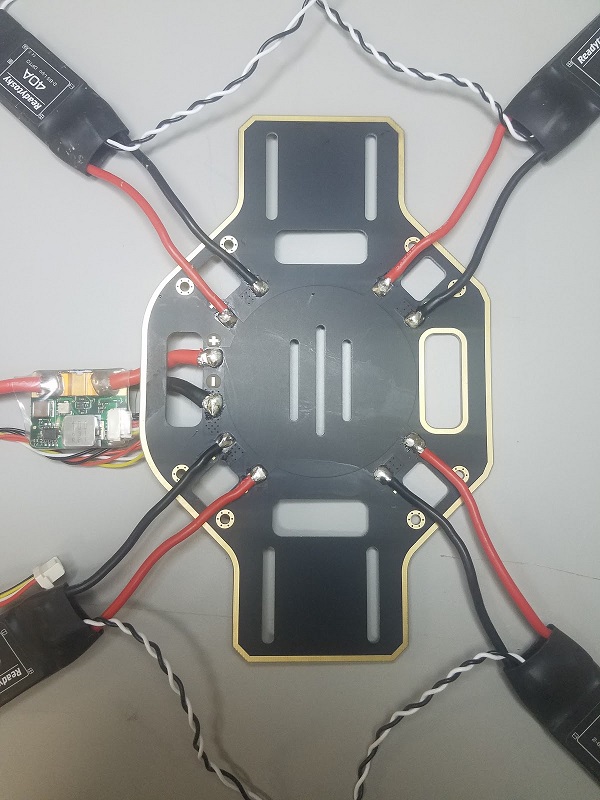
Solder ESC (Electronic Speed Controller) to the board, positive (red) and negative (black).
-
Solder the Power Module, positive (red) and negative (black).
-
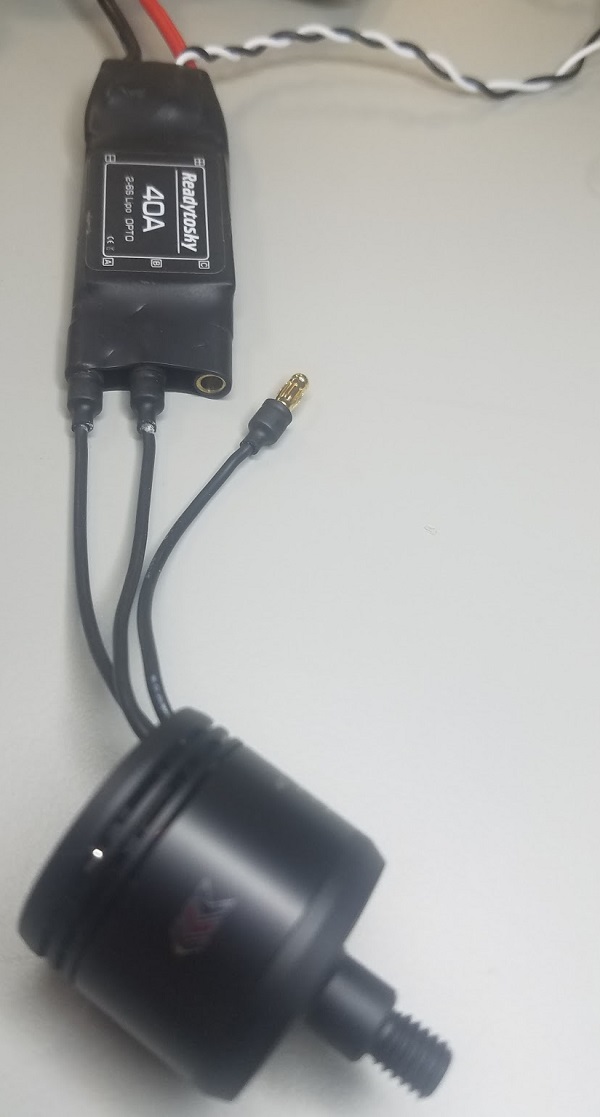
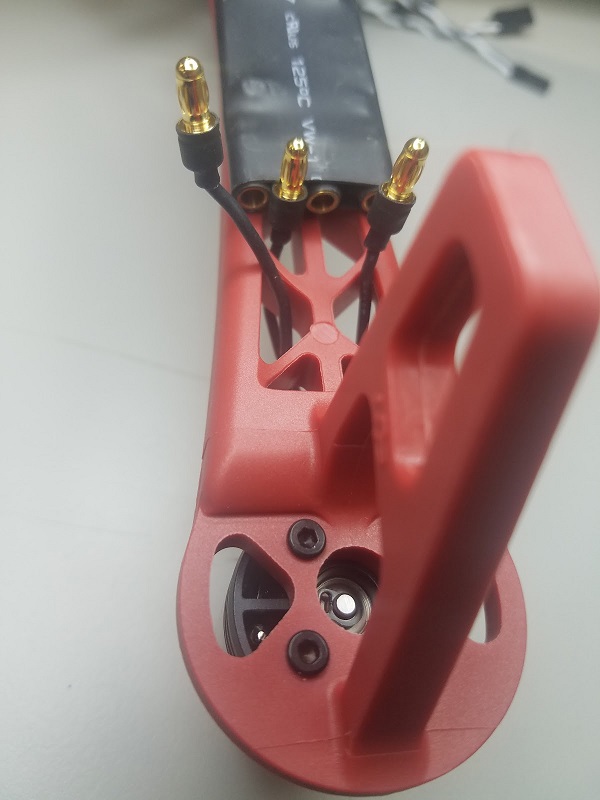
Plug in the motors to the ESCs according to their positions.
-
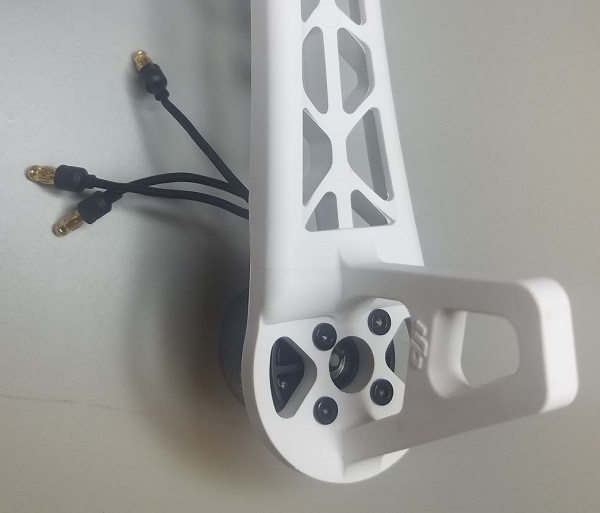
Attach the motors to the corresponding arms.
-
Add the top board (screw into the top of the legs).
-
Add double-sided tape (3M) to the CUAV V5+ flight controller (it has internal vibration damping, so no need to use foam).
-
Attach the FrSky receiver to the bottom board with double-sided tape.
-
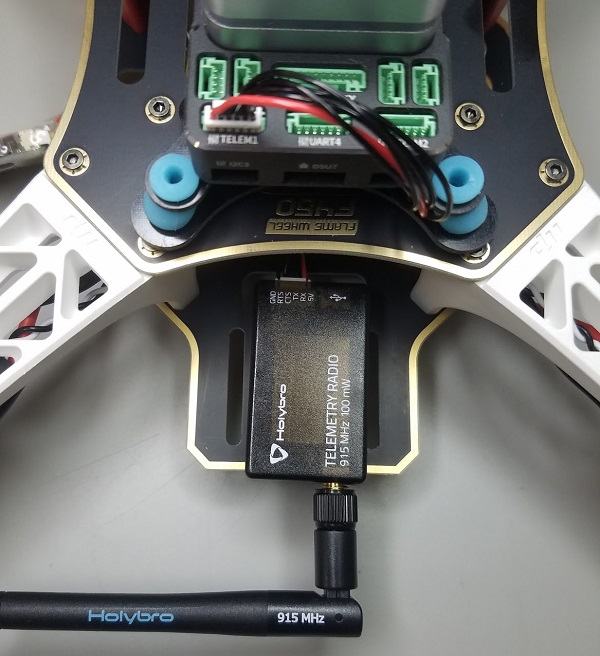
Attach the telemetry module to the vehicle’s bottom board using double-sided tape.
-
Put the aluminium standoffs on the button plate.
-
Plug in Telemetry (
TELEM1) and GPS module (GPS/SAFETY) to the flight controller.

-
Plug in the RC receiver (
RC), all 4 ESC’s (M1-M4), and the power module (Power1) into the flight controller.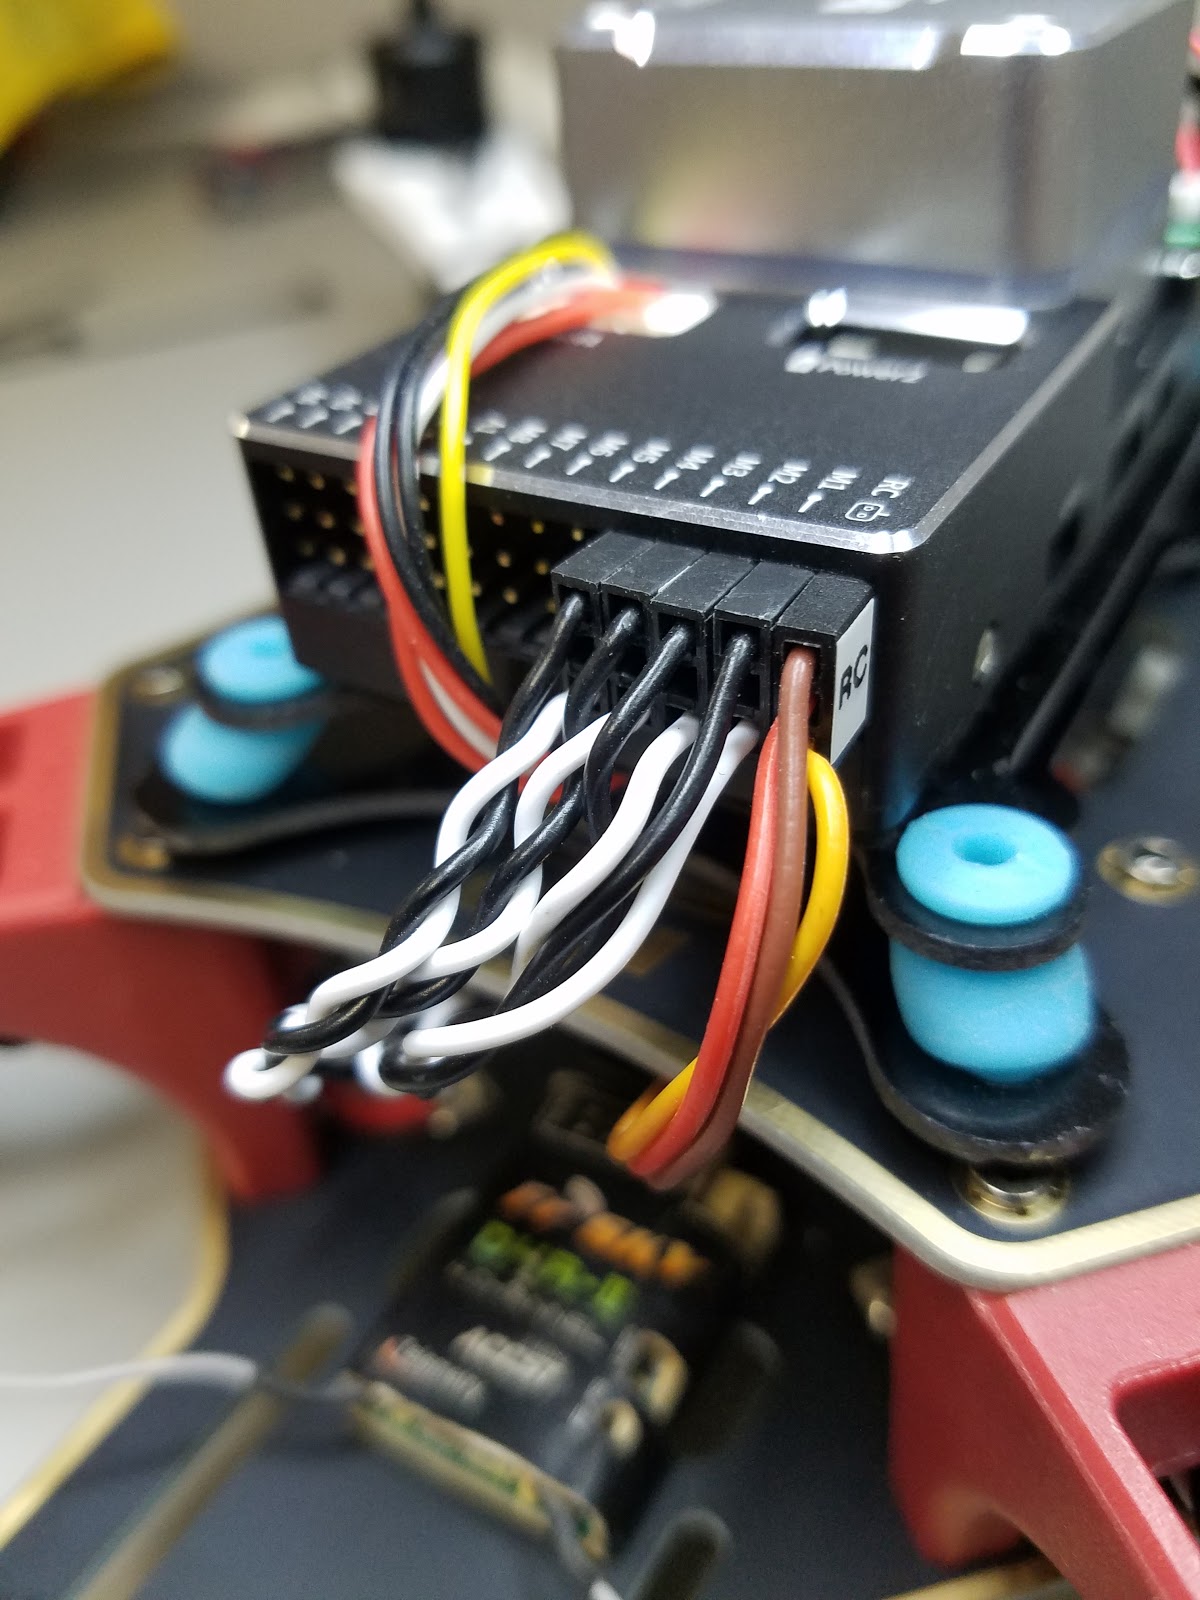
:::note The motor order is defined in the Airframe Reference > Quadrotor x :::
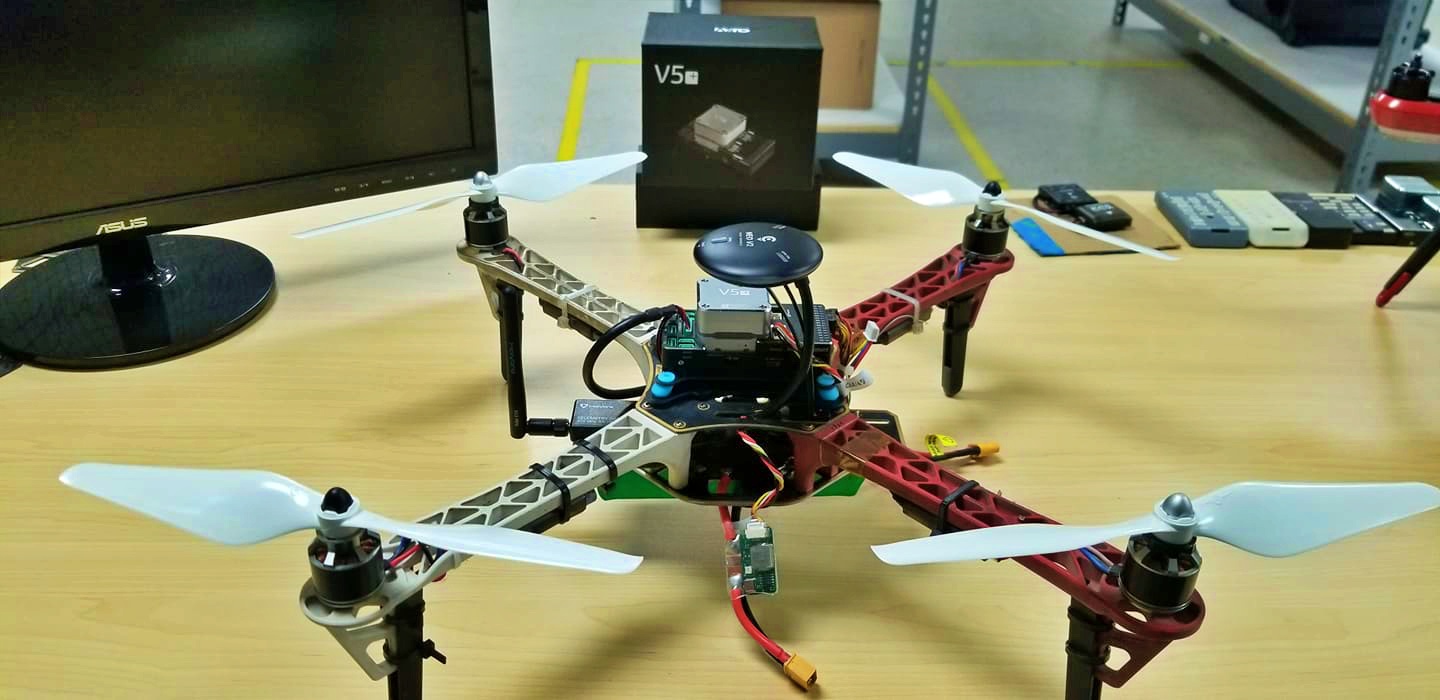
设置完成! The final build is shown below:
QGroundControl is used to install the PX4 autopilot and configure/tune it for the frame. Download and install QGroundControl for your platform.
:::tip Full instructions for installing and configuring PX4 can be found in Basic Configuration. :::
First update the firmware and airframe:
-
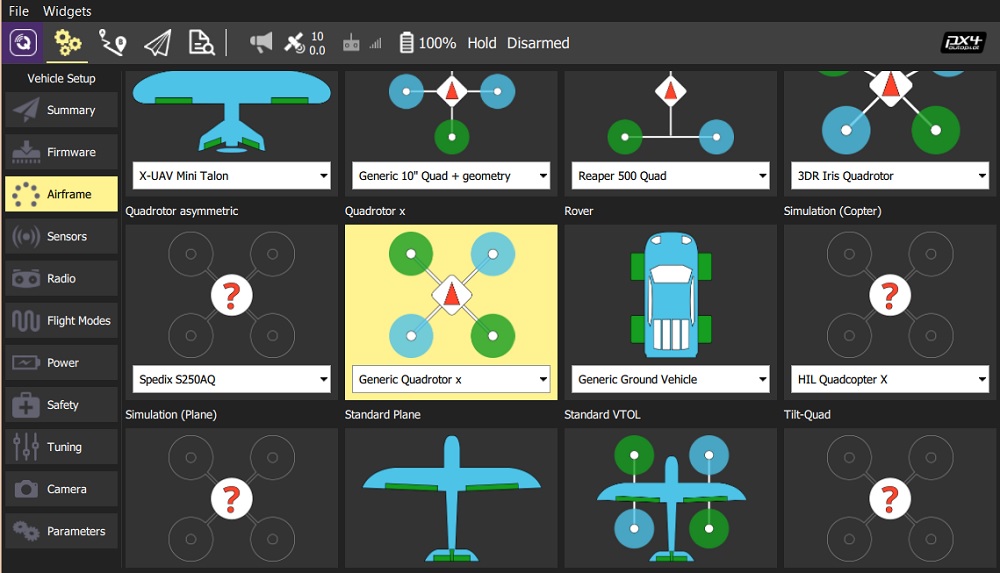
Airframe :::note You will need to select the Generic Quadrotor X airframe (Quadrotor x > Generic Quadrotor X).
Then perform the mandatory setup/calibration:
-
:::note For this build we set up modes Stabilized, Altitude and Position on a three-way switch on the receiver (mapped to a single channel - 5). This is the recommended minimal set of modes for beginners. :::
Ideally you should also do:
Firmware installation sets default autopilot parameters that have been configured for the selected frame. These are good enough to fly with, but it is a good idea to tune the parameters for a specific frame build.
This build log was provided by the Dronecode Test Flight Team.
