-
Notifications
You must be signed in to change notification settings - Fork 8
Creating Optitrack model
To create a model of your platform, first you need to put the markers on it. The minimun recommended number of markers is 4. You have to put them in such a way that they are not aligned and in different planes. Once the markers are put, you have to position the UAV with the X axis (red) aligned with the Optitrack X axis as shown in the folowing image:

In FLU (Front, Left and Up) representation, the X axis is defined towards the front of the vehicle.
Now it is the moment to open the Motive application.
Before start, once you have opened the Motive application, you must be sure all the cameras are on. Simply observe all the cameras have a violet light. If not, you need to restart the application.
The next step is to load a calibration file of the Optitrack system. For that, you can go to File > Open... and select the last calibration file. If you don't know what file you have to load, simply ask to the laboratory personnel.

Once the calibration has been loaded, let's create a new model. Change to the create layout selecting Layout > Create:

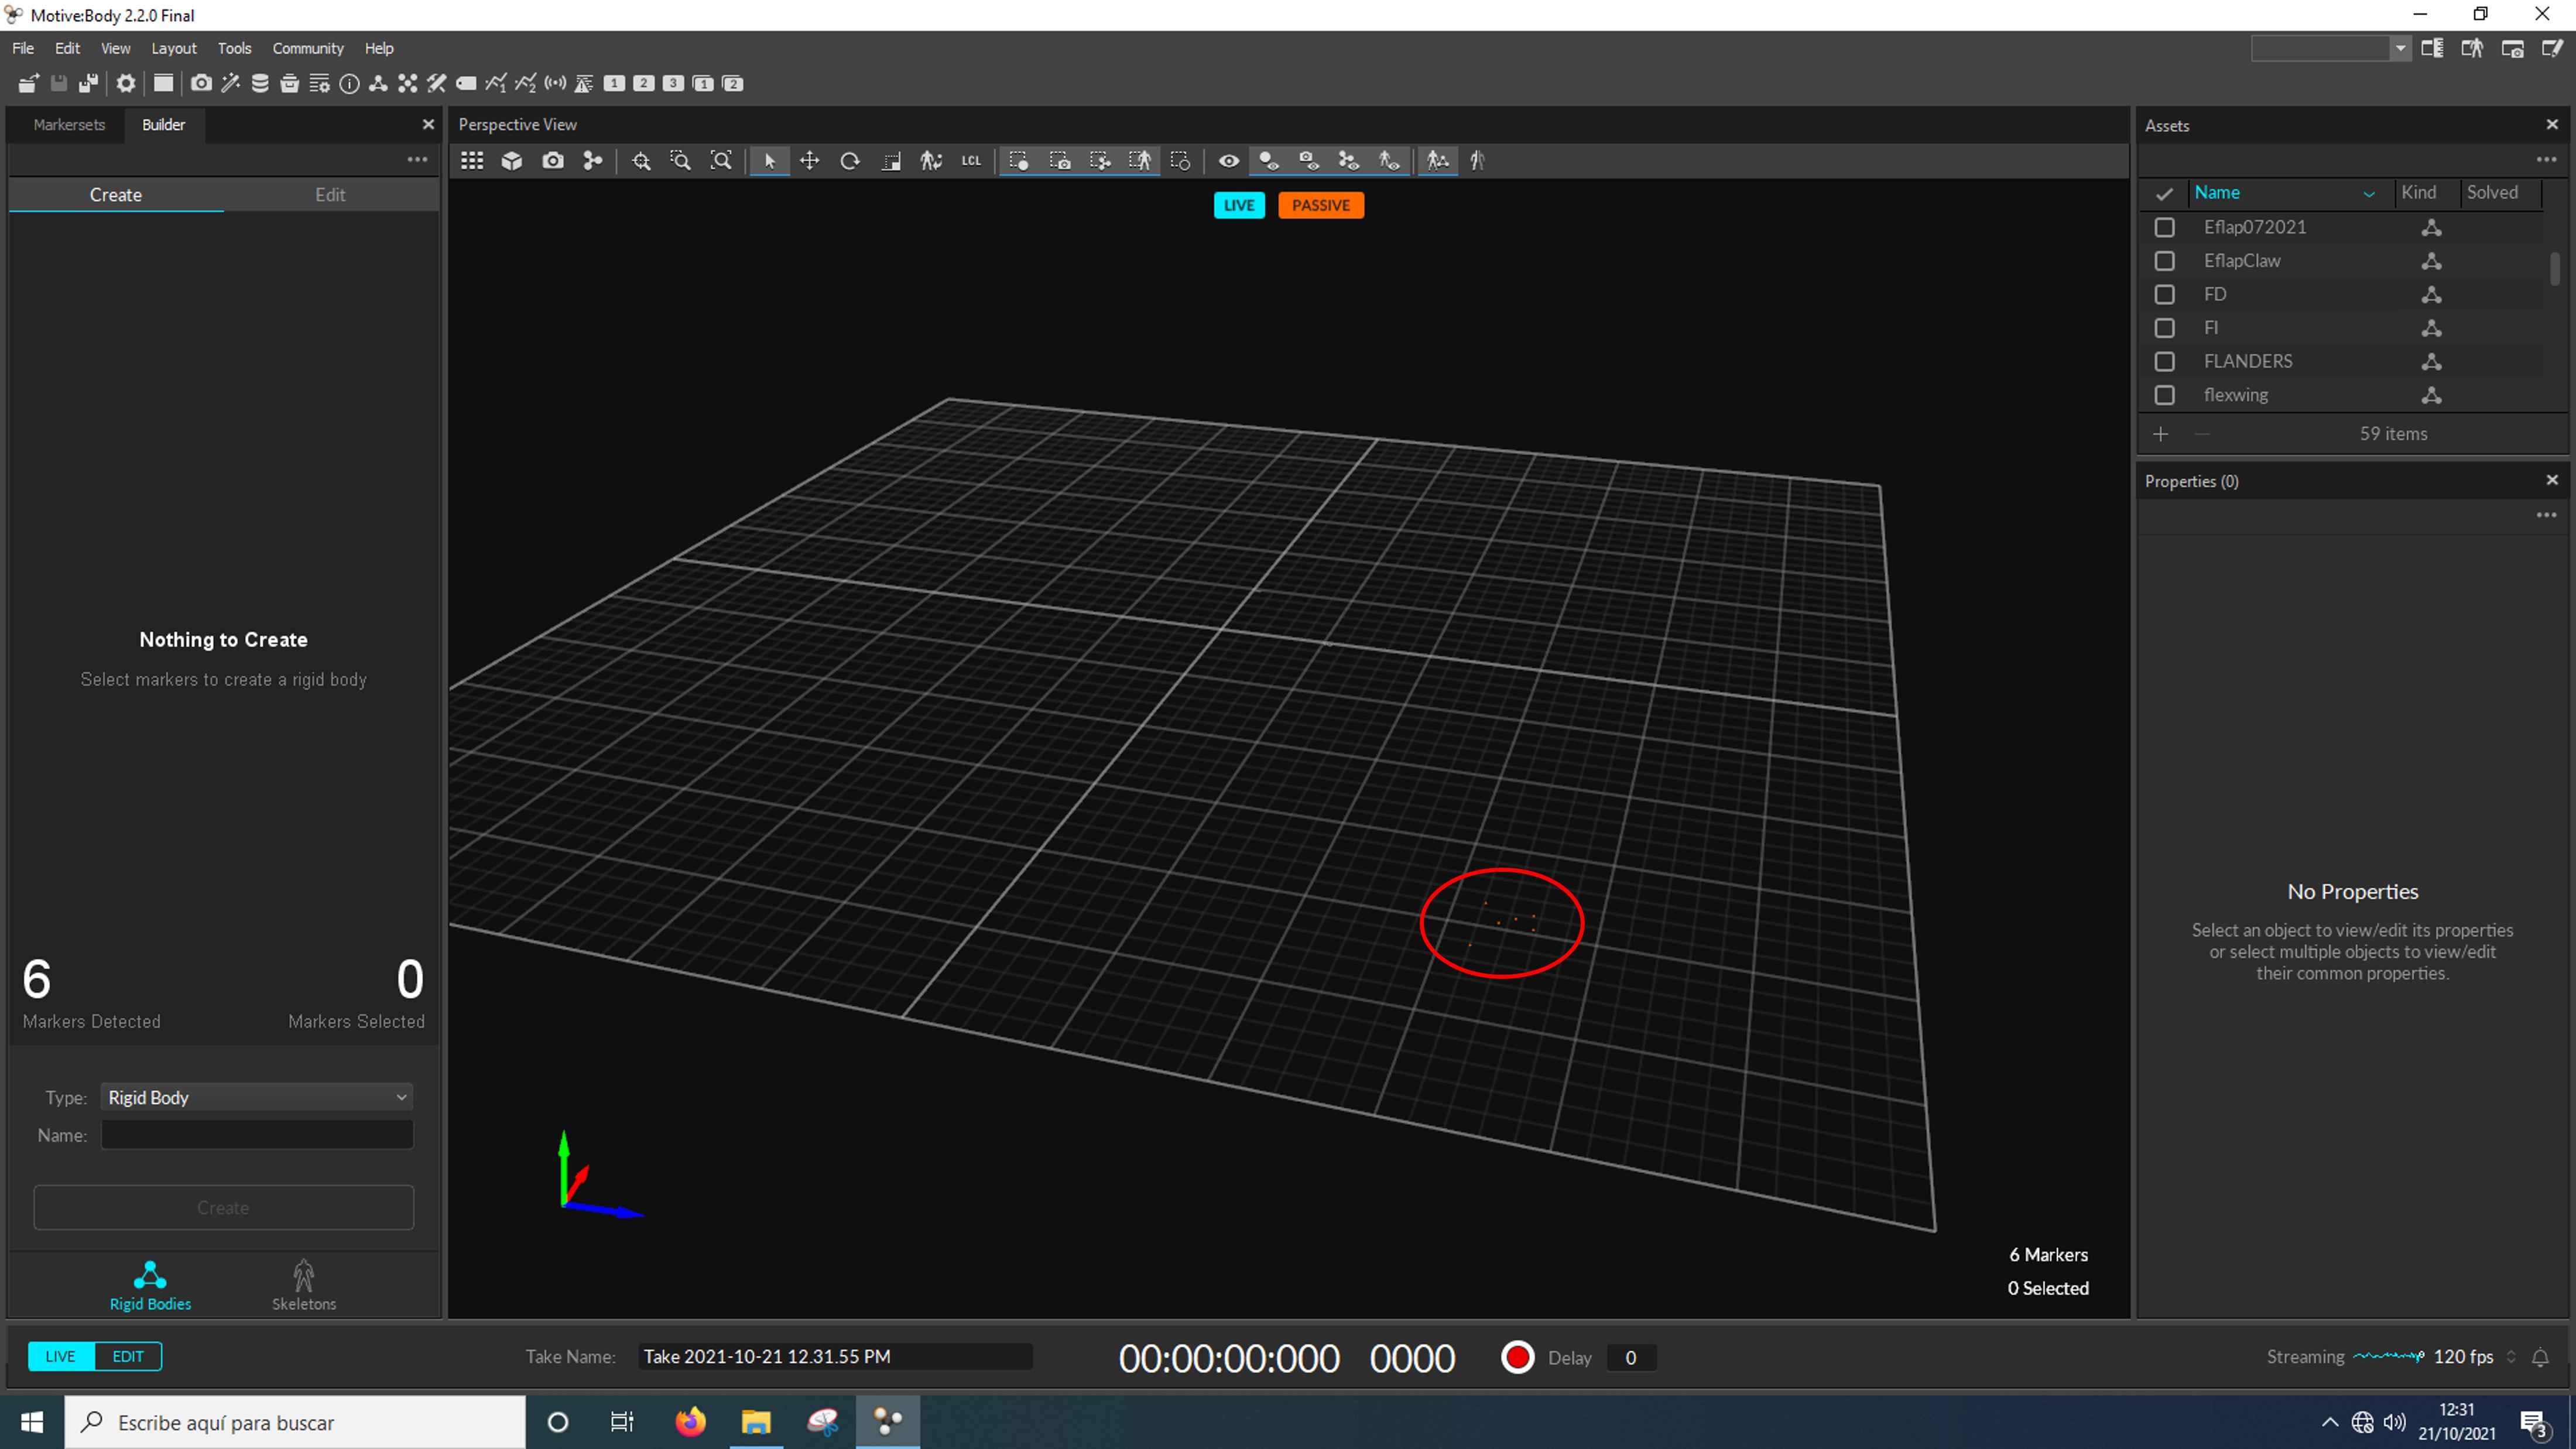
Here you can see the markers you put on the UAV in orange. To create a new model select all the markers dragging the cursor:
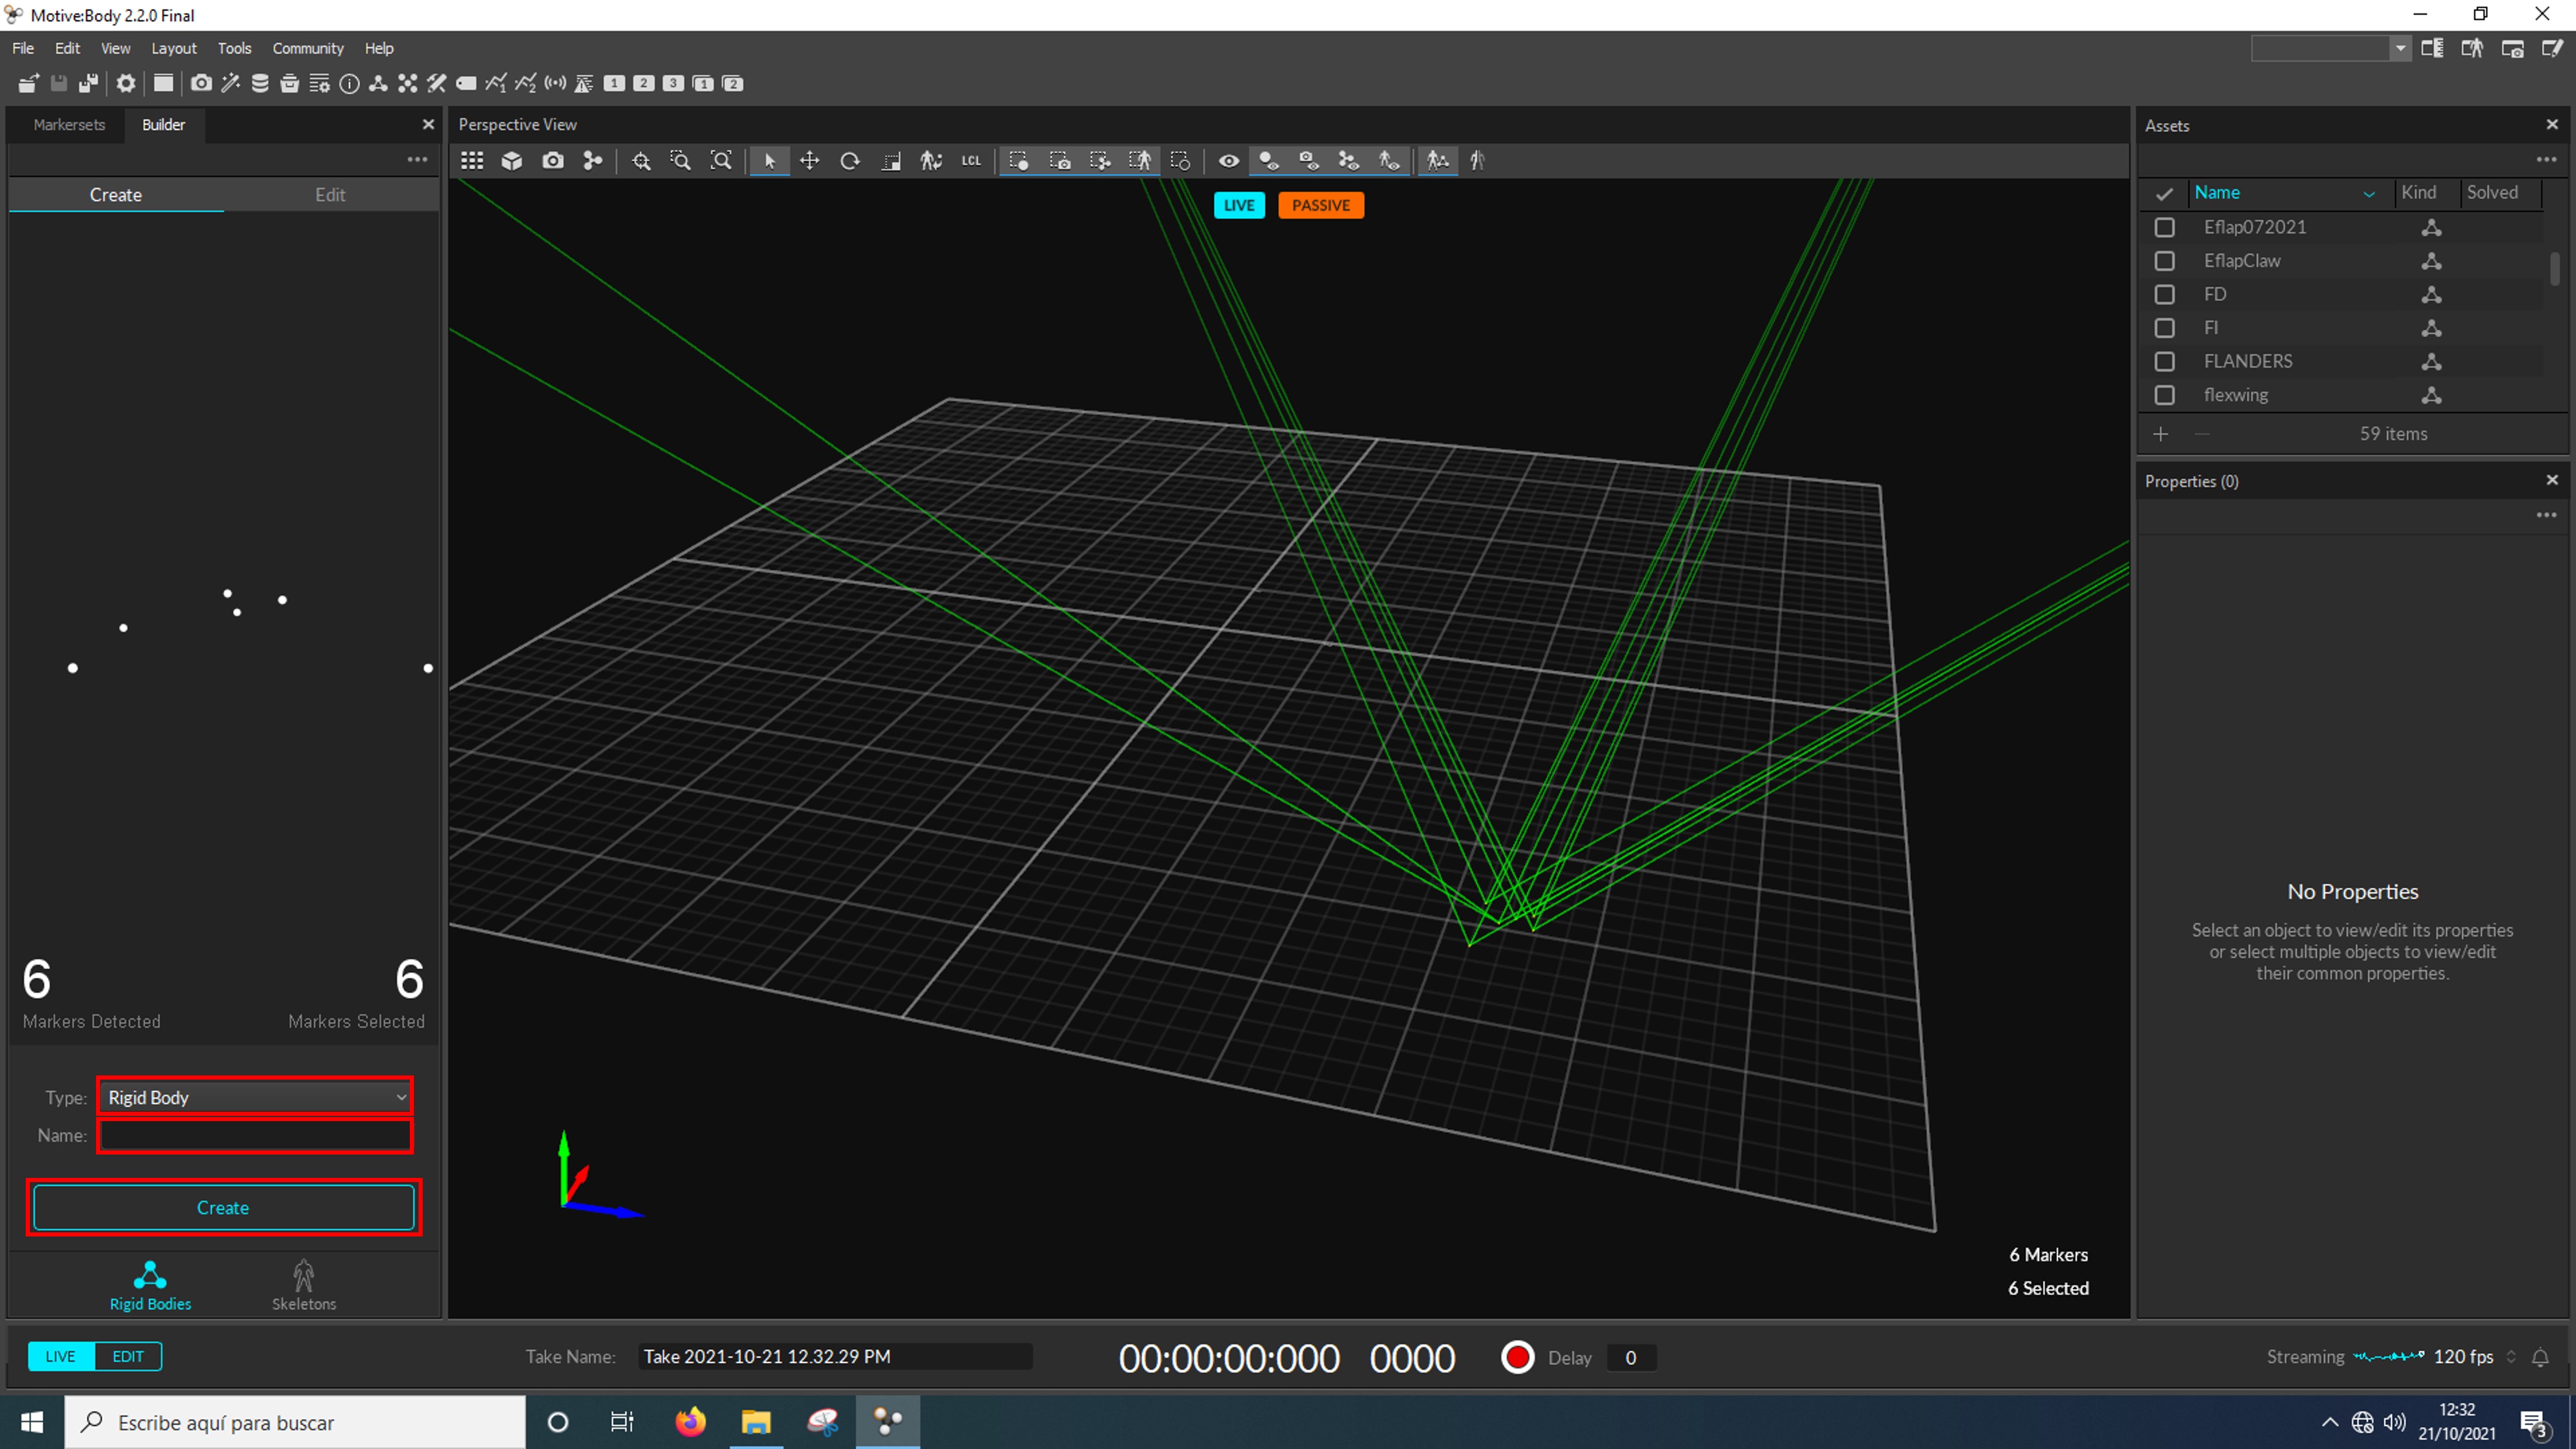
In the Builder pane, in Type select Rigid Body and in Name enter the name you want the model to have. Finnaly, press the Create button to create the model:
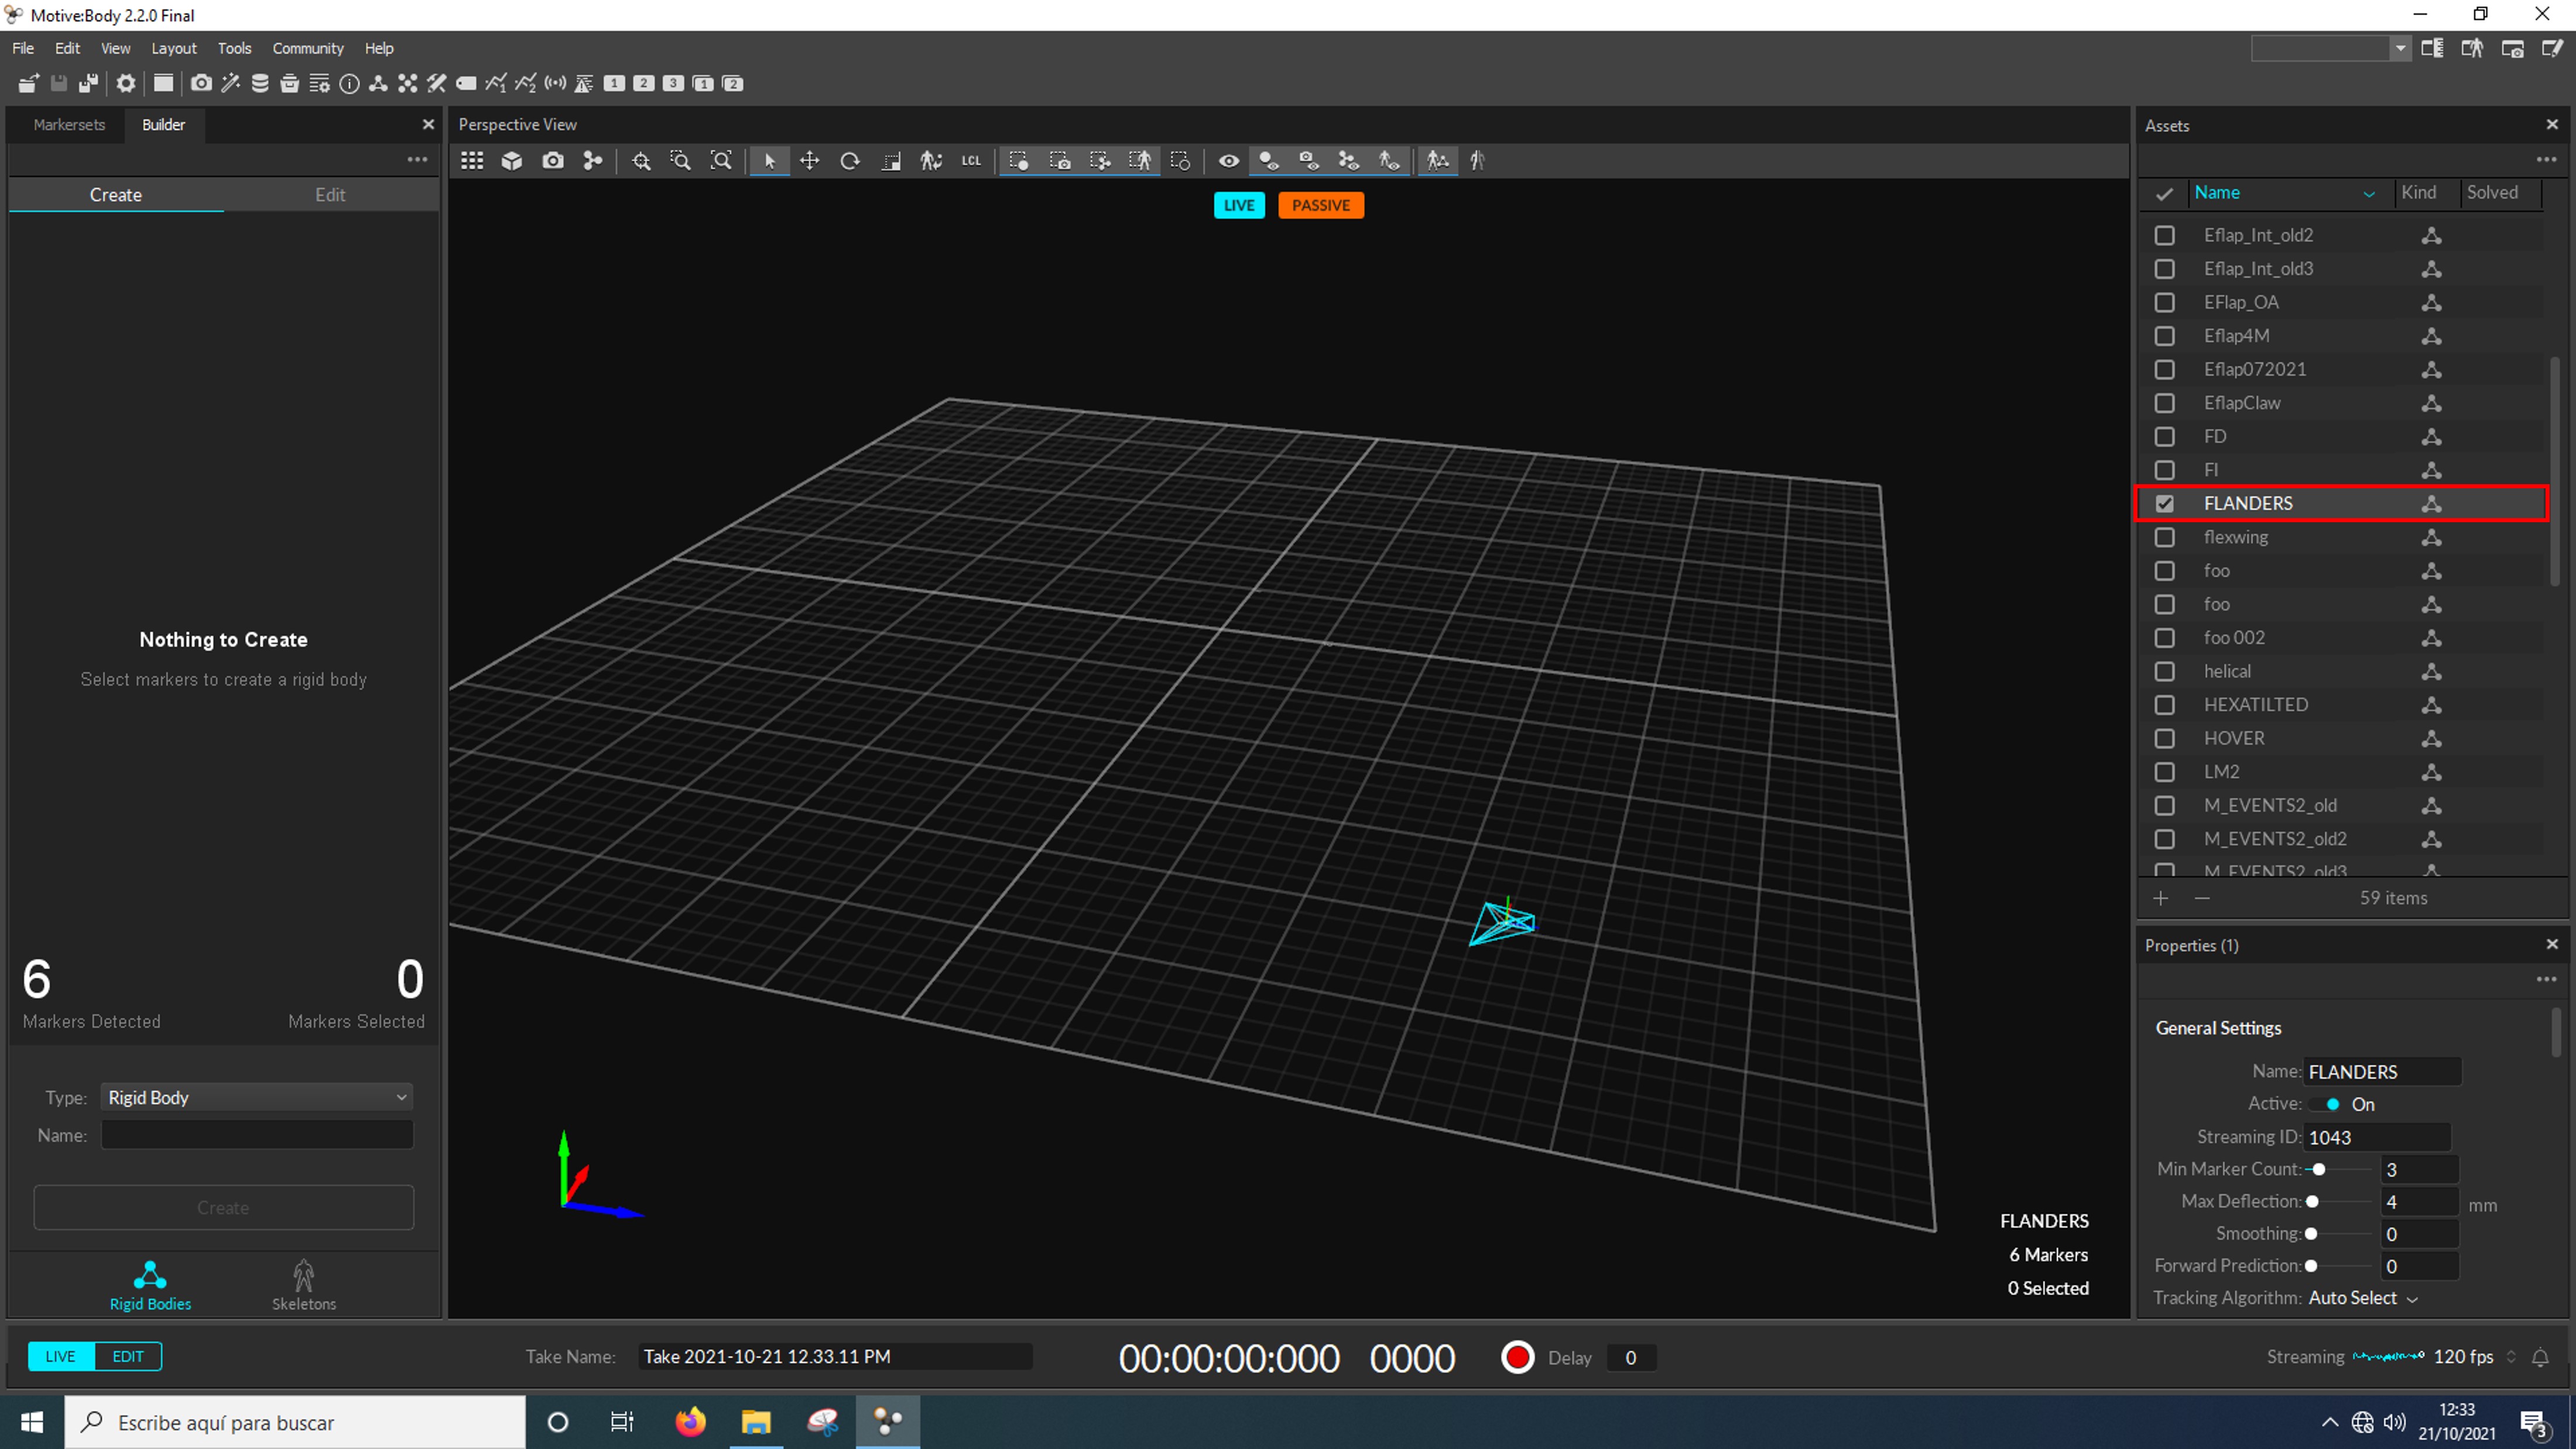
Congratulations! Now you have created your first Optitrack model!
In the Assets pane, select the model you want to stream:
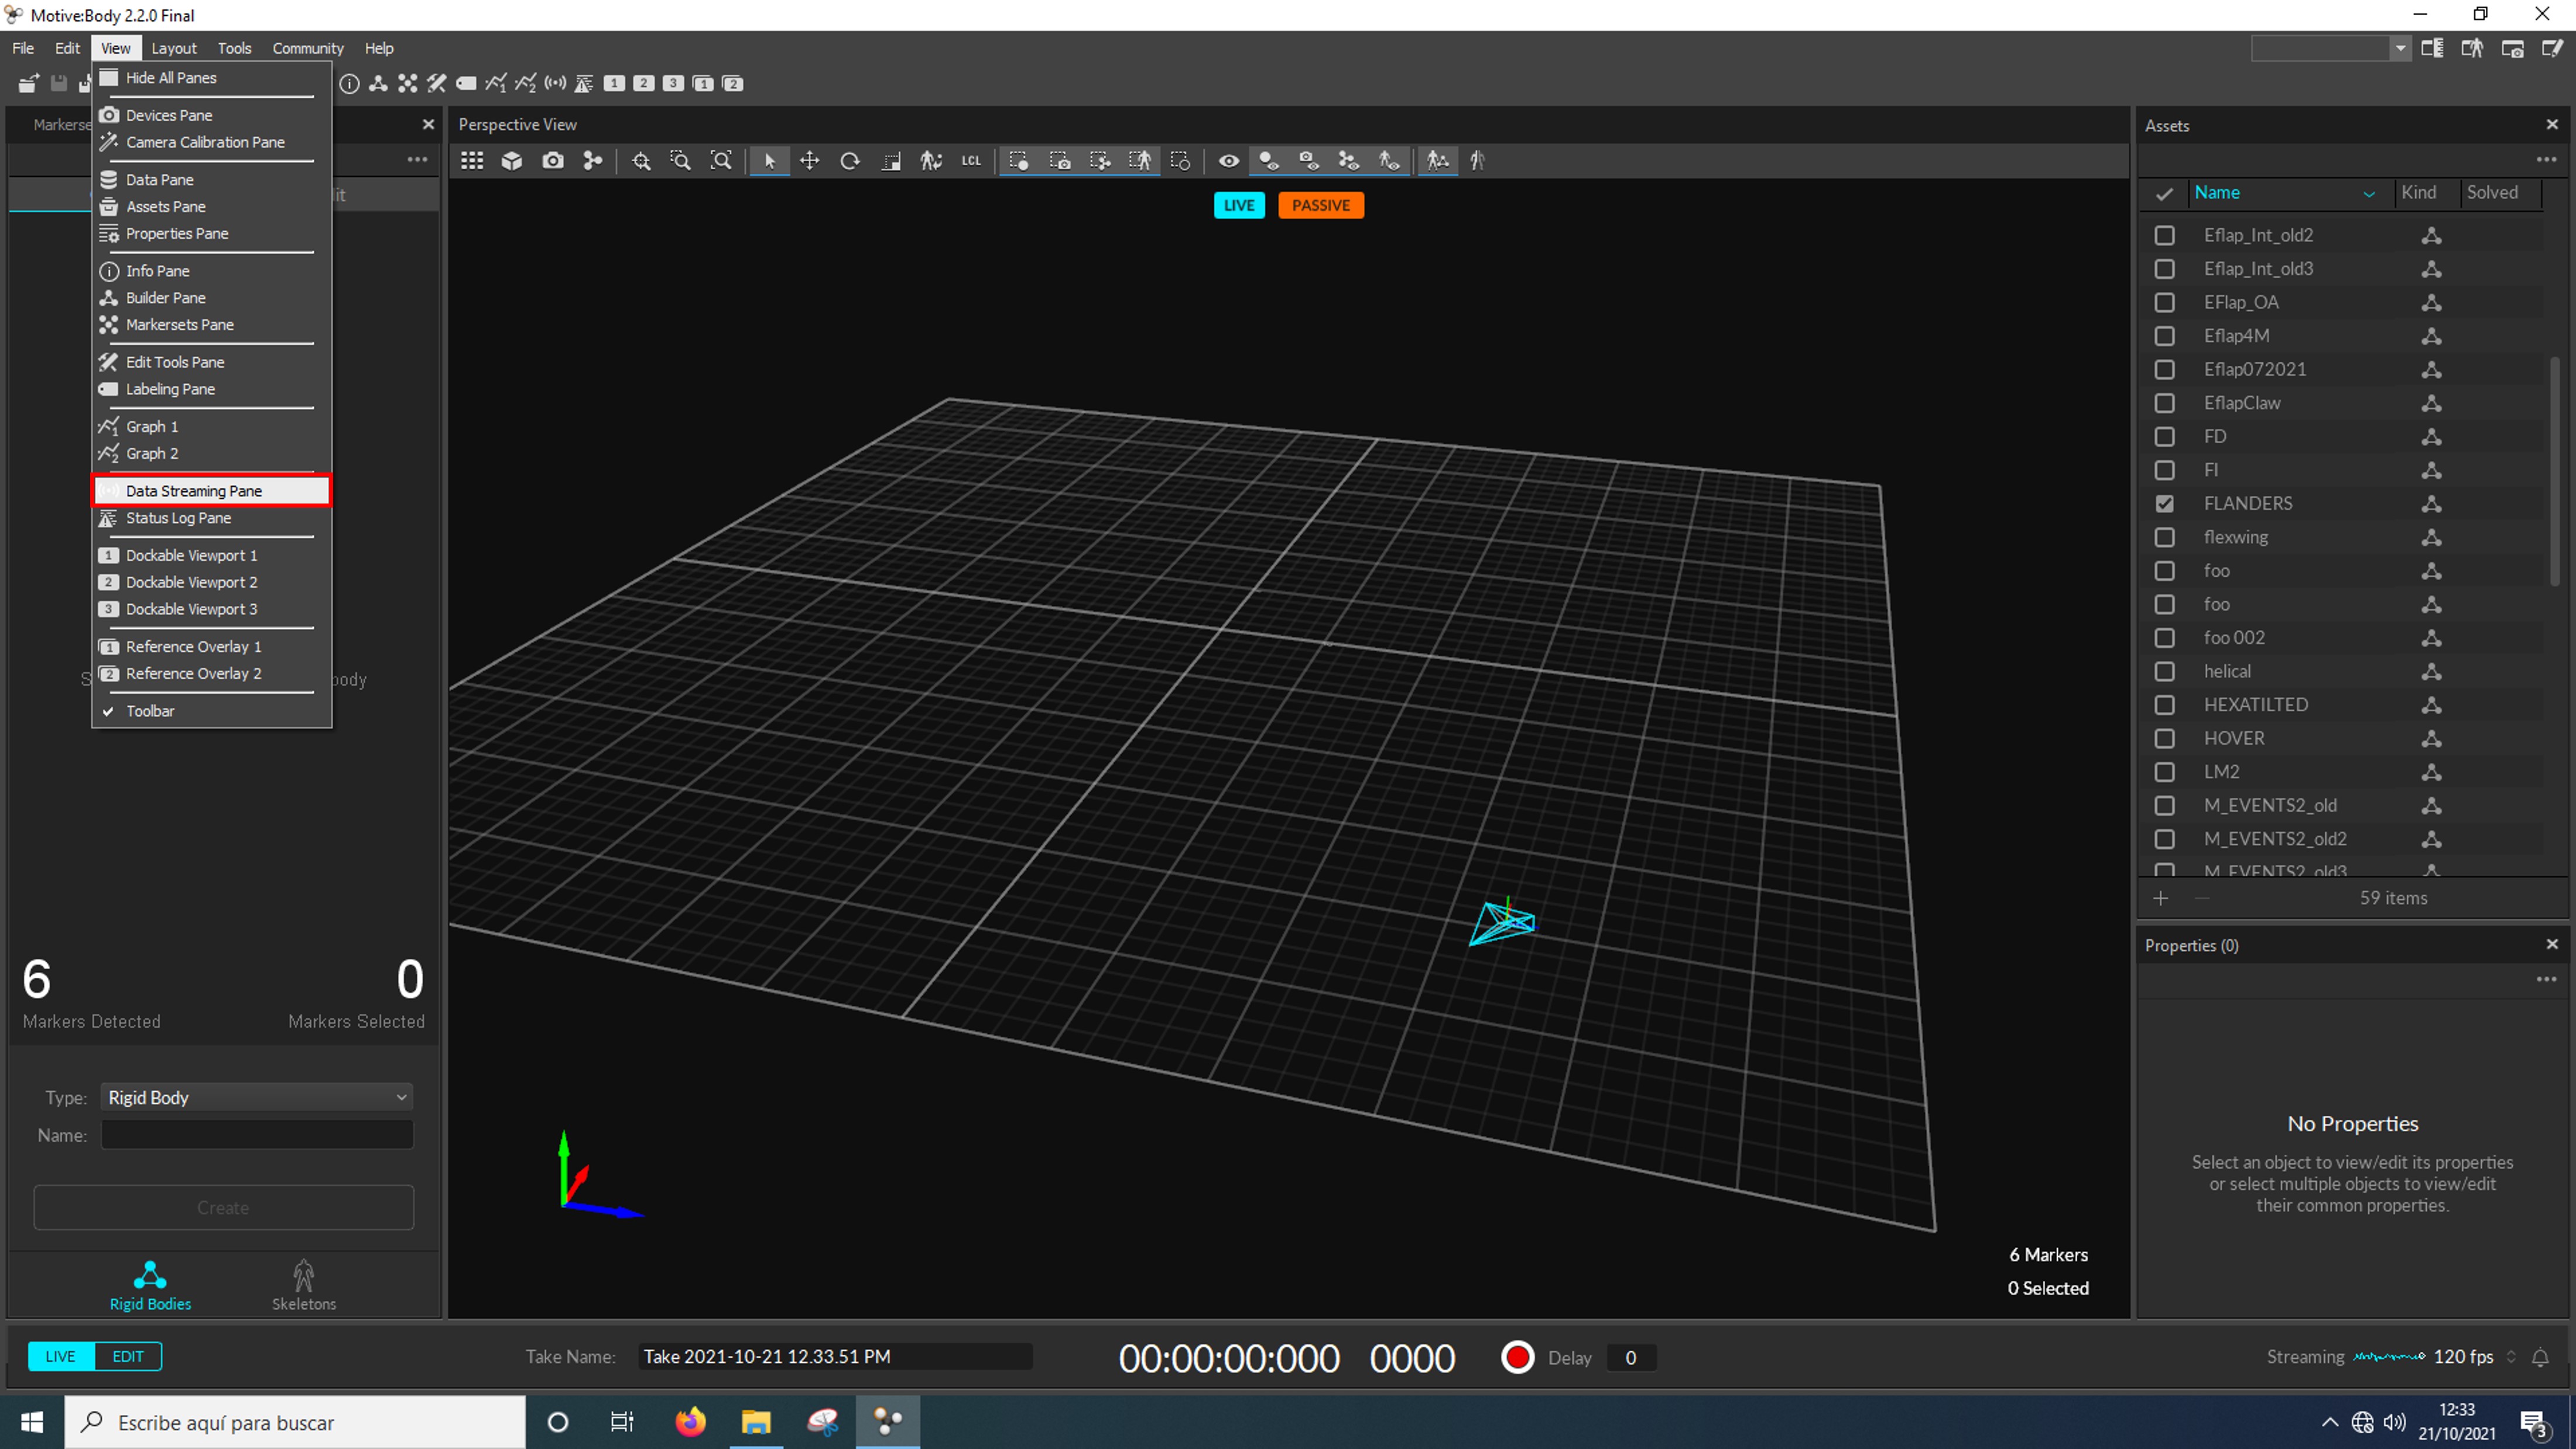
Next, open the Streaming pane clicking in View > Data Streaming Pane:
Here, in Local Interface we see 3 IP addresses:
- localhost
- 192.168.0.xxx
- 169.254.17.xxx
You must select the IP address of the same network as the UAV flight computer. In this case 192.168.0.xxx. The las 3 digits may vary so you have to memorize them to configure the UAV flight computer.
localhost streams to the local machine, so we don't want it; and 169.254.17.xxx is the Optitrack cameras network, it is not recommended to stream to the cameras network.

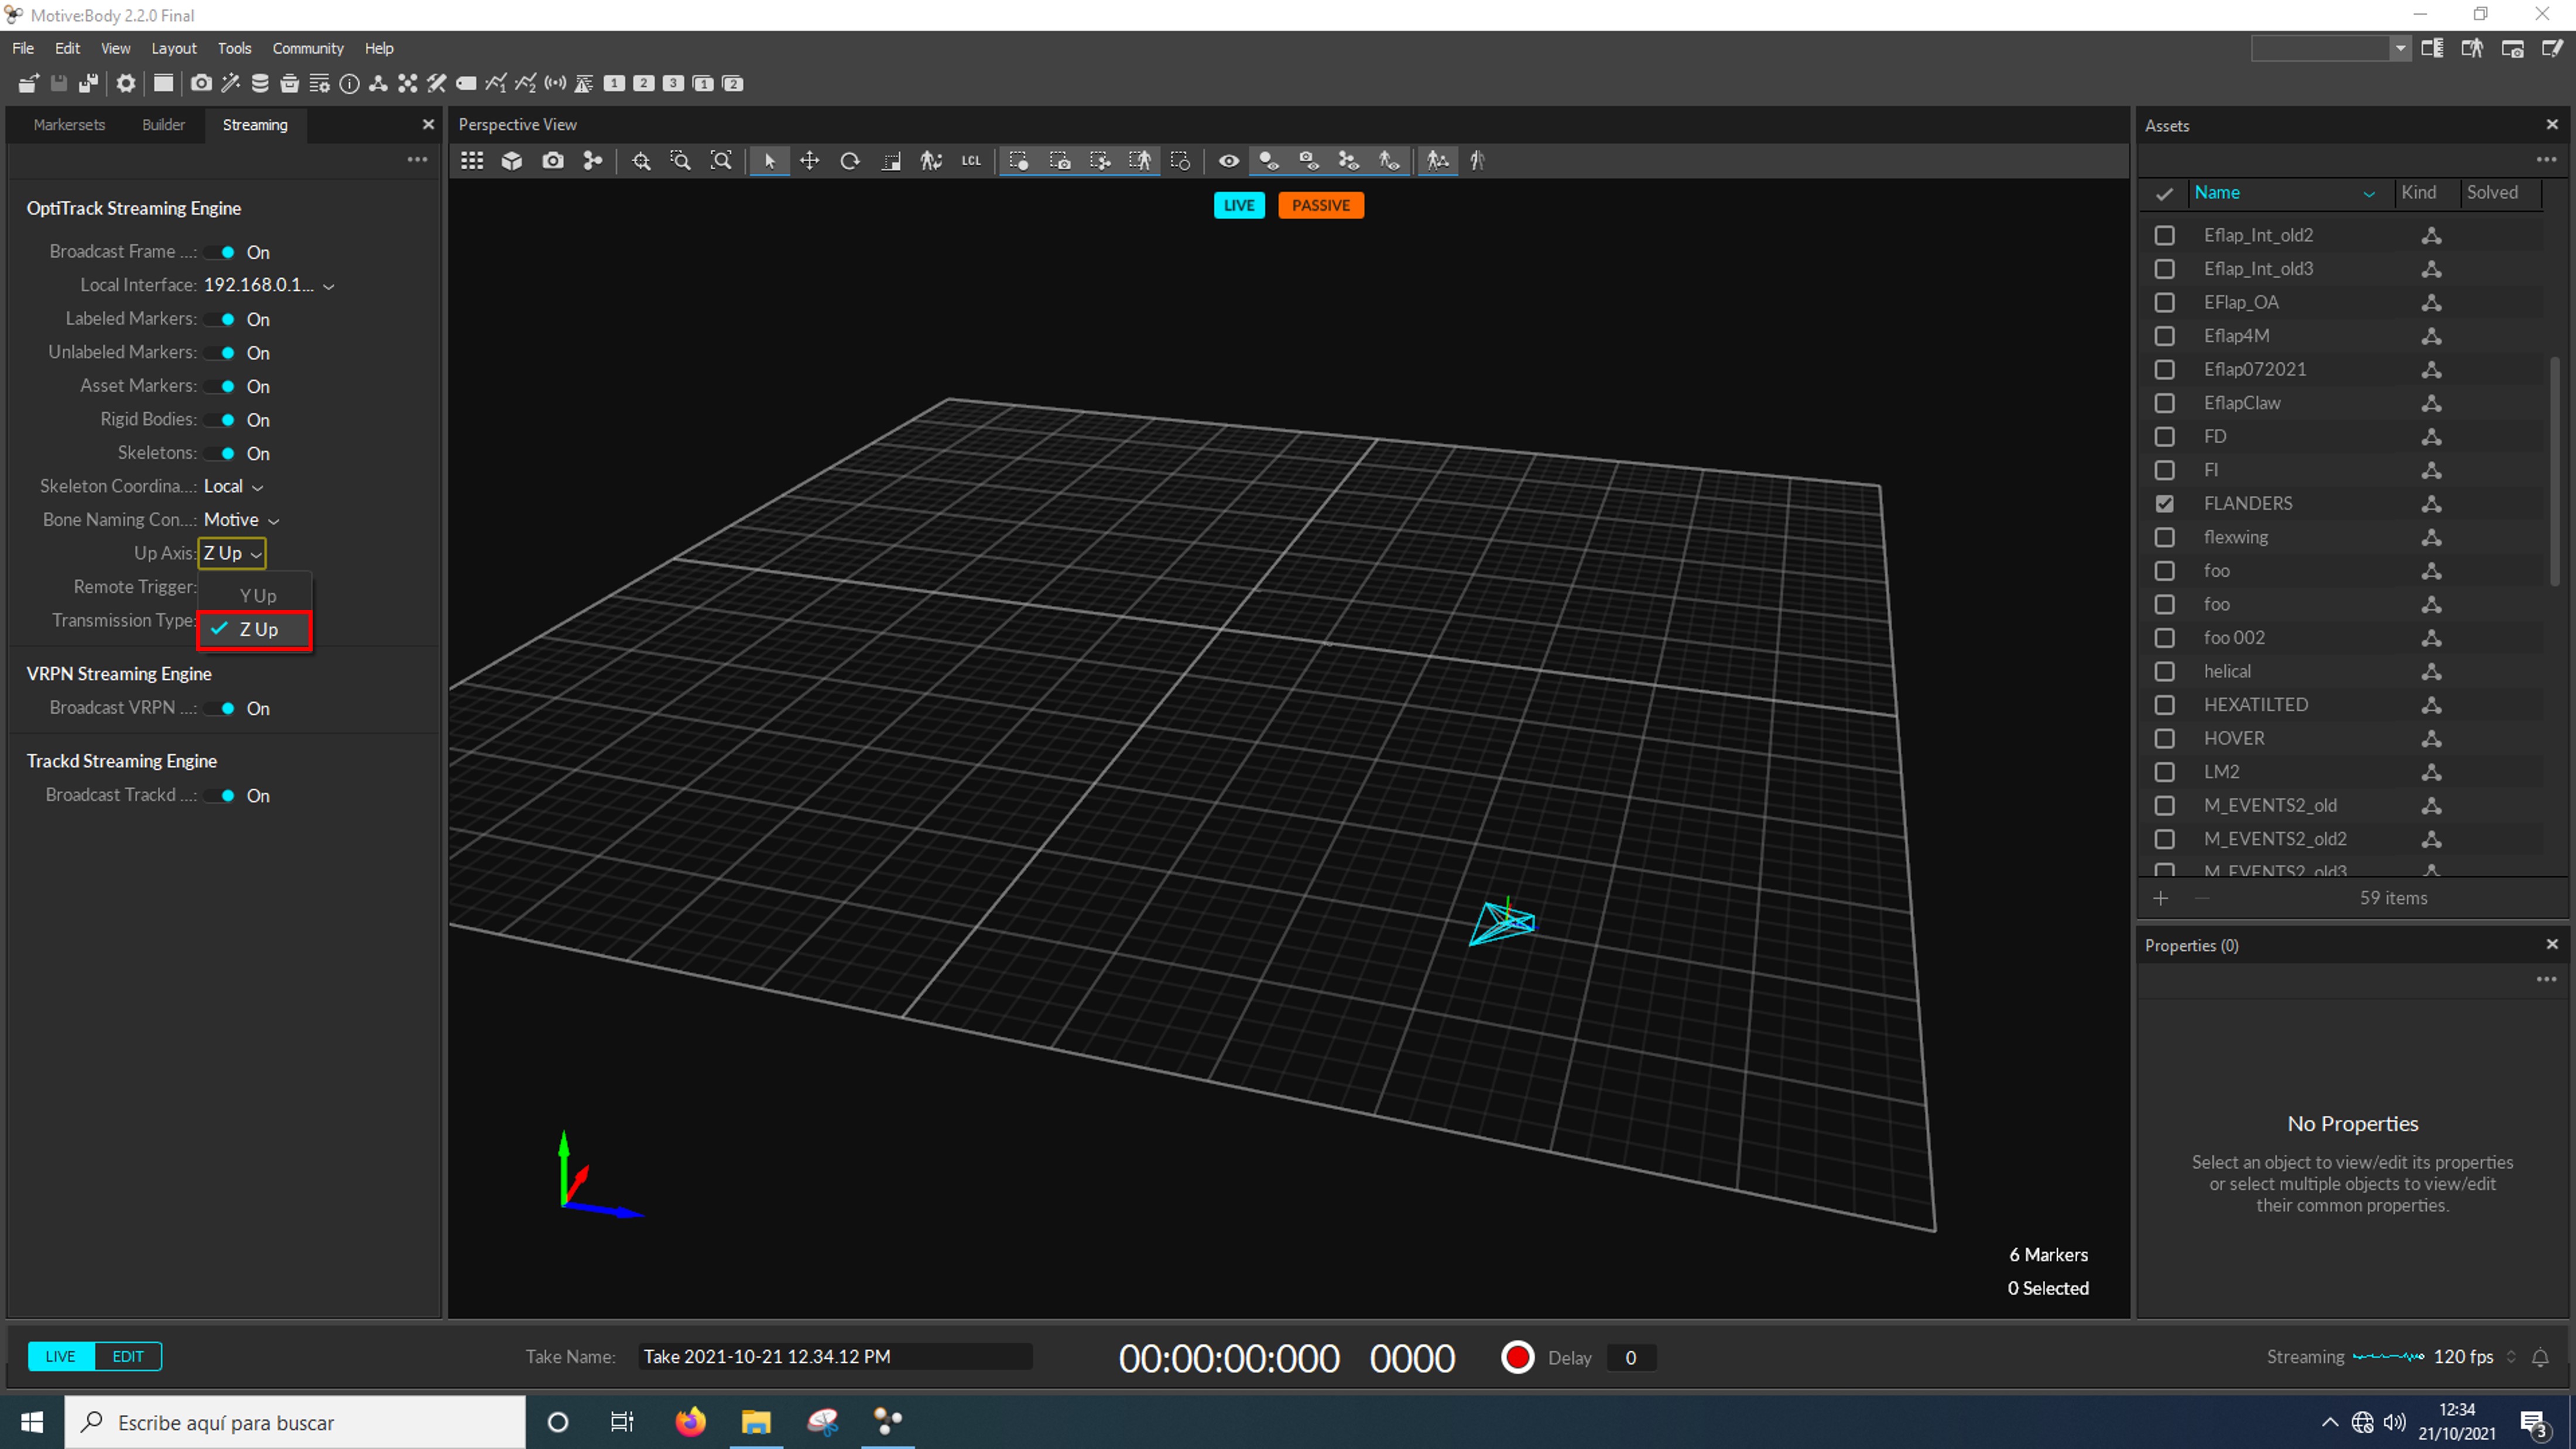
Finally, in Up Axis select Z Up to stream the data with the Z axis up:
