Located on the third floor in Balcony Room A (3.106), The Hackroom is a room for chilling and discovery -- a place to get away from all the hubba and play around with something cool. This is a space to relax, experiment with hardware, and enjoy the balcony views.
All of the hardware in the hackroom is open for modification, from the showcase projects on the table to the LEDs lining the walls. Keep reading to learn how to take everything apart and put 'em back together again.
Within the HackTX slack, the #ledparty channel allows attendees to vote on and change venue lighting within the Blackbox and Hackroom. If you have an idea for a new animation, pattern, or color that you'd like to see, checkout the code at particle-power/firmware and add a new function. You can test your code on the smaller LED strips in the hackroom. Once you're set, open a pull request, and we'll add your lighting function to the vote system.
Tiny, portable, connectable LED buddies.
Come to the hackroom, learn to make one, and take it out into the wild.
Our own lil robot friend.
Yeah, we have 3D printers. SketchUp is a great, free tool for making models. Experimentation encouraged.
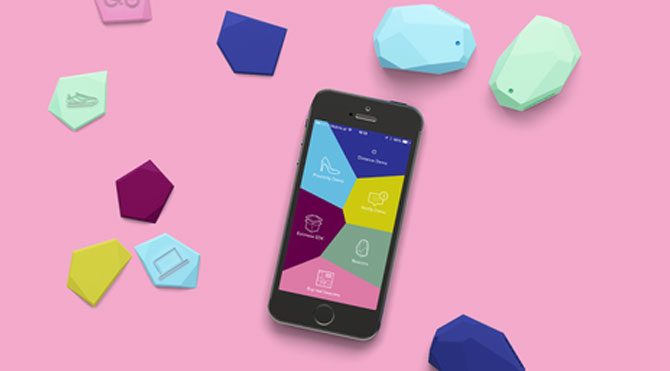
Throughout the venue, we have Estimote iBeacons setup and ready for your use. More on that later.
A theremin using light. 'nuff said. Check out the source tutorial for videos.
Many of these projects use Photons: small wifi-enabled microcontrollers. We have a ton of different components, including:
- lasers
- photoresistors
- sound sensors
- distance sensors
- piezo buzzers
- button switches
- LED strips
- diffused LEDs
- transistors
- resistors
- diodes
- continuous-rotation motors
- Jumper wires
The easiest way to develop on our Photons is to get direct photon access through the web IDE. (Online Tutorial)
However, if you're particularly inclined, you can connect via micro-USB, flash your firmware directly, and scamper off into the hacking wilderness. (Offline Tutorial)
If you aren't familiar with breadboards and wires, here is a great, in-depth tutorial from sparkfun.
Once everything is working, we highly recommend that you submit a pull request to share your project with everyone who visits this page!
You will need to fork this repository from the top-right corner of this page.
Commit and push your project:
git add ./projects/path-to-application
git commit -m "Added my project!!!"
git remote add local https://github.com/<your username>/hackroom
git push local master
Then, create your pull request! Here is a great guide.

-uNtT9g~~60_57.jpg)


