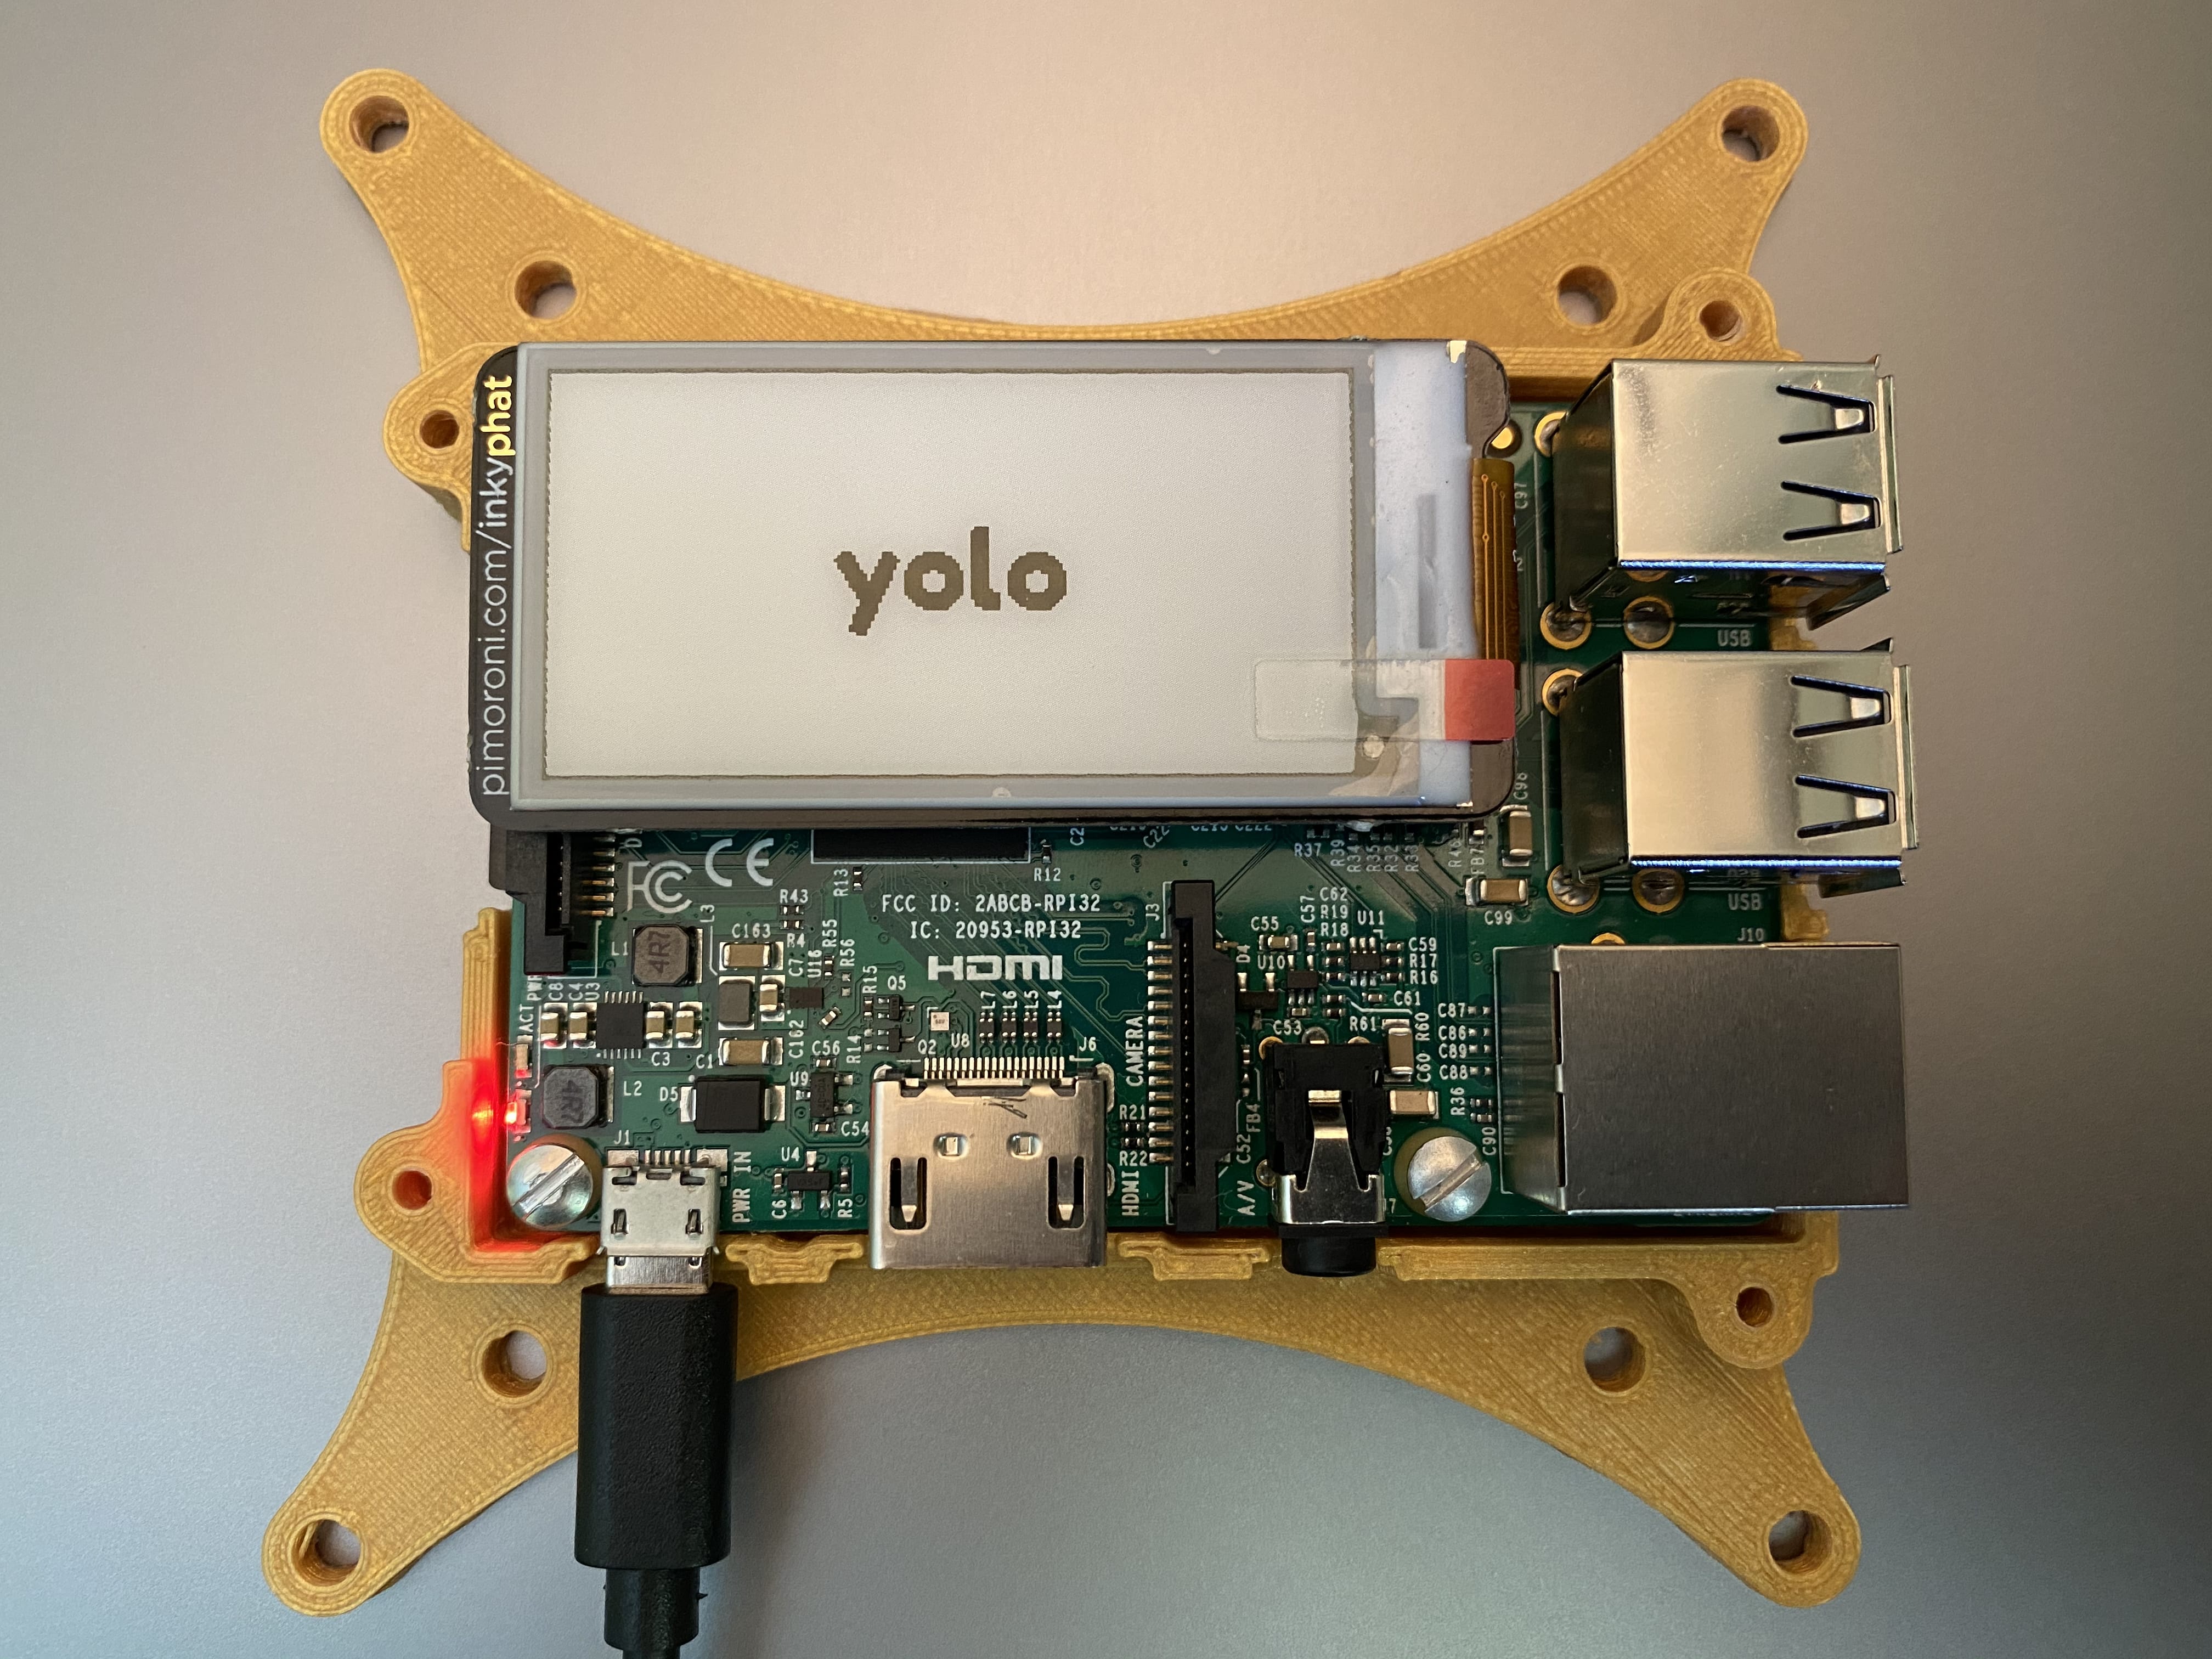
The Inky pHAT and Inky wHAT are eink displays made by Pimoroni (https://bit.ly/2xTrfHB). I like using them to test things when developing programs on the Raspberry Pi. Though the screens are nice, the installation process is a pain, takes a long time, and isn't automated.
Raspberry Pi 3 with Inky pHAT
If you are already using a Raspberry Pi, I would recommend using the inky-phat-installer.sh script. Running this will give you a minimal install of the Inky pHAT drivers. Once the script has run, you will see the current time in UTC on the Inky pHAT display.
If you are creating a fresh image for a Raspberry Pi, using the Firstboot Raspbian Image is the way to go as you can have everything ready to go when you first login into the Raspberry Pi.
The best way to get everything working properly is to follow these steps:
- Download the latest image from https://github.com/nmcclain/raspberian-firstboot/releases
- Use etcher to write to the SD card (https://www.balena.io/etcher/)
- Copy over
image-setup/firstboot.shandimage-setup/wpa_supplicant.confto boot partition of SD card. Remember to edit thewpa_supplicant.conffile with the details for your wifi network - Put the SD card into Raspberry Pi and boot. This will take a while but shouldn't take more than 20 mins. If it does, something probably went wrong.
- Once the script has run you will see the current time in UTC on the Inky pHAT display.
Using either of the two methods above will download a program called display.py into the /home/pi directory. You can use this program to send strings to the Inky pHAT display.
For example, python3 /home/pi/display.py hello will print hello on the Inky pHAT display.
