
Client library to download and publish reinforcement learning environments/agents on the huggingbutt.com hub. Join our Discord: https://discord.gg/fnrKcgPR9r
Removed dependency on ml-agents and added support for tiptoestep in the current version.
Create a new python environment using anaconda/miniconda.
conda create -n hbactivate the new python environment.
conda activate hbfrom source code
git clone https://github.com/huggingbutt/huggingbutt.git
cd huggingbutt
python -m pip install .
If there is no error message printed during the installation, congratulations, you have successfully installed this package. Next, you need to apply an access token from the official website https://huggingbutt.com.
Register an account and login, just do as shown in the image below.
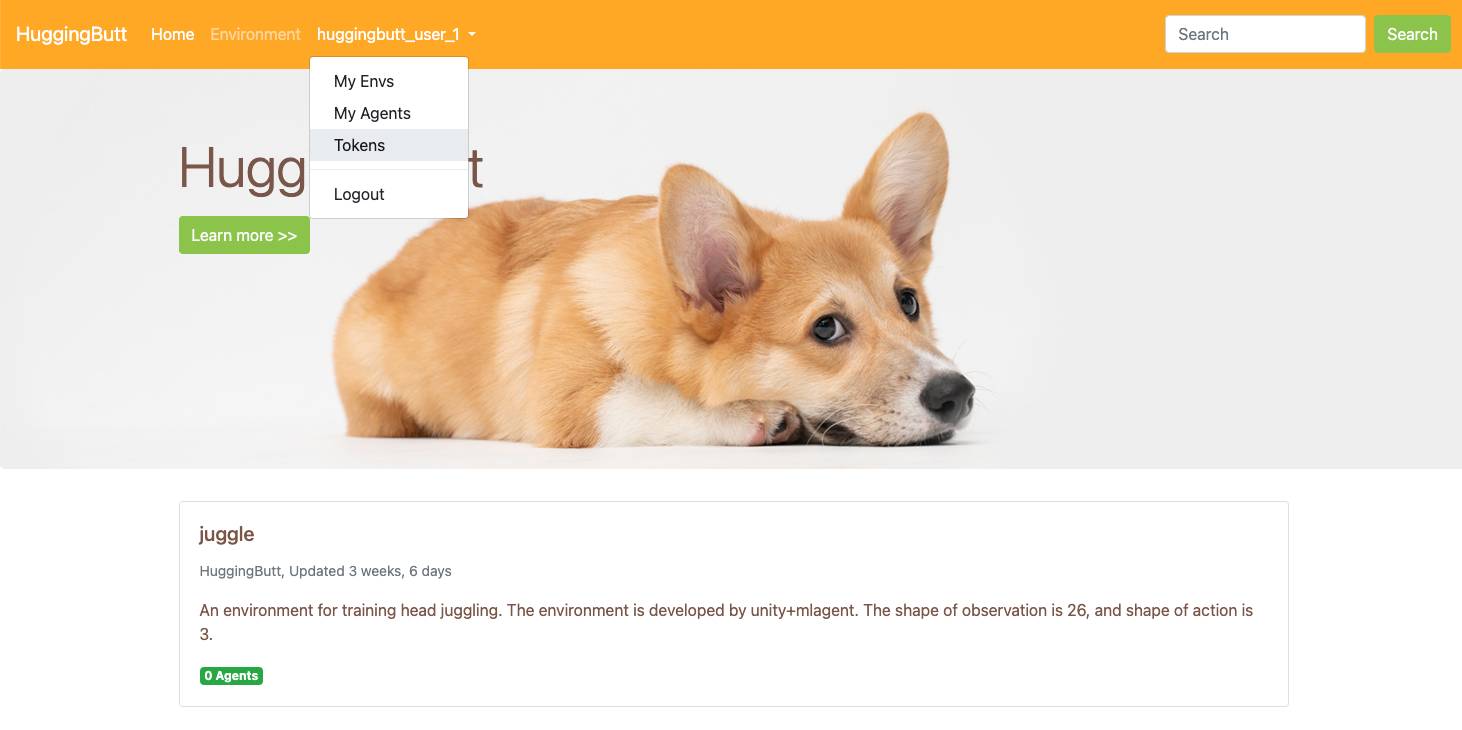
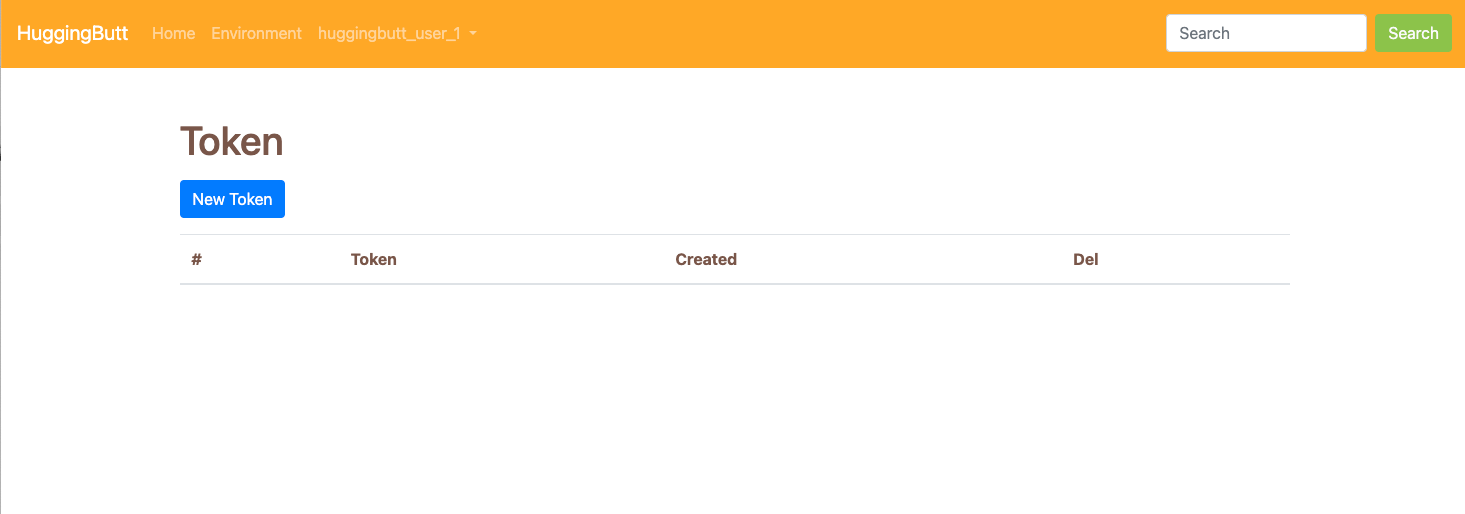
Click new token button generate a new token. This access token is mainly used to restrict the download times of each user, as the server cost is relatively high.
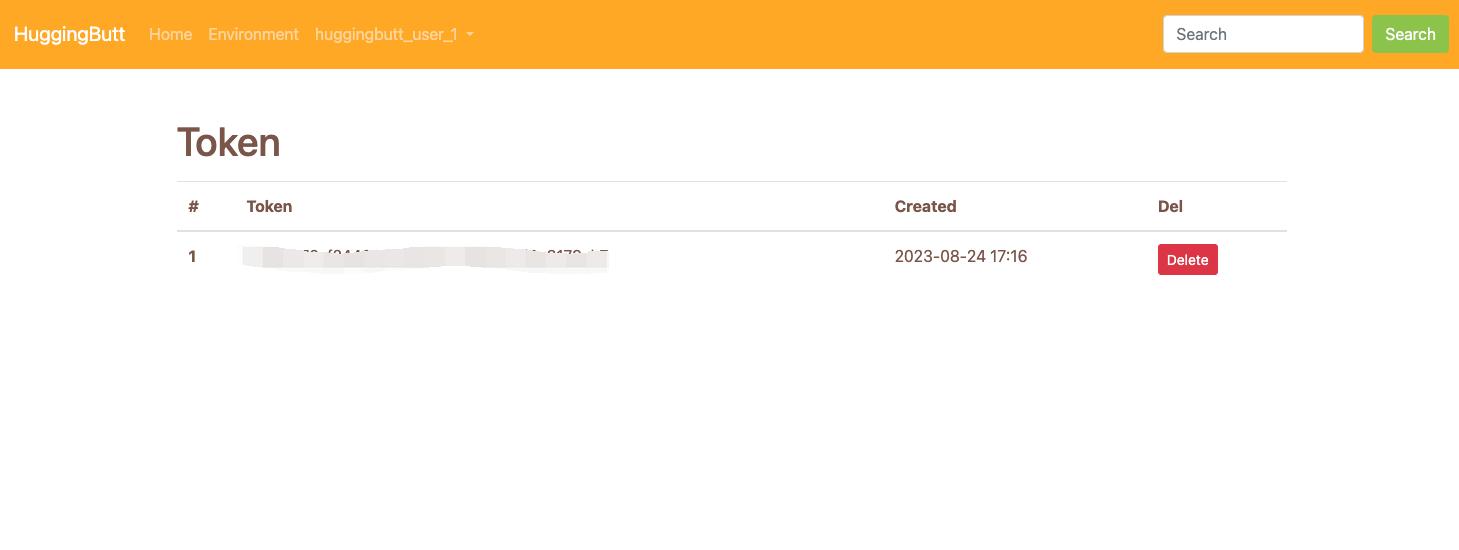
Congratulations, you now have an access token!
Just put the generated token in the task code and you're gooooood to go.
Here is a simple inference code:
import numpy as np
from huggingbutt import set_access_token, load_env, load_agent

HB_TOKEN = "YOUR_TOKEN"
set_access_token(HB_TOKEN)

if __name__ == '__main__':
    env = load_env("huggingbutt/roller_ball", "mac", silent=False, num=1, time_scale=20)
    agent = load_agent(4)
    obs, info = env.reset()
    steps = []
    rewards = []
    prev_i = 0
    epoch_reward = 0
    for i in range(1_000):
        act, _status_ = agent.predict(obs)
        obs, reward, terminated, truncated, info = env.step(act)
        epoch_reward += reward

        if terminated:
            obs, info = env.reset()
            # Statistics
            steps.append(i - prev_i)
            rewards.append(epoch_reward)
            prev_i = i
            epoch_reward = 0

    env.close()
    print(f"Played {len(steps)} times.")
    print("Mean steps:{}".format(np.mean(steps)))
    print("Mean reward:{}".format(np.mean(rewards)))
Training your agent for this environment.
import numpy as np
from huggingbutt import set_access_token, load_env, load_agent

HB_TOKEN = "YOUR_TOKEN"
set_access_token(HB_TOKEN)

if __name__ == '__main__':
    env = load_env("huggingbutt/roller_ball", "mac", silent=True, num=3, time_scale=20)
    model = PPO(
        "MlpPolicy",
        env,
        verbose=1,
        n_steps=512,
        tensorboard_log="./logs")

    model.learn(total_timesteps=1_000_000)
    model.save(f"roller_ball.zip")

    env.close()
I'm incredibly excited for you to upload the environment/agent you trained to huggingbutt.com. It would be amazing for everyone to study!
Example: ~/huggingbutt/your_environment_name
Build your environment created based on tiptoestep. Build the environment in two ways:
- Regular build mode, which renders the graphical interface. This mode is suitable for demonstrations or use on Windows platform.

- Dedicated Server build mode, which does not render the graphical interface and is optimized for training speed. However, this mode is only supported on Linux and macOS platforms.Consider naming the environment built under Dedicated Server mode as "your_environment_name_silent"


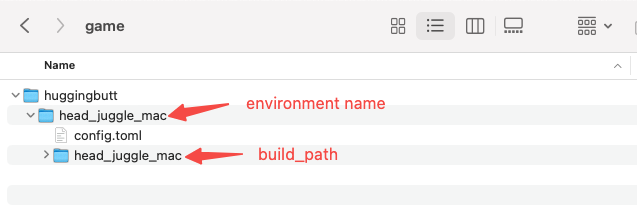
Filesystem structure:
Mac:
└── huggingbutt
    ├── config.toml
    ├── default_functions.py
    ├── your_environment_name.app
    └── your_environment_name_silent
Create a config.toml file in "your_environment_name" directory to specify where to load the executable from for the environment.
Add the following content to config.toml
Mac:
[app]
exe_file = "you_environment_name.app/Contents/MacOS/you_environment"
silent_file = "you_environment_name_silent/you_environment"
system = "macos"
engine = "unity"
[action]
type = "ContinuousAction"
space = "box"
shape = 2
low = -1.0
high = 1.0
[observation]
space = "box"
shape = 12
[function]
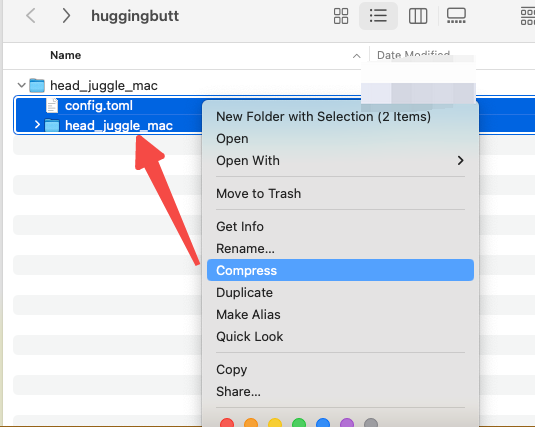
file = "default_functions.pyExample:
You must ensure that after extracting the zip file, config.toml file is located in the root directory.
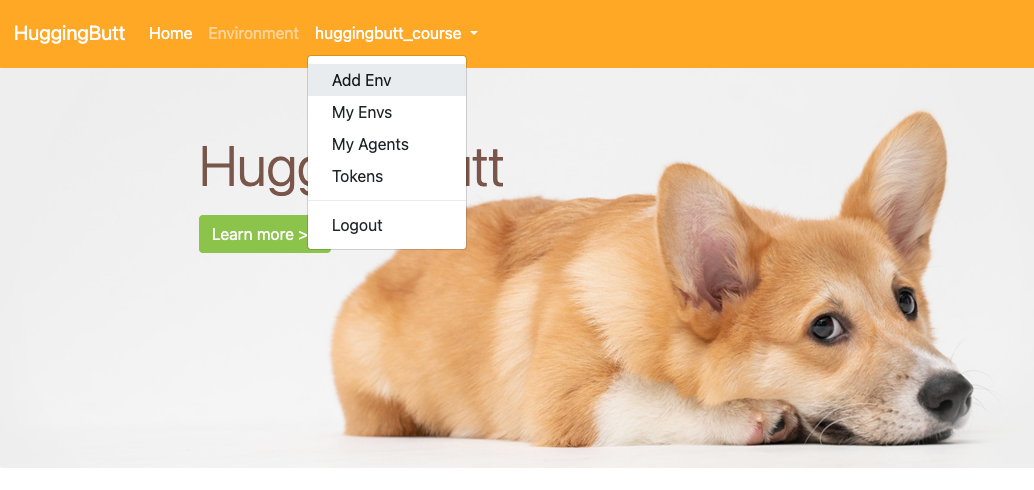
Click "Add Env"
Fill in basic information
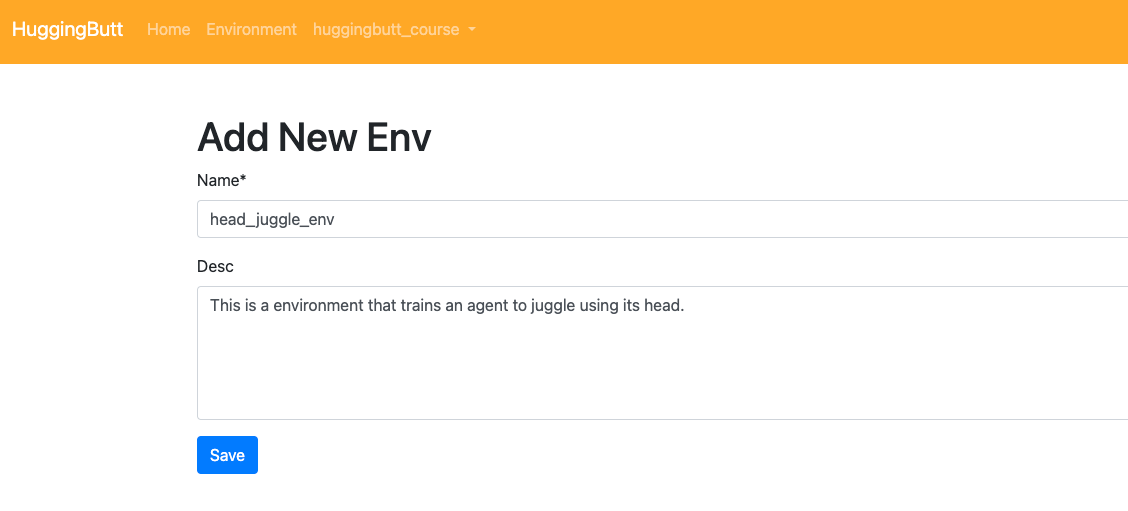
We will redirect into add new version page after clicking "Save" button.
Click "My Envs" will list your environments.


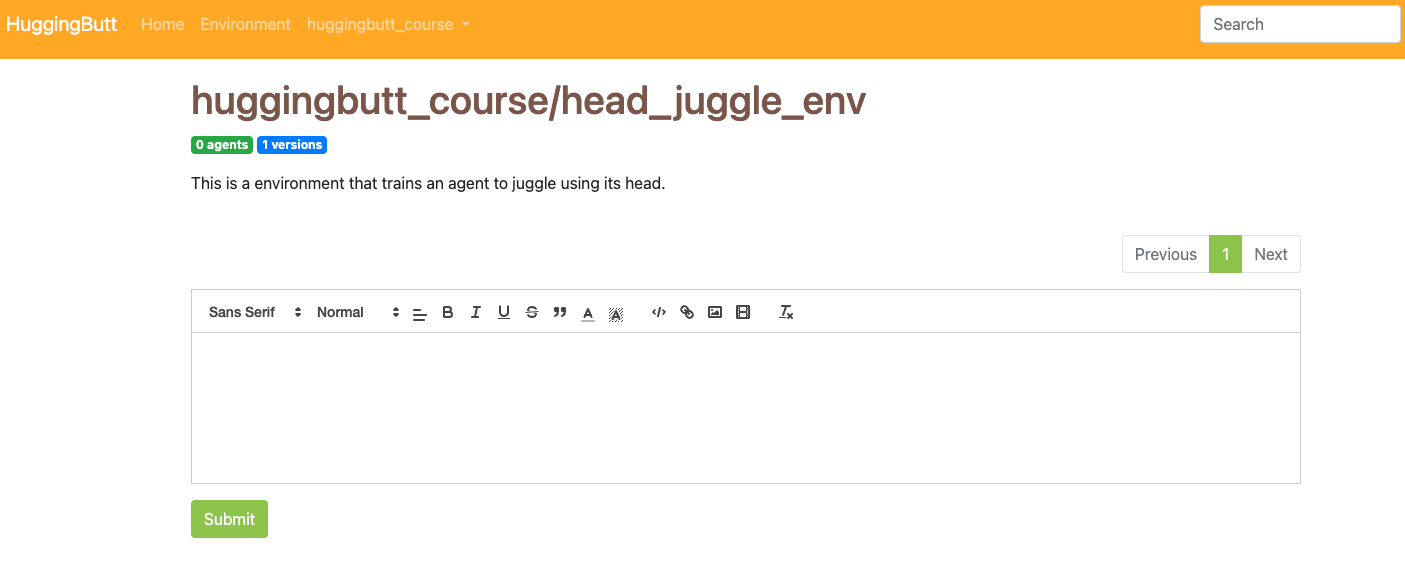
Click the name of your environment will enter the detail page.
Click the blue badge named "* Versions" will list all versions of this environment.
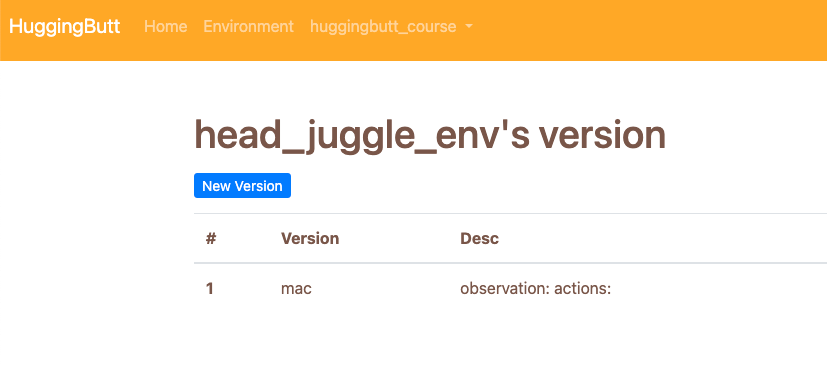
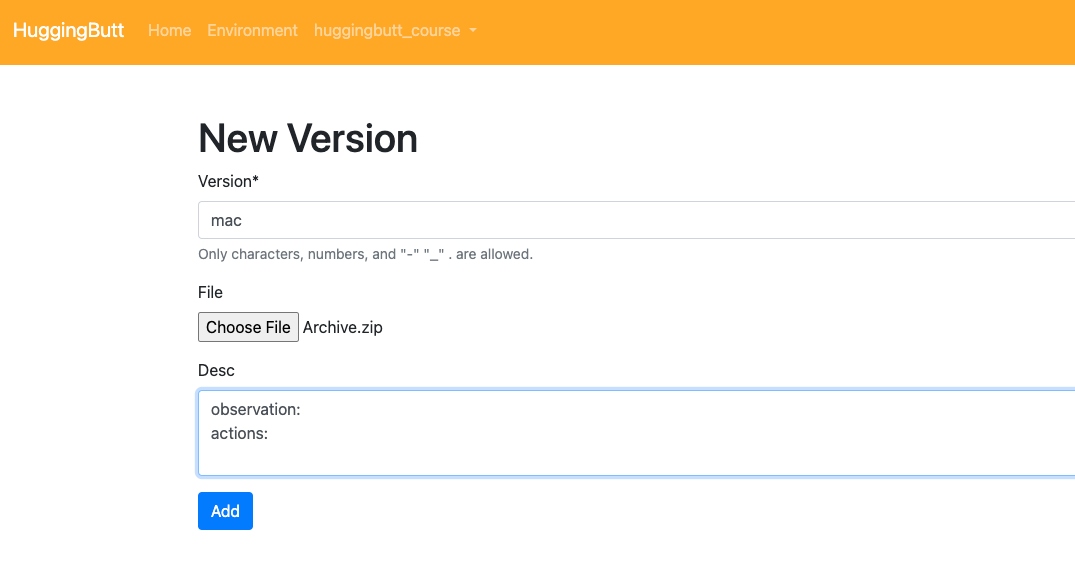
Click "New Version" will enter add new version page.
- Support more types learning environment, such as native game wrapped by python, pygame, class gym...