Installation and Setup
This page will guide you to install and run HyperUBot on your device easily. However keep in mind that at least Python v3.8 will be required regardless on which platform you want to host HyperUBot.
Table of contents

We made simple installers for both POSIX and Windows platforms which are remotely executable. POSIX systems are Alpine Linux, Android, Arch distros, Debian distros, Red Hat distros and macOS. The aim of these installers are to save up much time to the user by just running one command instead of 4 or 5 commands. The installers however are aimed for local installation only. If you decide to run HyperUBot in Docker, jump to Setup in Docker section.
Note: the installation time depends on your device performance: the faster your device's performance is the faster the installation will be!
Notes before you proceed:
- Android users need the Termux application from Google Play Store (deprecated) or F-Droid. Requried Android version depends on the Termux application (current Termux release requires at least Android 7.0+). More information about Termux here.
- macOS users will require Xcode as it is required for Homebrew
- It may be possible that not all distros come with
cURLpreinstalled. If it's not installed, install it first as the command below will fail withoutcURL!- On some platforms the installer will require
sudoto install the pre-requisites packages
Run the following command in your terminal to finally start to install HyperUBot:
bash -c "$(curl -fsSL https://raw.githubusercontent.com/prototype74/HyperUBot/master/installer.sh)"Notes before you proceed:
- If you want to setup HyperUBot on Windows Subsystem for Linux follow the POSIX systems section above instead!
- Make sure you have at least Python 3.8 installed. If you don't have Python installed at all, you can get it from https://www.python.org or from Microsoft Store.
- At least PowerShell 5 is required
Check first in PowerShell if the Execution Policy is not Restricted:
Get-ExecutionPolicyIf it prints Restricted then change it to RemoteSigned:
Set-ExecutionPolicy RemoteSigned -scope CurrentUserThe Execution Policy has to be RemoteSigned as it's required for the
Scoop Package Manager to allow us to install the required
pre-requisites packages for HyperUBot. If you installed Python successfully and
the Execution Policy is set to RemoteSigned, run the following command in
PowerShell to finally start to install HyperUBot:
powershell -noexit "Invoke-Expression (New-Object System.Net.WebClient).DownloadString('https://raw.githubusercontent.com/prototype74/HyperUBot/master/installer.ps1')"If you want to change the Execution Policy back to Restricted (optional):
Set-ExecutionPolicy Restricted -scope CurrentUserIf you're interested to install HyperUBot in an isolated environment instead, you can do so by installing the userbot in docker. HyperUBot does work in any platform that supports docker regardless if it's a cloud platform or your local machine. However, the following steps are focused to local installation as cloud platforms may have their own way to setup docker. List them all here would be too much. So if you decide to host HyperUBot in a cloud platform, research first about how docker works on that cloud platform before you continue!
Before you proceed: Make sure you have curl and tar installed!
Run the following commands one by one in your terminal to download and unpack
the latest stable release from GitHub:
get_release=$(curl -H "Accept: application/json" "https://api.github.com/repos/prototype74/HyperUBot/releases/latest")tar_pkg=$(grep '"tarball_url"' <<< "$get_release" | cut -d '"' -f4)curl -L "$tar_pkg" --output ./HyperUBot.tar.gzmkdir HyperUBottar -xf ./HyperUBot.tar.gz --directory ./HyperUBot --strip-components=1optional:
rm -f ./HyperUBot.tar.gzDone! Check if HyperUBot has been downloaded successfully by running the following command in terminal:
ls -l HyperUBotIf so change the current directory to HyperUBot
cd HyperUBotRun the following commands one by one in PowerShell to download and unpack the latest stable release from GitHub:
$get_release = Invoke-WebRequest -Uri "https://api.github.com/repos/prototype74/HyperUBot/releases/latest"$json_obj = ConvertFrom-Json $([String]::new($get_release.Content))$tar_pkg = $json_obj.tarball_urlInvoke-WebRequest $tar_pkg -OutFile .\HyperUBot.tar.gzNew-Item -Path . -Name "HyperUBot" -ItemType "directory"tar -xf .\HyperUBot.tar.gz --directory .\HyperUBot --strip-components=1optional:
Remove-Item -Path .\HyperUBot.tar.gz -ForceDone! Check if HyperUBot has been downloaded successfully by running the following command in terminal:
Get-ChildItem -Path .\HyperUBotIf so change the current directory to HyperUBot
Set-Location .\HyperUBotTo build the docker image/container, make sure you're in HyperUBot's root directory then run the following command in your terminal:
docker build -t hyperubot .To run the docker image/container run the following command in your terminal:
docker run -it hyperubotNote: the options -i and -t are important to allow user inputs!
Just in case you're interested on which platforms we did run HyperUBot:
- AlmaLinux 8.4
- Alpine Linux 3.14.2/3.15.0
- Android 7.1.1 to 14
- Arch Linux
- Docker 20.10.11 (local)
- Fedora 33/34
- Linux Mint 20.2
- macOS Big Sur 11.6
- macOS Catalina 10.15.5
- Manjaro 21.1.5
- Ubuntu 18.04 LTS/19.04/20.04 LTS/21.04
- Windows 10/11 Home (PowerShell 5.1)
- Windows 11 Pro (PowerShell 5.1)
- Windows Subsystem for Linux (Ubuntu 20.04 LTS)
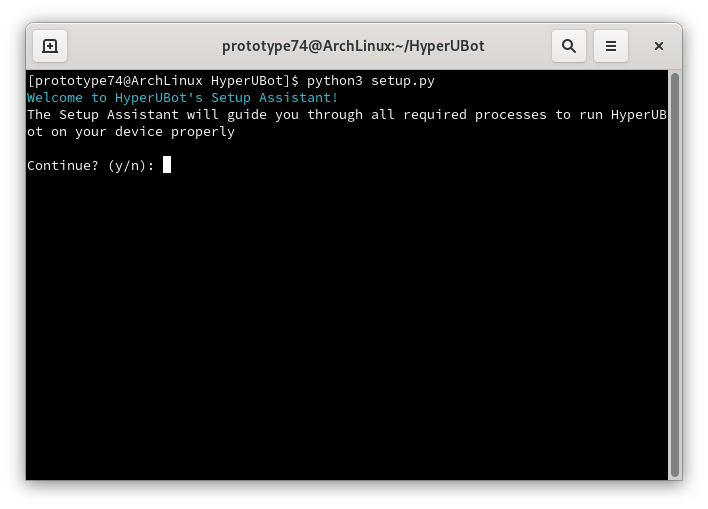
The Setup Assistant guides you through all required processes to run HyperUBot
properly on your device such as creating the configuration files, getting your
App api_id and App api_hash, generating a String session, installing the
pip requirements etc. If you skipped, cancelled or whatever the Setup Assistant
after the installation you can always start it again by locating to HyperUBot's
directory and run the following command in terminal:
-
Docker: Run docker image/container then select
Setup Assistant -
POSIX systems:
python3 setup.py(if it fails, try it by python version e.g.python3.8 setup.py) -
Windows:
python setup.py
After the processes were successful, the Setup Assistant will offer you an option to start HyperUBot now or later (not on Windows). Start it as HyperUBot prepared a welcome message for you after your first setup!
Missed the start in Setup Assistant too? Don't worry, you can always start HyperUBot by locating to HyperUBot's directory in your Terminal and running the following command:
-
Docker: Run docker image/container then select
Start HyperUBot -
POSIX systems:
python3 -m userbot(if it fails, try it by python version e.g.python3.8 setup.py) -
Windows:
python -m userbot

Enjoy HyperUBot!
Issues found? Use the issues tracker in this repository. Questions? Chat with us in our Telegram group!