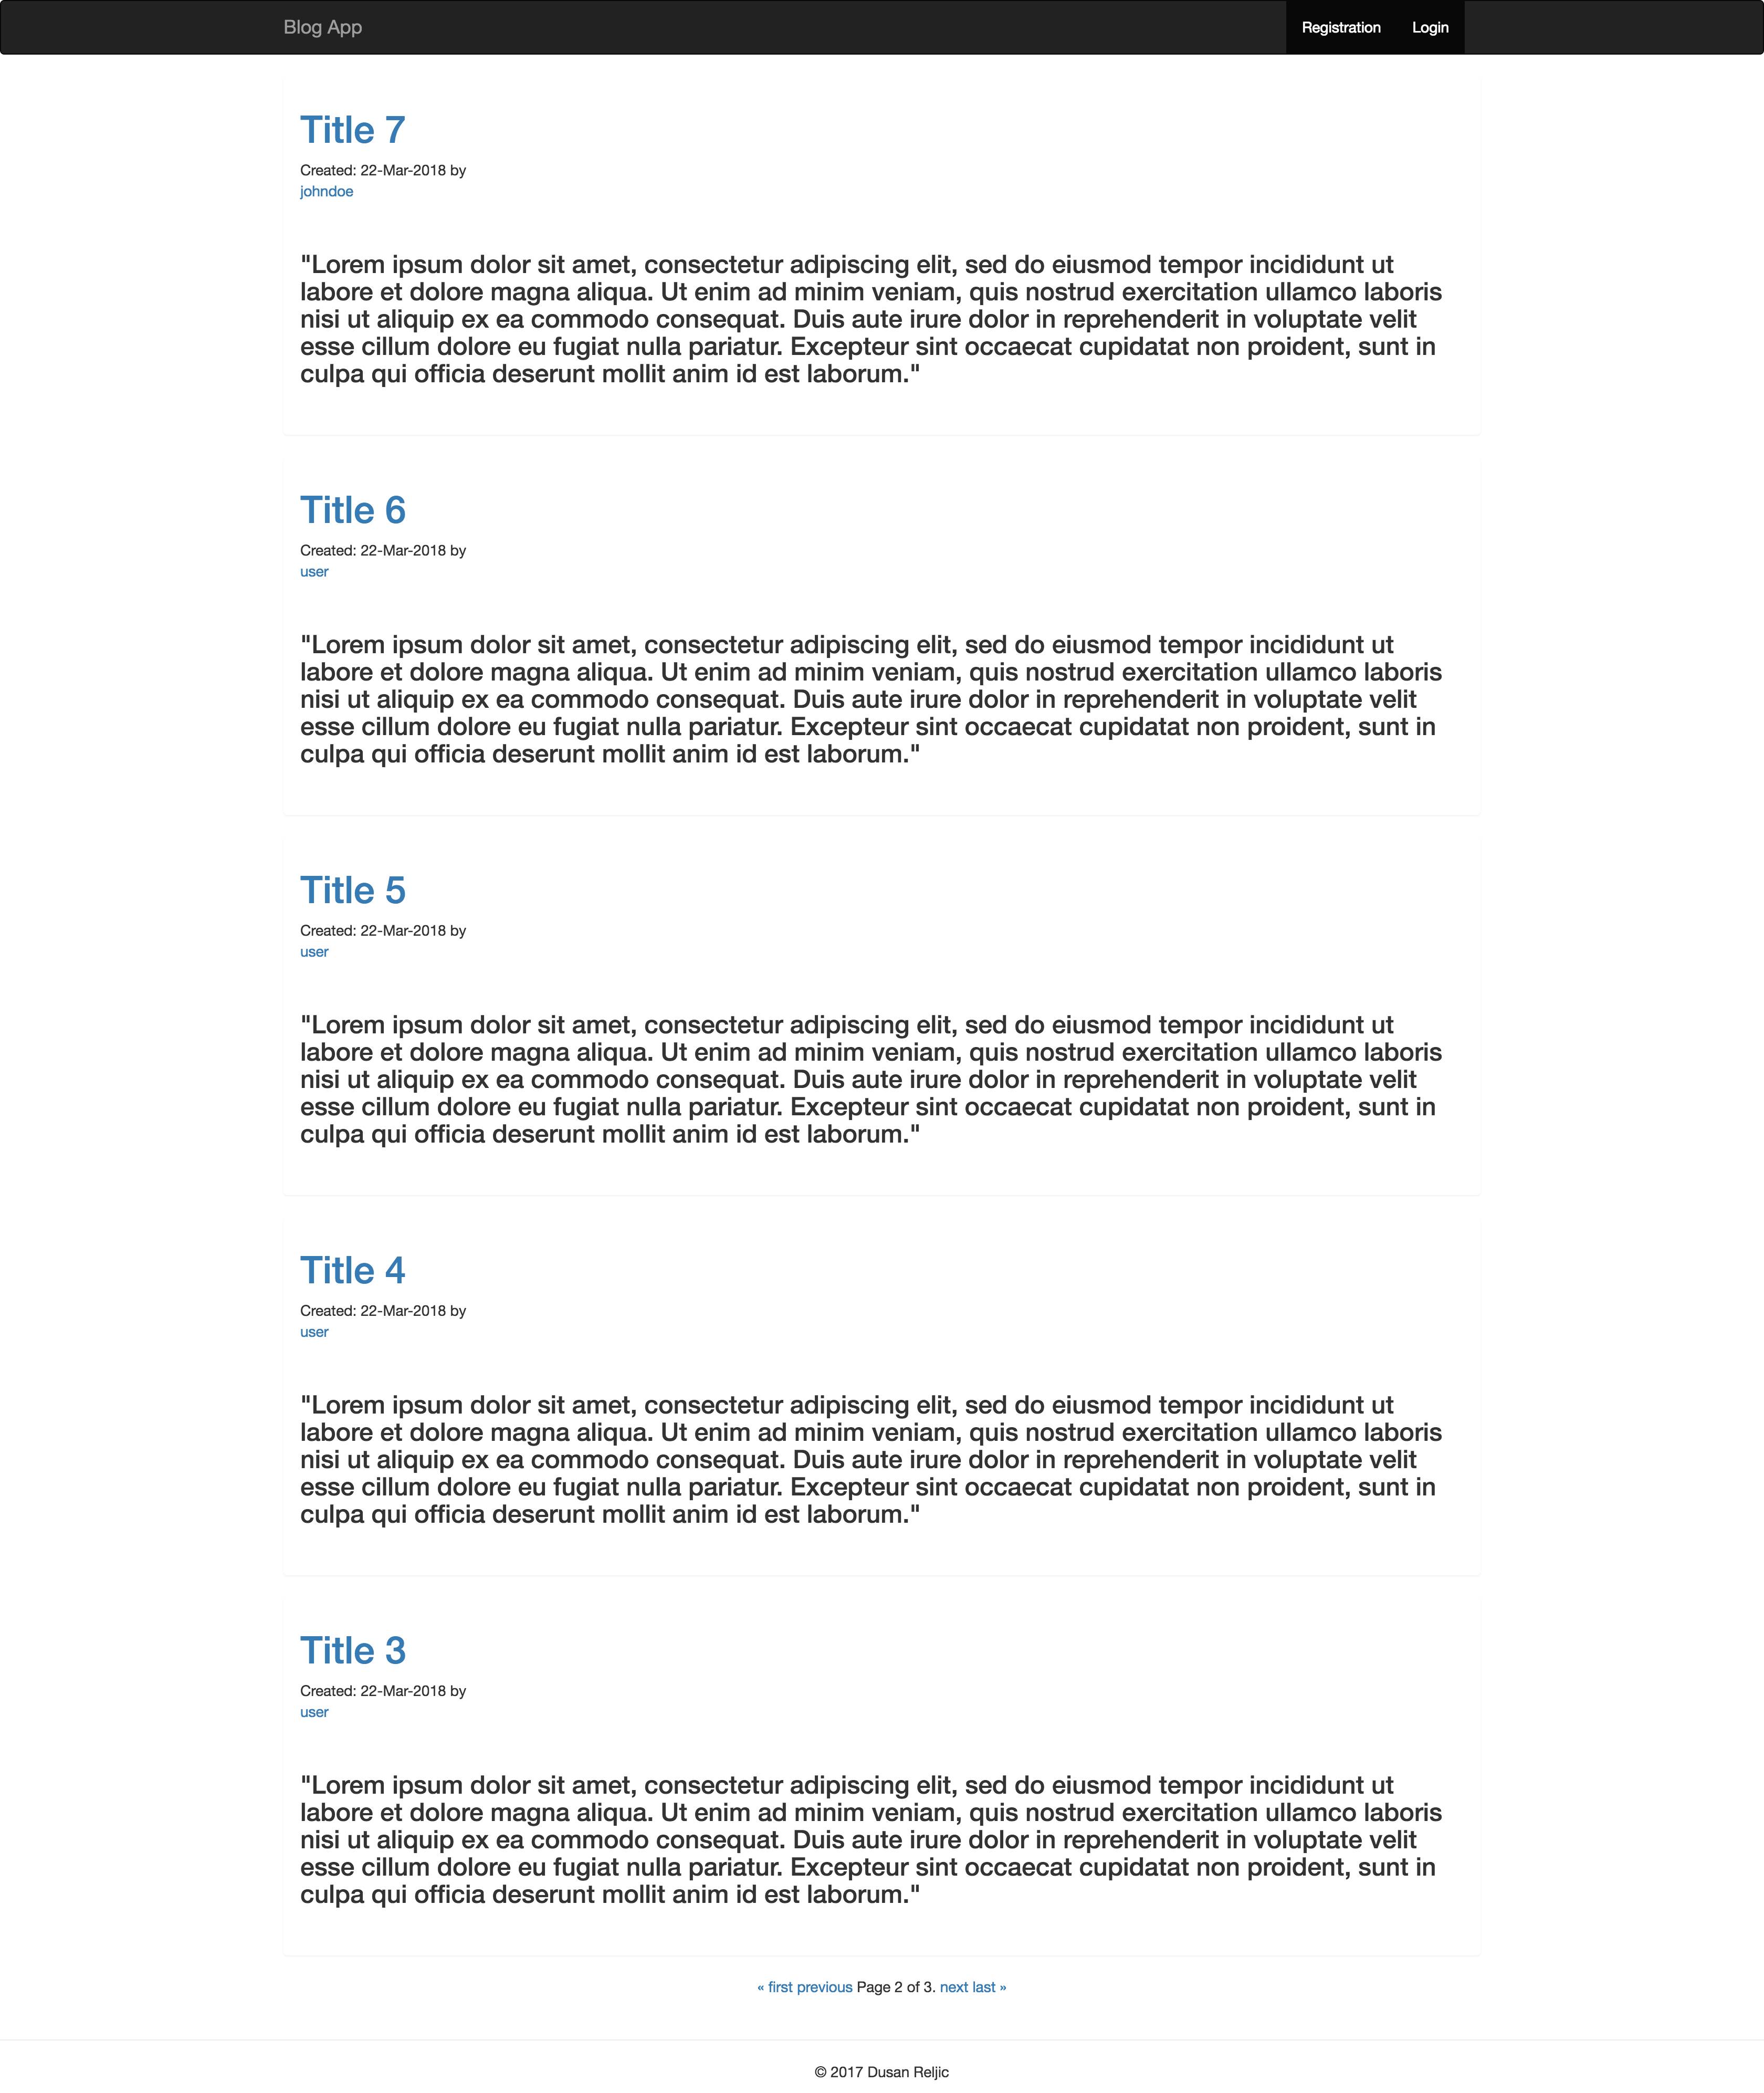
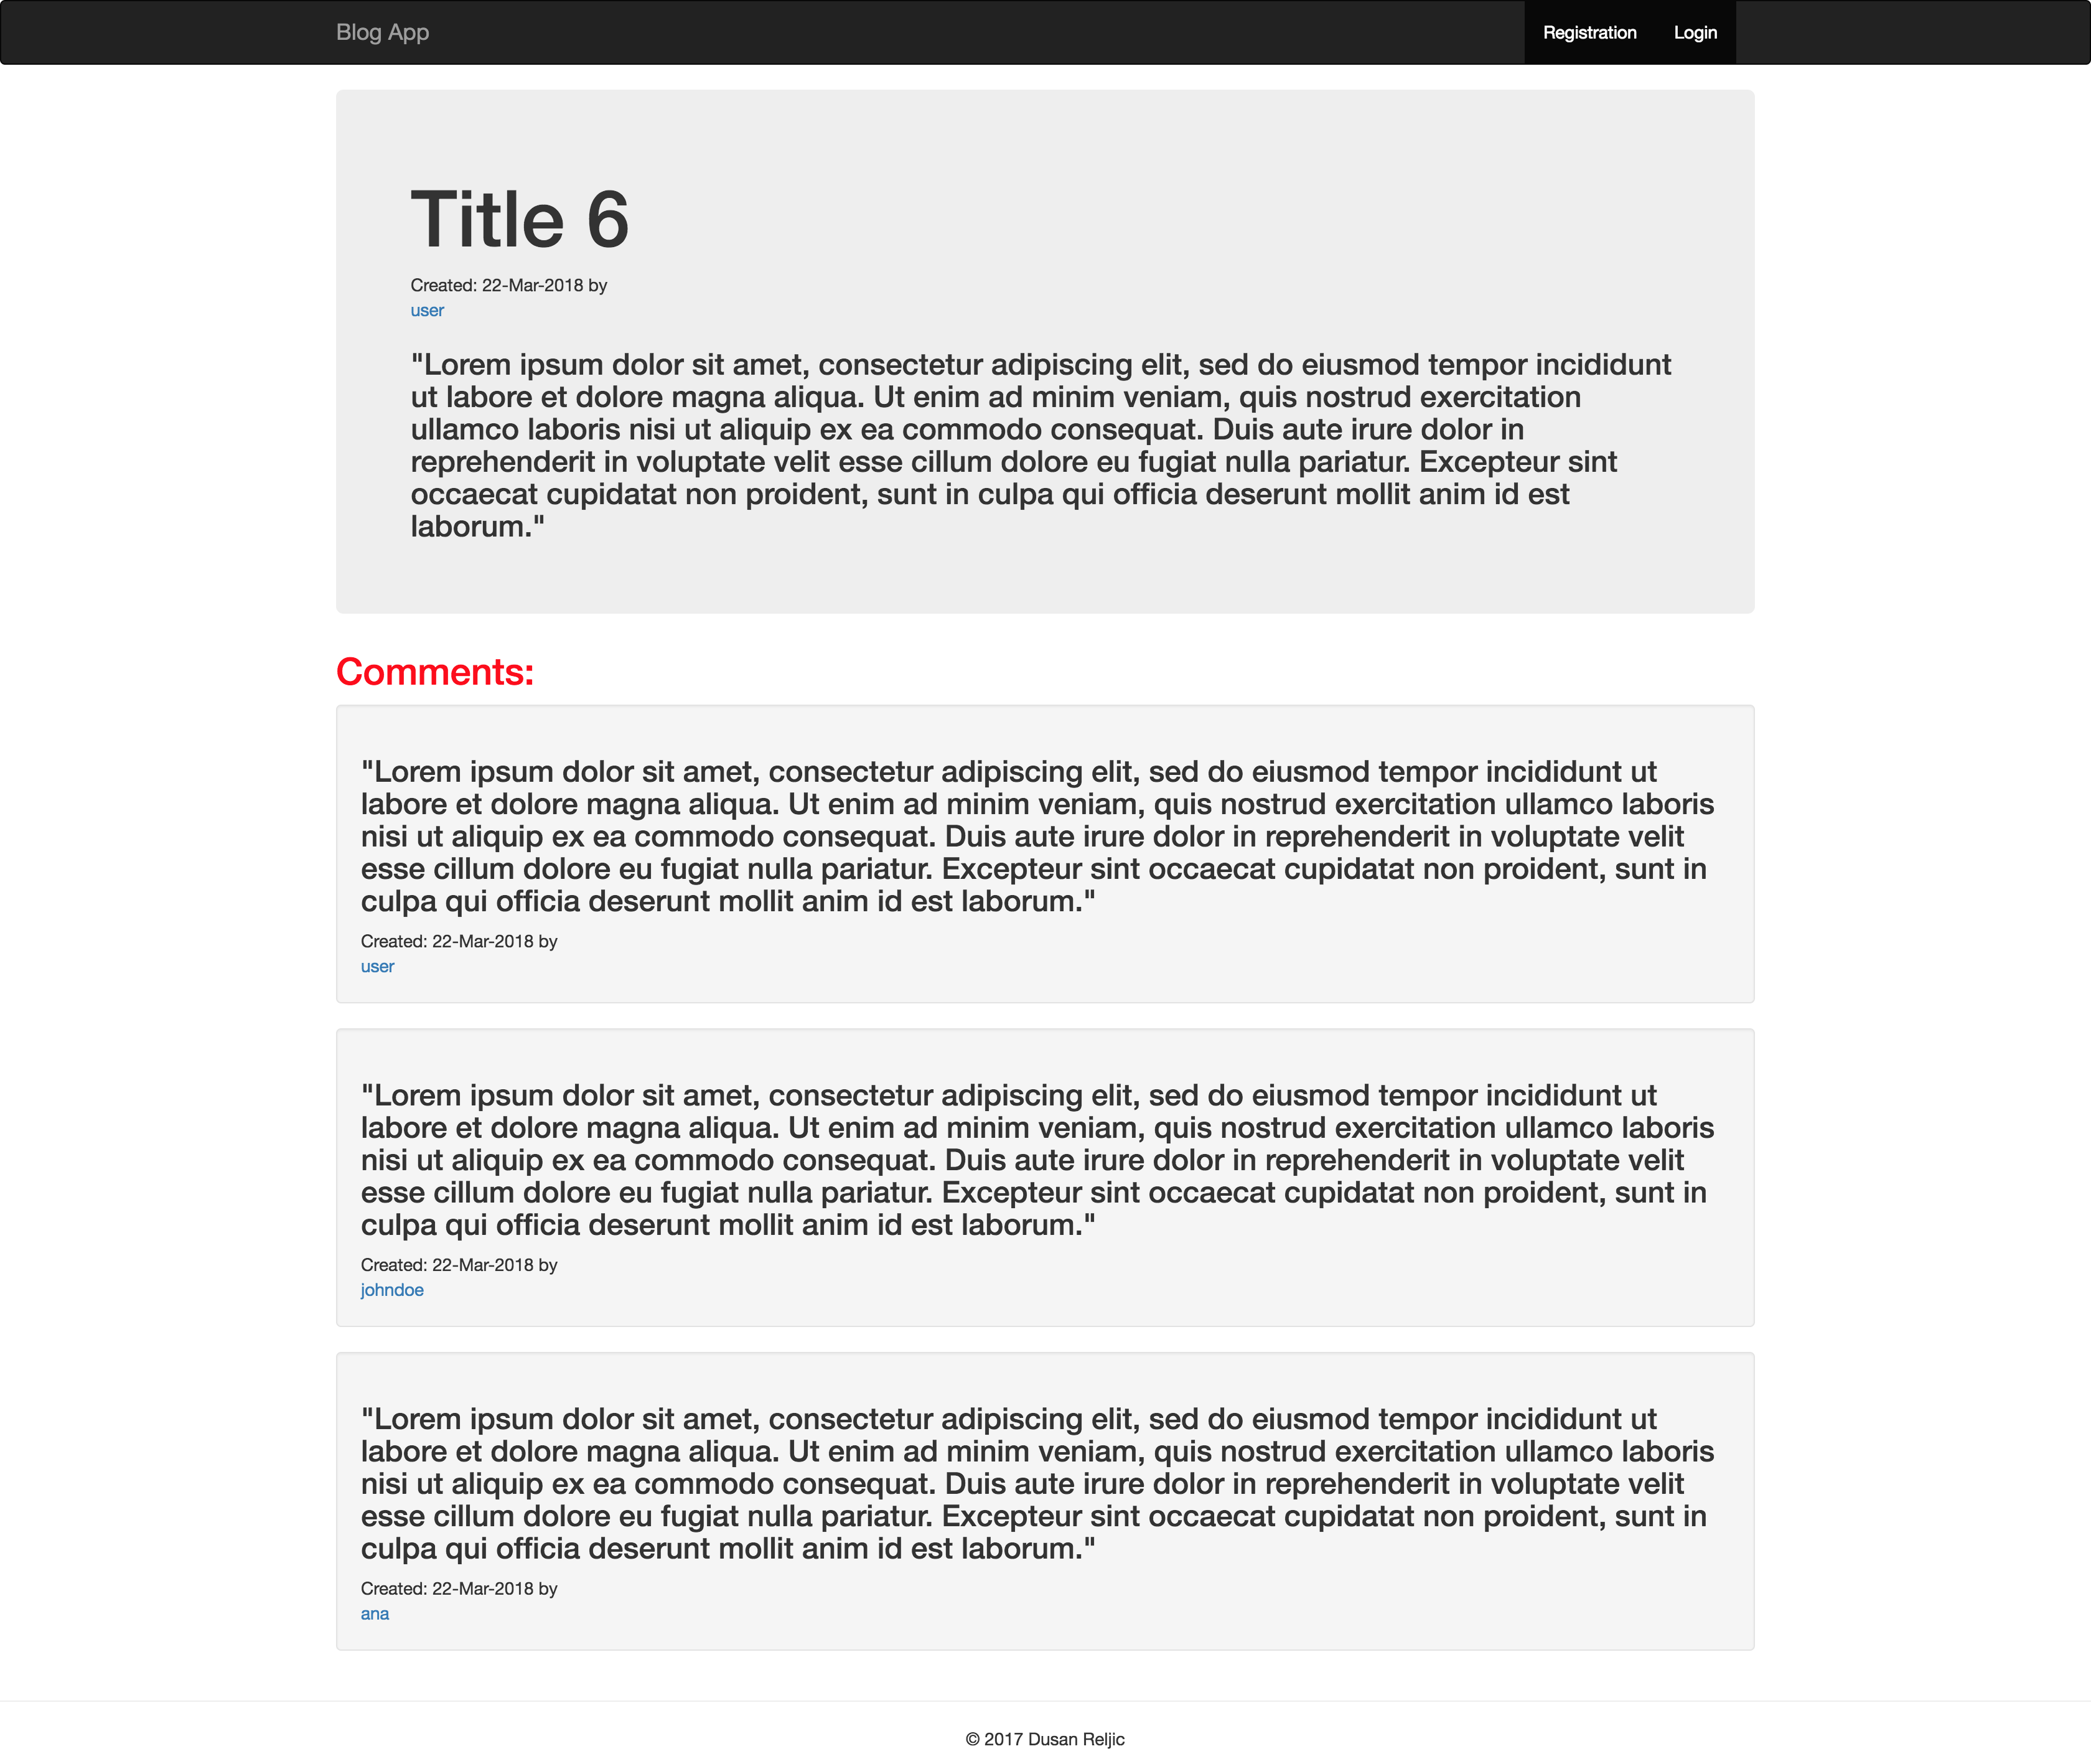
This is a demo project for practicing Spring Boot + Thymeleaf. The idea was to build some basic blogging platform.
It was made using Spring Boot, Spring Security, Thymeleaf, Spring Data JPA, Spring Data REST and Docker. Database is in memory H2.
There is a login and registration functionality included.
User has his own blog page, where he can add new blog posts. Every authenticated user can comment on posts made by other users. Home page is paginated list of all posts. Non-authenticated users can see all blog posts, but cannot add new posts or comment.
Folder src/resources/ contains config files for blog-demo Spring Boot application.
- src/resources/application.properties - main configuration file. Here it is possible to change admin username/password, as well as change the port number.
There are several ways to run the application. You can run it from the command line with included Maven Wrapper, Maven or Docker.
Once the app starts, go to the web browser and visit http://localhost:8090/home
Admin username: admin
Admin password: admin
User username: user
User password: password
Go to the root folder of the application and type:
$ chmod +x scripts/mvnw
$ scripts/mvnw spring-boot:runOr you can build the JAR file with
$ scripts/mvnw clean packageThen you can run the JAR file:
$ java -jar target/blog-demo-0.0.1-SNAPSHOT.jarOpen a terminal and run the following commands to ensure that you have valid versions of Java and Maven installed:
$ java -version
java version "1.8.0_102"
Java(TM) SE Runtime Environment (build 1.8.0_102-b14)
Java HotSpot(TM) 64-Bit Server VM (build 25.102-b14, mixed mode)
$ mvn -v
Apache Maven 3.3.9 (bb52d8502b132ec0a5a3f4c09453c07478323dc5; 2015-11-10T16:41:47+00:00)
Maven home: /usr/local/Cellar/maven/3.3.9/libexec
Java version: 1.8.0_102, vendor: Oracle CorporationThe Spring Boot Maven plugin includes a run goal that can be used to quickly compile and run your application. Applications run in an exploded form, as they do in your IDE. The following example shows a typical Maven command to run a Spring Boot application:
$ mvn spring-boot:runTo create an executable jar run:
$ mvn clean packageTo run that application, use the java -jar command, as follows:
$ java -jar target/blog-demo-0.0.1-SNAPSHOT.jarTo exit the application, press ctrl-c.
It is possible to run blog-demo using Docker:
Build Docker image:
$ mvn clean package
$ docker build -t blog-demo:dev -f docker/Dockerfile .
Run Docker container:
$ docker run --rm -i -p 8090:8090 \
      --name blog-demo \
blog-demo:devIt is possible to run all of the above with helper script:
$ chmod +x scripts/run_docker.sh
$ scripts/run_docker.shFolder docker contains:
- docker/blog-demo/Dockerfile - Docker build file for executing blog-demo Docker image. Instructions to build artifacts, copy build artifacts to docker image and then run app on proper port with proper configuration file.
- scripts/run_docker.sh.sh - util script for running blog-demo Docker container using docker/Dockerfile
Tests can be run by executing following command from the root of the project:
$ mvn testGo to the web browser and visit http://localhost:8090/
You will need to be authenticated to be able to see this page.
Go to the web browser and visit http://localhost:8090/h2-console
In field JDBC URL put
jdbc:h2:mem:blog_simple_db
In /src/main/resources/application.properties file it is possible to change both
web interface url path, as well as the datasource url.

