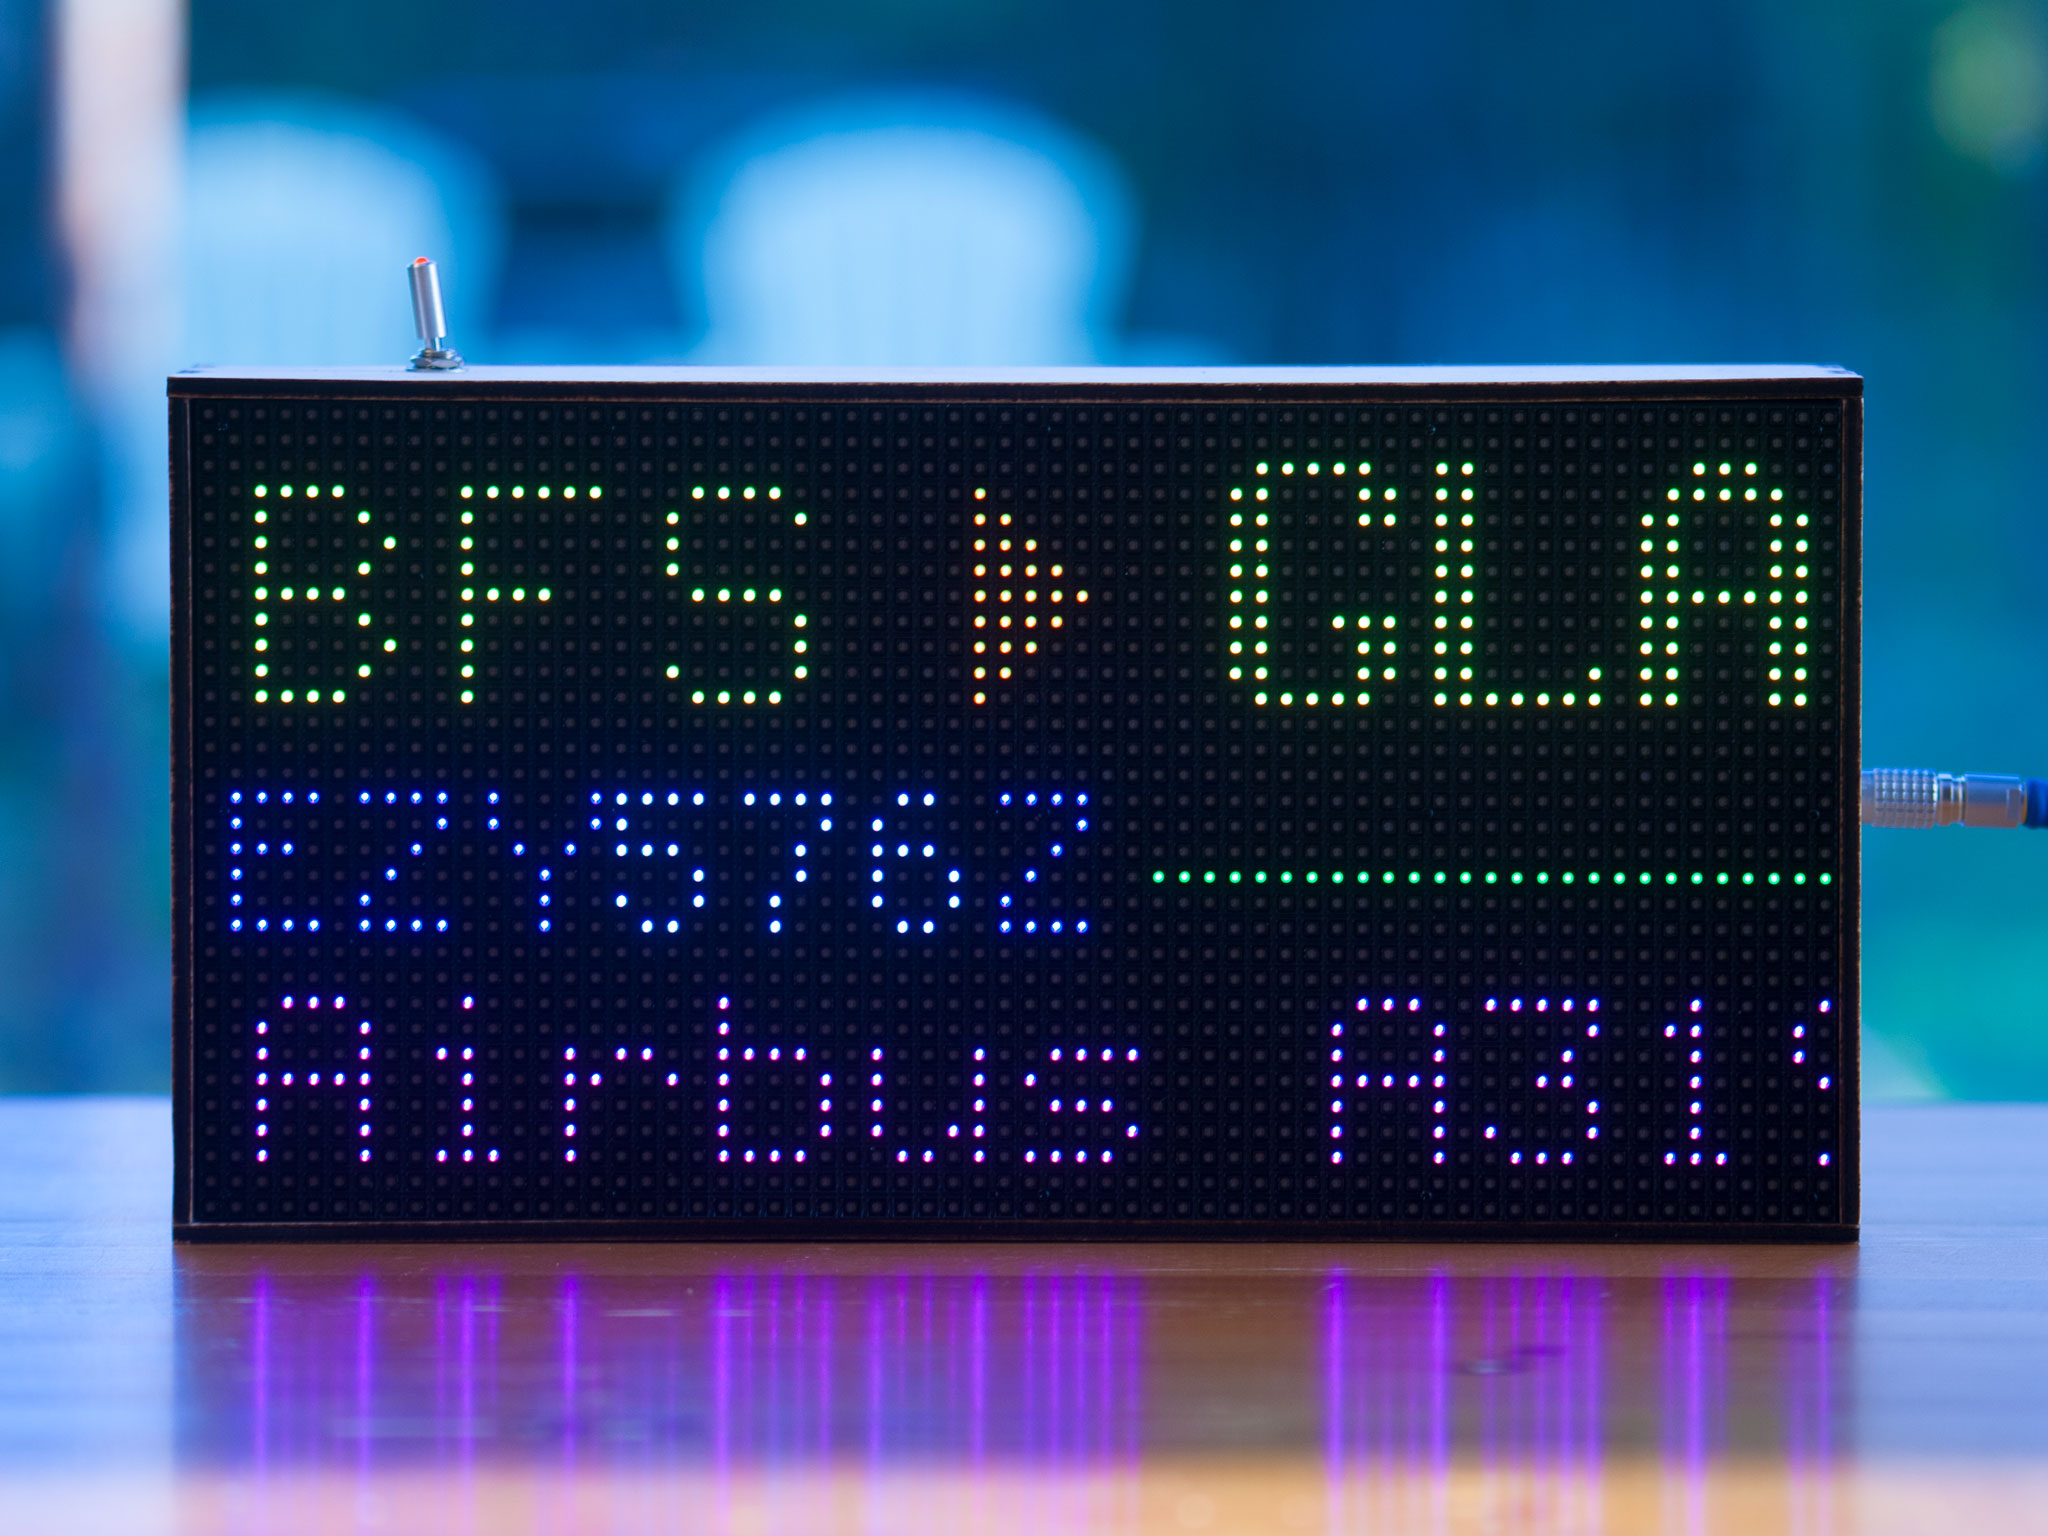
Blog article about this project
- Assemble the RGB matrix, Pi, and Bonnet as described in this Adafruit guide.
- When complete, install the LED-matrix (rgbmatrix) python library, again as described in the Adafruit installation guide.
- It is assumed the solder bridge is added to the HAT in order to use the Pi's soundcard to drive the device's PWM
- Clone this repository (
git clone https://github.com/ColinWaddell/its-a-plane-python). - Install the FlightRadarAPI dependency (
sudo pip3 install FlightRadarAPI). Note - running withsudois required asrgbmatrixmust be run as as root for best performance. - Go to the its-a-plane-python repo folder
cd its-a-plane-python(or wherever you cloned it to). - Add a config.py file as described below.
- Run
sudo python3 its-a-plane.py.
In the root of the repo create a files config.py with the settings for your display.
ZONE_HOMEdefines the area within which flights should be tracked.LOCATION_HOMEis the latitude/longitude of your home.WEATHER_LOCATIONis the city that will be used to display the temperature. If using Openweather (see next), please type in the city in the form of "City" or "City,Province/State,Country", e.g. "Paris" or "Paris,Ile-de-France,FR".OPENWEATHER_API_KEYIf provided, will use the OpenWeather API. You can obtain a free OpenWeather API key by going here (Optional)TEMPERATURE_UNITSOne of "metric" or "imperial". Defaults to "metric".MIN_ALTITUDEWill remove planes below a certain altitude (in feet). Depending on the defined ZONE_HOME, can be useful for filtering out planes parked on the tarmac.BRIGHTNESS0-100, changes the brightness of the display.GPIO_SLOWDOWN0-4, larger numbers for faster hardware can reduce/eliminate flickering. (e.g., 2 seems to work well on a Pi Zero 2 W, but 0 might be fine for an older Pi Zero).JOURNEY_CODE_SELECTEDThree-letter airport code of local airport to put in bold on the display (Optional).JOURNEY_BLANK_FILLERThree-letter text to use in place of an unknown airport origin/destination. Defaults to " ? ".HAT_PWM_ENABLEDDrive the PWM using the Pi's soundcard, assuming the solder bridge has been added to the HAT. Defaults toTrue
ZONE_HOME = {
    "tl_y": 56.06403, # Top-Left Latitude (deg)
    "tl_x": -4.51589, # Top-Left Longitude (deg)
    "br_y": 55.89088, # Bottom-Right Latitude (deg)
    "br_x": -4.19694 # Bottom-Right Longitude (deg)
}
LOCATION_HOME = [
    55.9074356, # Latitude (deg)
    -4.3331678, # Longitude (deg)
    0.01781 # Altitude (km)
]
WEATHER_LOCATION = "Glasgow"
OPENWEATHER_API_KEY = "" # Get an API key from https://openweathermap.org/price
TEMPERATURE_UNITS = "metric"
MIN_ALTITUDE = 100
BRIGHTNESS = 50
GPIO_SLOWDOWN = 2
JOURNEY_CODE_SELECTED = "GLA"
JOURNEY_BLANK_FILLER = " ? "
HAT_PWM_ENABLED = True
If you are running a headless Pi that you are managing over ssh, you'll find that you have to remain connected for the display to keep running. A simple solution is to run the its-a-plane.py script in a tmux or screen session. For instance:
- ssh to the Pi.
sudo apt-get install tmux- Once installed, start a new session by running the command
tmux. - Run
sudo python3 /path/to/its-a-plane.py. - Detach from the tmux session by pressing Ctrl+B and then pressing D.
logoutto exit the Pi. Note that you'll need to re-enter or kill the tmux session to modify/stop the display.
A more permanent solution if you'd like the software to run automatically on boot is to add it to your /etc/rc.local
- ssh to the Pi.
- Edit
/etc/rc.local- for examplesudo nano -w /etc/rc.local - Add a line pointing to the location this software is installed. In the following example some logging is provided for debugging purposes:
/usr/bin/python3 /home/pi/its-a-plane-python/its-a-plane.py > /home/pi/plane.log 2>&1 &
An LED can be wired to a GPIO on the Raspberry Pi which can then blinks when data is being loaded.
To enabled this add the following to your config.py. Adjust LOADING_LED_GPIO_PIN to suit your setup.
LOADING_LED_ENABLED = True
LOADING_LED_GPIO_PIN = 25
If you are using rc.local to load this software on boot and you see the error RuntimeError: No access to /dev/mem. Try running as root! then you need to update your rc.local to launch the application using sudo
sudo /usr/bin/python3 /home/pi/its-a-plane-python/its-a-plane.py > /home/pi/plane.log 2>&1 &
If weather data is being pulled from the original authors server (as opposed to using OPENWEATHER_API_KEY) then you can
display a chart of rainfall by adding the following to your config.py:
RAINFALL_ENABLED = True