-
Notifications
You must be signed in to change notification settings - Fork 7
BOINC Setup on OSX
(Most probably the BOINC is already installed on your computer; In such case you can skip this chapter.)
The BOINC Installer for Mac OS X will guide you through the installation. It's pretty straight-forward.
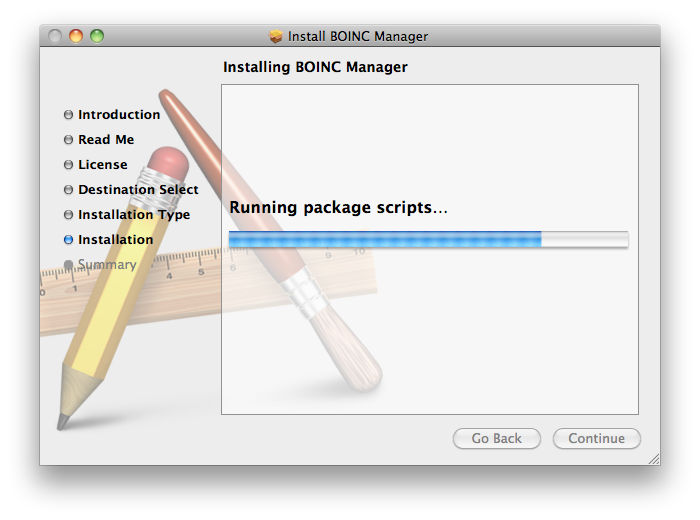
Right after installation you should see the following dialogue:
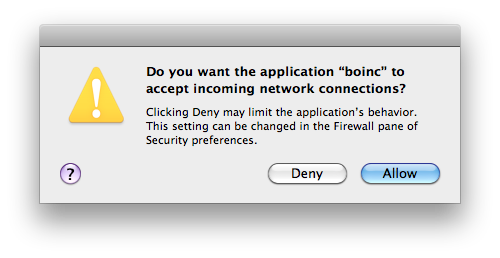
You should answer "Allow" here.
If your BOINC is running, stop it.
By default, the BOINC data directory on Mac OS X is /Library/Application Support/BOINC Data. To set the password, open this directory in Finder:
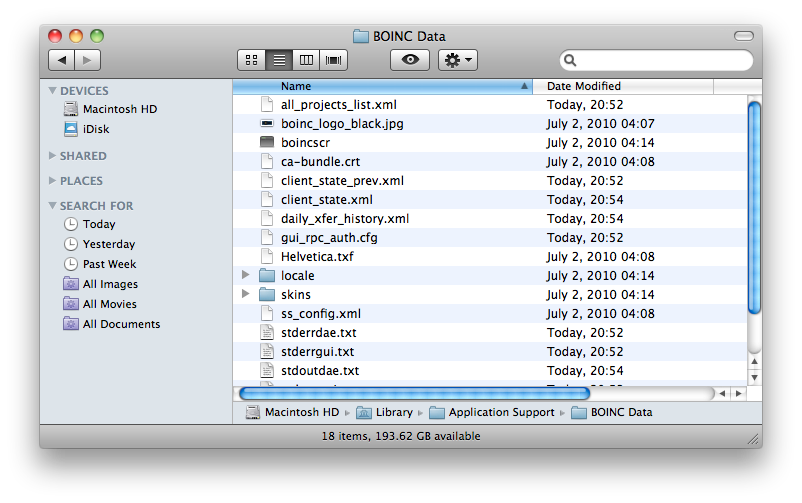
You will see file gui_rpc_auth.cfg in the directory. Open the file in text editor and set your password here (overwrite the string which was generated at installation time).
In BOINC Wiki page Tools for Mac OS X you can find a script to set BOINC to run as a daemon (aka system service). Download the script Make_BOINC_Service.sh and follow the instructions (you can see the instructions by opening the script in text editor).
Do not restart the computer yet (as mentioned in last step of instructions), but move to next step.
First, set permissions to service configuration, so you can edit them. In terminal type:
sudo chmod u+w /Library/LaunchDaemons/edu.berkeley.boinc.plistThen edit the file:
sudo nano /Library/LaunchDaemons/edu.berkeley.boinc.plistYou must add parameter --allow_remote_gui_rpc, so the file will finally look like:
<?xml version="1.0" encoding="UTF-8"?>
<!DOCTYPE plist PUBLIC "-//Apple//DTD PLIST 1.0//EN" "http://www.apple.com/DTDs/PropertyList-1.0.dtd">
<plist version="1.0">
<dict>
	<key>GroupName</key>
	<string>boinc_master</string>
	<key>Label</key>
	<string>edu.berkeley.boinc</string>
	<key>Program</key>
	<string>/Applications/BOINCManager.app/Contents/Resources/boinc</string>
	<key>ProgramArguments</key>
	<array>
		<string>/Applications/BOINCManager.app/Contents/Resources/boinc</string>
		<string>--redirectio</string>
		<string>--daemon</string>
		<string>--allow_remote_gui_rpc</string>
	</array>
	<key>RunAtLoad</key>
	<true/>
	<key>UserName</key>
	<string>boinc_master</string>
	<key>WorkingDirectory</key>
	<string>/Library/Application Support/BOINC Data/</string>
</dict>
</plist>
Note: Most probably the parameters will have one dash only (-redirectio and -daemon). It seems to work fine, nevertheless all documentation and help texts printed by BOINC itself say about double dashes (--redirectio and --daemon) and this is also Unix-style of long options.
Finally, restart your computer after modification of the file.
After restart, your BOINC should be running as a system service and should be protected by password. To verify system service, open the terminal and type:
sudo launchctl list edu.berkeley.boincYou should see something like:
{
	"Label" = "edu.berkeley.boinc";
	"LimitLoadToSessionType" = "System";
	"OnDemand" = true;
	"LastExitStatus" = 0;
	"PID" = 432;
	"TimeOut" = 30;
	"Program" = "/Applications/BOINCManager.app/Contents/Resources/boinc";
	"ProgramArguments" = (
		"/Applications/BOINCManager.app/Contents/Resources/boinc";
		"--redirectio";
		"--daemon";
		"--allow_remote_gui_rpc";
	);
};
This means that your BOINC is running as a service and accepts remote control from network.
You can also verify that your password works: In BOINC Manager switch to Advanced view, use menu Advanced->Select computer... and in the dialog use host name 127.0.0.1 and first try other password than the one you have chosen. With incorrect password you will get error message. After entering the correct password you will connect successfully and you can control your BOINC.
Firewall is recommended for security, so it should always be on.
If you installed BOINC according to chapter 1, you already allowed access to BOINC in firewall. For the case you had BOINC installed previously, you may need to adjust the firewall settings.
Open the System Preferences in Apple menu, then choose Security icon. In the Firewall tab select Advanced button. Make sure that for boinc the incoming connections are allowed:
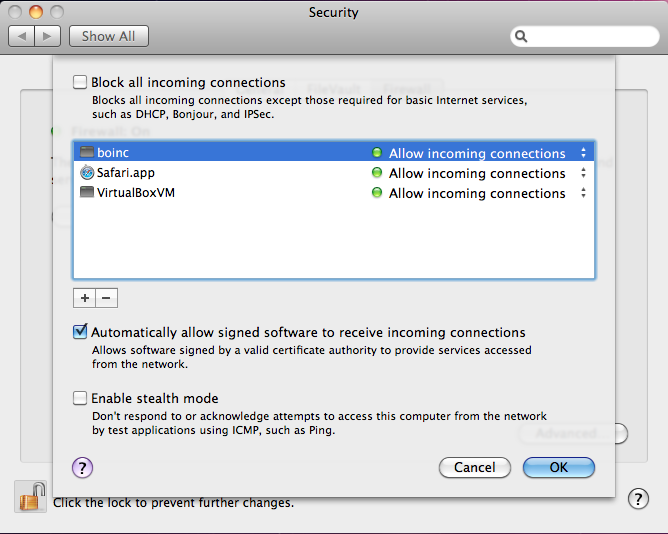
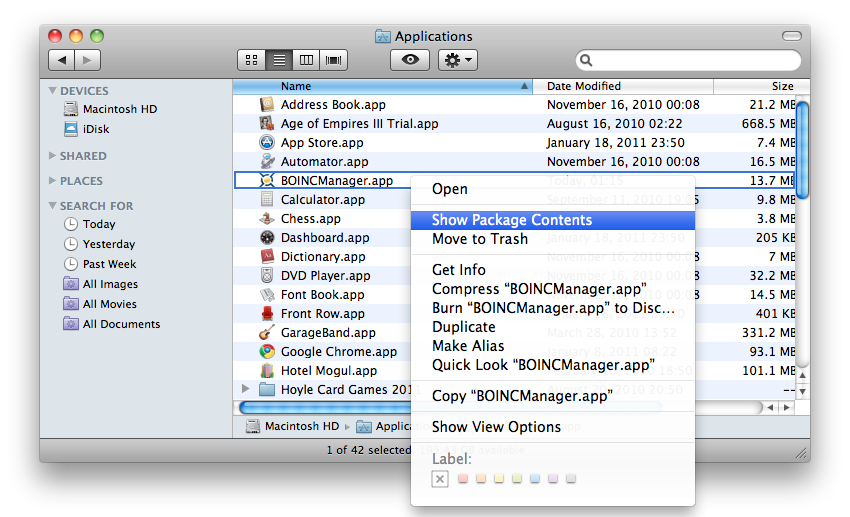
If there's no boinc entry in the list, you have to add it. Open /Applications in Finder. Find the BOINCManager.app there, press right mouse button and select Show Package Contents.
In the newly opened window go into Contents and then into Resources. You will see the boinc there.
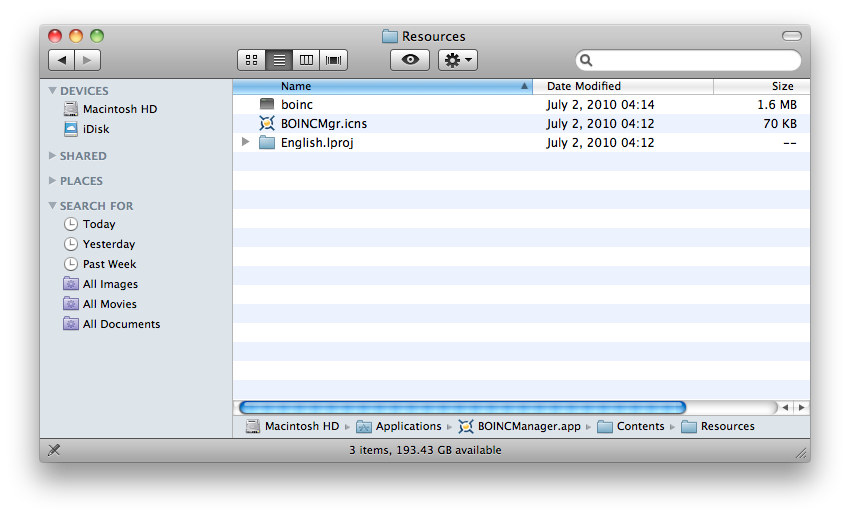
Drag boinc to the list of firewall rules, so boinc will appear there and you can select Allow incoming connections.