-
Notifications
You must be signed in to change notification settings - Fork 34
STM32duino using bootloader
It is possible that your board came with the bootloader installed (or that you completed loading the bootloader)
or a serial debugging connection to upload it). In this case you may be able to just use a micro USB cable. Just note that as per this post that although if you prefer to use the micro USB port to upload software to board installing the bootloader is the way to go but it is not as reliable as using, say, a programmer.
Download and install Arduino software (IDE) for the required OS. Version 1.6.9 is already installed in the lab. (Windows, Linux or Mac instructions)
This is the needed step to get STM32 targets added to Arduino. So carefully follow the following steps.
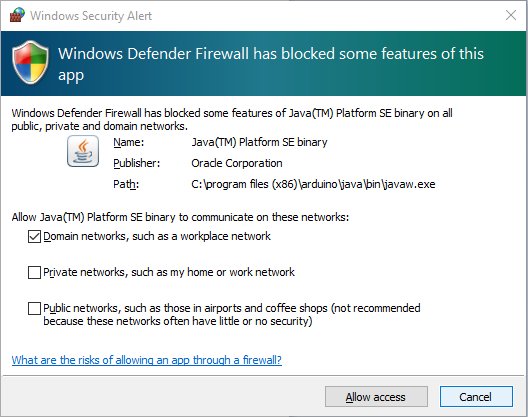
1- Launch Arduino.cc IDE. If the Windows Security Alert dialog pops up, you may cancel it.

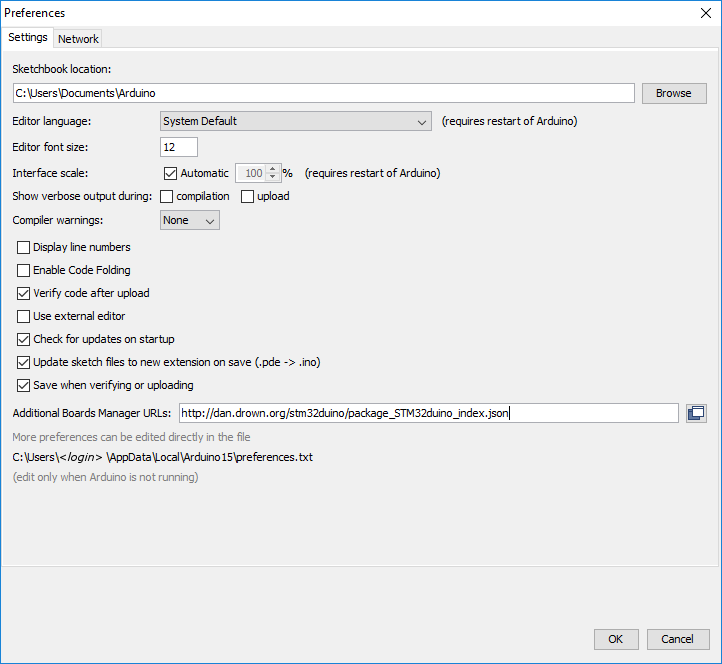
Click on "File" menu and then "Preferences". The "Preferences" dialog will open, then add the following link to the "Additional Boards Managers URLs" field:
http://dan.drown.org/stm32duino/package_STM32duino_index.json

(alternate preferences approach - VERSION 1.5.0)
Click "Ok"
2- Click on "Tools" menu and then "Boards > Boards Manager"

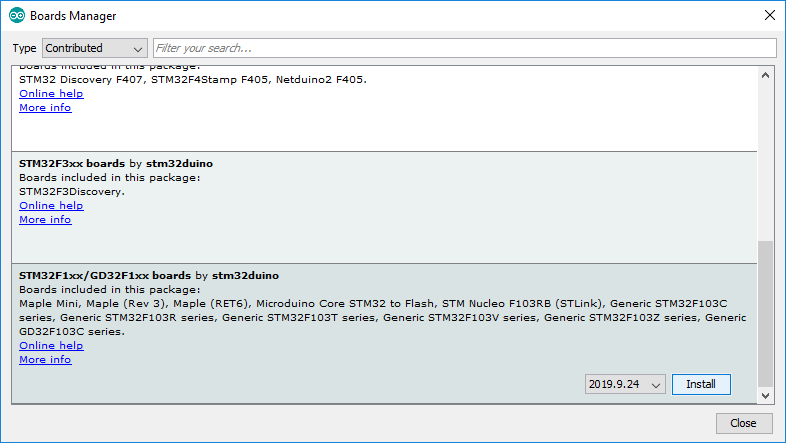
The board manager will open and you will see a list of installed and available boards.
Select "Contributed" type.
Scroll down and select the "STM32F1xx" and click on install (takes some time).

After installation is complete an "INSTALLED" tag appears next to the core name.
You can close the Board Manager.
Now you can find the STM32 boards package in the "Board" menu. Select the desired boards series:

-
Connect the board to the computer USB port via a micro USB cable. (Be sure not to connect the programmer at the same time to a power source.)
-
Select the serial port from the "Tools > Port" menu
- On Windows, it's often the highest-numbered COM port. In this example, it's COM3
- On Linux, it's something like /dev/ttyACM0.
- On Mac, it's something like /dev/tty.usbmodem-1511.
(Or unplug the board, check the menu, and then plug the board and check what new port appears)

Depending of the board, several upload methods could be proposed, thanks the "Tools > Upload Method" menu.
In this set of instructions we are using the STMduino bootloader.
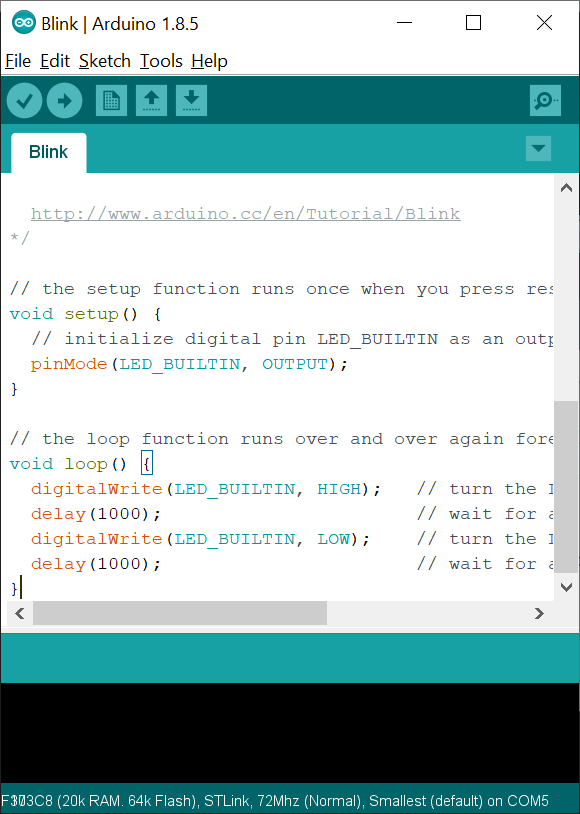
Select the blink example


Add int led=PC13; and change LED_BUILTIN to led in 3 places:

Upload


Need to download 3 files and then run the second 2 files:
- https://github.com/rogerclarkmelbourne/Arduino_STM32/blob/master/drivers/win/wdi-simple.exe
- https://github.com/rogerclarkmelbourne/Arduino_STM32/blob/master/drivers/win/install_drivers.bat
- https://github.com/rogerclarkmelbourne/Arduino_STM32/blob/master/drivers/win/install_STM_COM_drivers.bat
Both BOOT jumpers are on the 0 side (versus 1) On very rare occasions uploading fails. In this situation I have to move BOOT0 jumper to 1 and upload the sketch. Binaries do not run when BOOT0 is set to 1 therefore I move it back. There are also very rare occasions when blue pill does not reset after upload. I have to push the reset button.