-
Notifications
You must be signed in to change notification settings - Fork 3
Building InCert for Windows Utility Mode
- WiX 3.7 (download link)
- SignTool.exe (available as part of the Windows SDK)
- A code-signing certificate installed to your personal certificate store
-
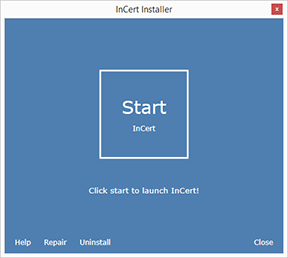
Download, install, and launch the preview version of InCert for Windows from the InCommon test server.
-
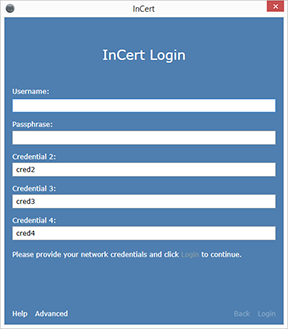
From InCert's "Login" dialog, click "Advanced."
-
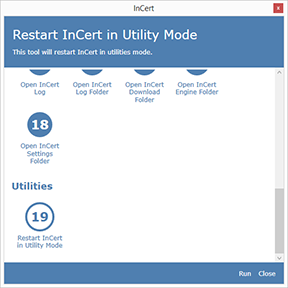
From InCert's advanced menu, select item 19 ("Restart InCert in Utility Mode") and click the "Run."
-
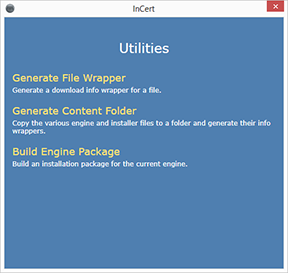
InCert will restart in Utility mode.
-
Click "Build Engine Package."
-
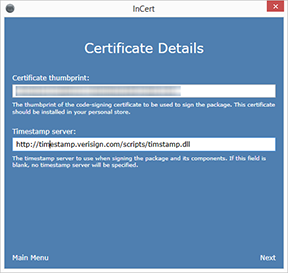
From the certificate details dialog, provide the thumbprint for your code-signing certificate and, optionally, the Url for a timestamp server. Your certificate should be installed into your personal certificate store.
-
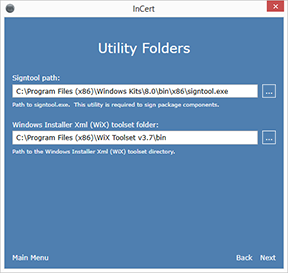
From the utility folders dialog, provide the paths to SignTool.exe and to the WiX 3.7 Toolset installation folder. The engine should provide these values for you, but you may need to modify them as necessary.
-
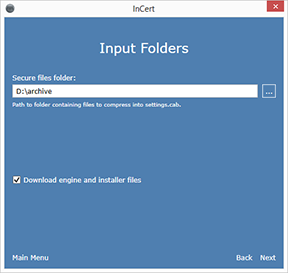
From the input folders dialog, provide the path to your secure files folder.
This folder contains the files that will be compressed into the signed "settings.cab" archive that will be bundled and installed with the engine. Only files included in the root of your secure files folder will be compressed into the final archive.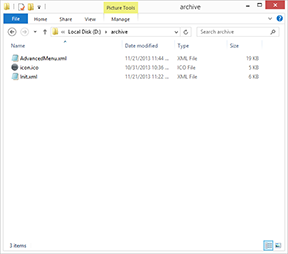
-
From the input folders dialog, check "Download engine and installer files" to download the latest version of the engine files and various installer directives from our server. Otherwise, uncheck "Download engine and installer files" to use local versions of these files.
-
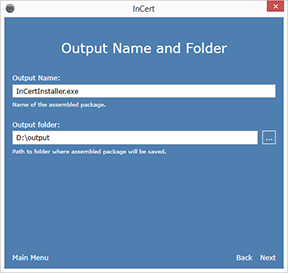
From the output name and folder dialog, provide the name for your installer and the folder that folder that will contain the assembled installer package.
-
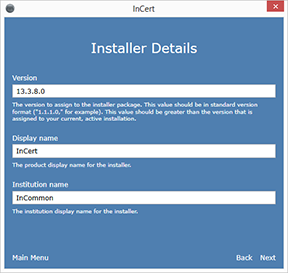
From the installer details dialog, provide the installer version. Here, it is important that you use a version that is greater than any previous version numbers that you may have already deployed to users' computers. Otherwise, the installer's upgrade functionality will not function correctly.
-
From the installer details dialog, provide the display name and institution name for the installation bundle. These values determine both the bundle's branding and the engine's installation folder.
-
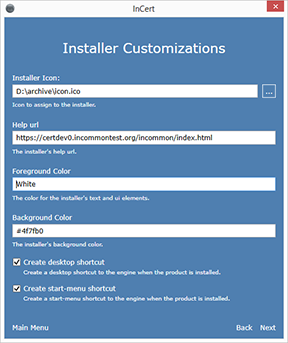
From the installer customization dialog, provide an icon path. This determines the icon associated with the installation bundle.
-
From the installer customization dialog, provide a help url. This determines the web-page that will be opened if users click "Help" from the installer's dialog. Also provide a foreground and background color and check the appropriate boxes to have the installation bundle create Desktop and Start Menu to InCert.
-
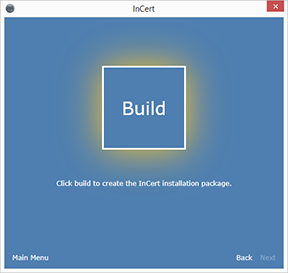
From the build dialog, click "build."
-
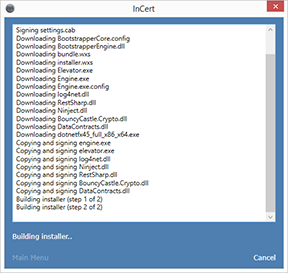
The engine will now assemble your installation bundle. This may take a few minutes.
-
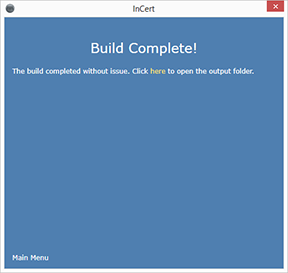
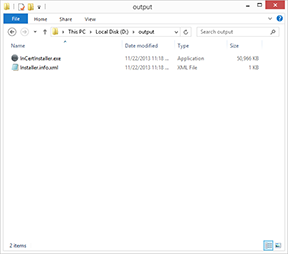
If everything worked, your installation bundle (and it's accompanying info.xml file) will be placed into your output folder. You can access this folder from the build complete dialog.
-
Place your installation bundle and its info.xml file on your server.