-
Notifications
You must be signed in to change notification settings - Fork 23
Step 8
Gilles QUERRET edited this page Oct 29, 2019
·
7 revisions
Go to Control Panel > User Accounts > Credential Manager > Windows Credentials. You will see 'gquerret' credentials in the list (e.g. git:https://). Delete this password.
- Back in the first Cmder tab, execute
git statusto see the pending changes:

-
Two files have to be committed, you can do that with
git add build.xml Jenkinsfile && git commit -m "Build" -
Then push the changes to the central repository with
git push -
You should then be able to see your commit in your own fork:

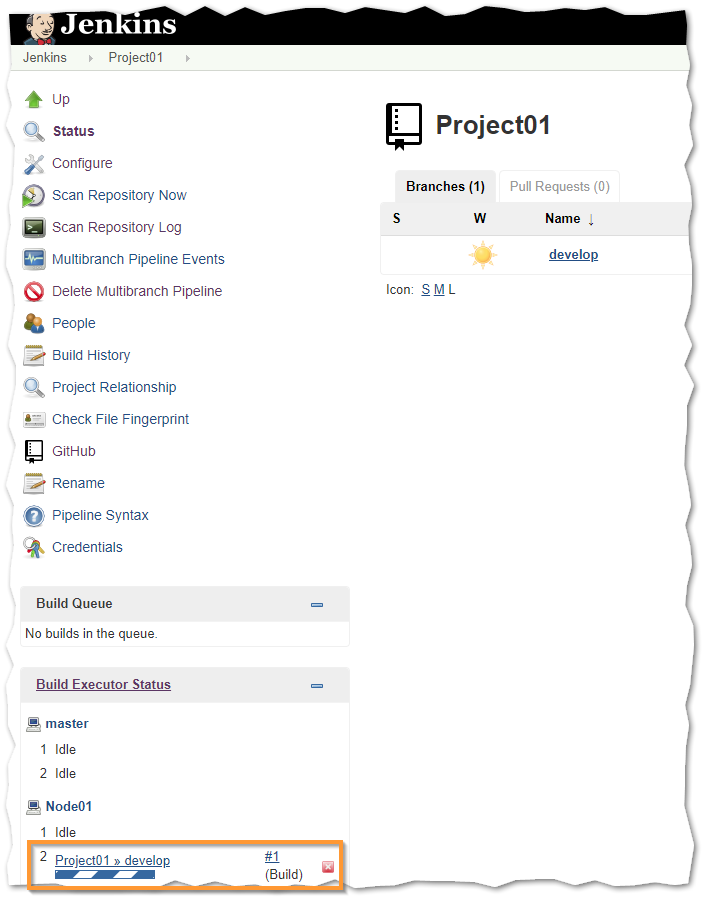
- As Web Hooks were configured in GitHub, a signal is automatically sent to Jenkins when a new branch is available. This automatically triggers a build on Jenkins:

- After a minute, the build should be completed, and the build artifact (i.e. the outcome of the build) is available for download:

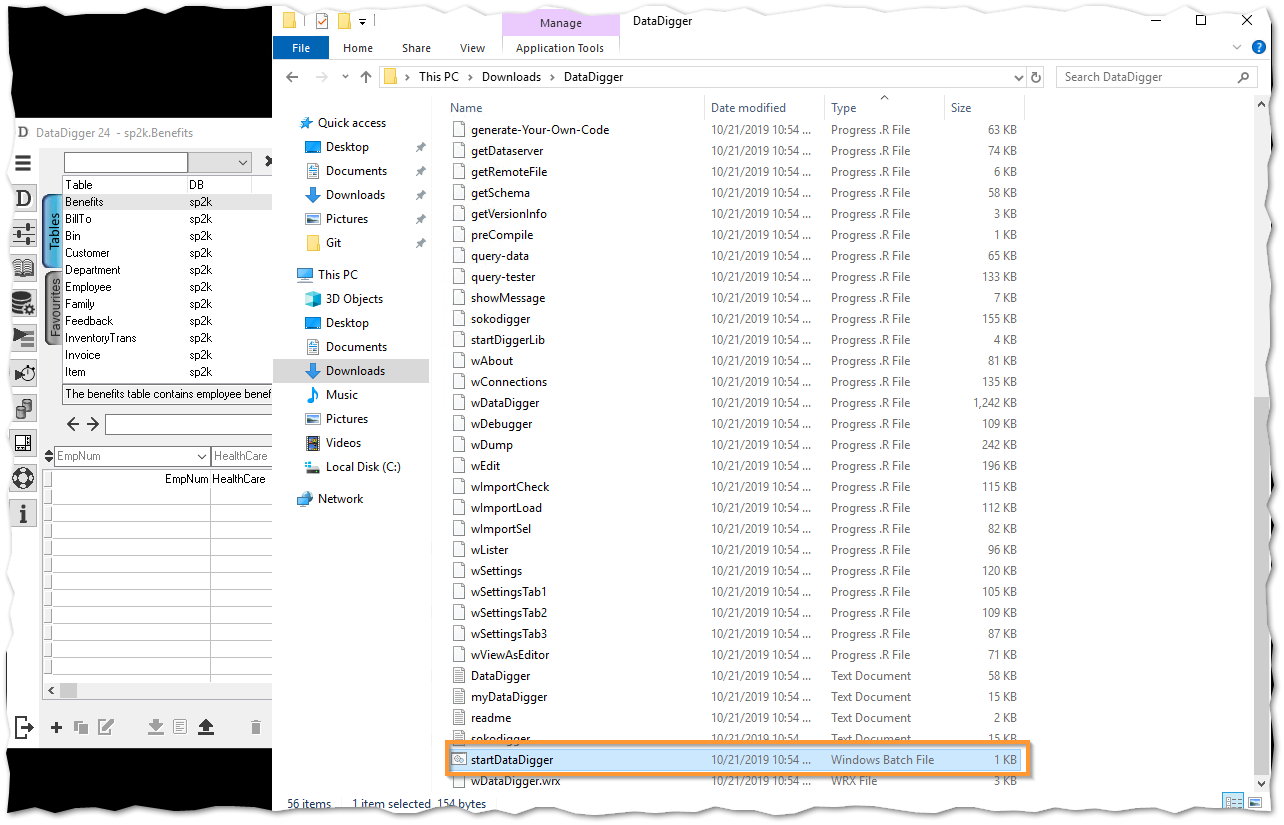
- Download the artifact, unzip it, and execute
startDataDigger.bat; the main window will appear after the initialization period:

The build artifact is only rcode and required files (images, configuration files, and so on). No source code is included in this package.
🚀🚀🚀 Jump to Step 9 !!! 🚀🚀🚀

© Riverside Software 2019
- Attendees Attendees ID
- Step 1 Configure Git Client
- Step 2 Fork and clone repository
- Step 3 Local build file
- Step 4 Jenkins slave configuration
- Step 5 Jenkins pipeline
- Step 6 GitHub -> Jenkins hooks
- Step 7 Configure Jenkins job
- Step 8 Promote local changes
- Step 9 First feature branch
- Step 10 Pull request
- Step 11 Pull request - Part 2