-
Notifications
You must be signed in to change notification settings - Fork 23
Step 9
Gilles QUERRET edited this page Oct 22, 2019
·
5 revisions
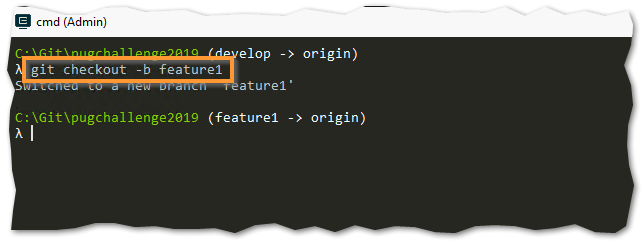
- Create a new feature branch (i.e. branch dedicated to a new feature) with
git checkout -b feature1

- Right-click on wAbout.w in File Explorer, and select "Open in the AppBuilder"

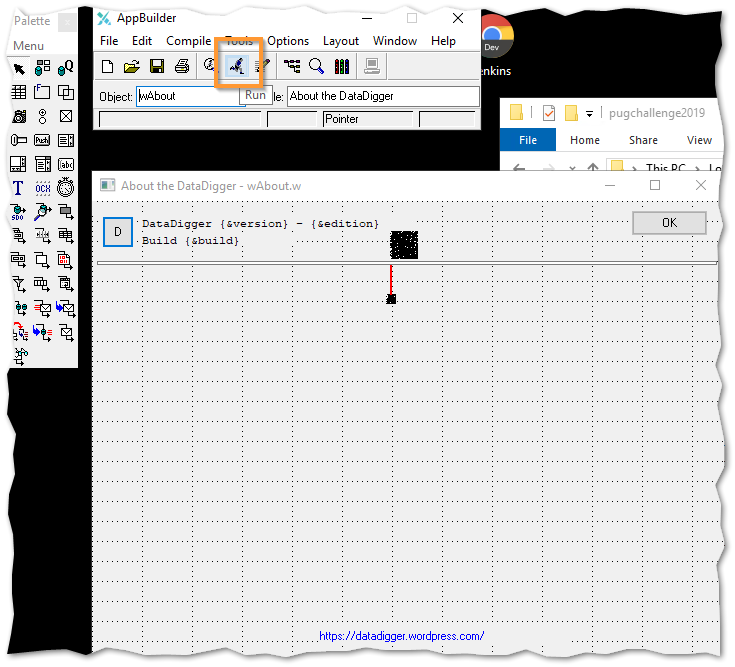
- Click on the Run button, and see what happens

- Open the code editor, enter the initializeObject, and modify the line
imgPlayer:LOAD-IMAGE(getImagePath('player.gif')).in order to point toplayer2.gif.

-
Click on the Run button again, and verify that the character has red pants.
-
Back in the Cmder window, commit the file in the local repository with
git commit wAbout.w -m "Red pants":

- Then promote the changes in the remote repository with
git push origin feature1:

- Again, as soon as you push changes to the remote repository, the branch is detected in Jenkins, and automatically built:

- Download the artifact, and verify that the About box is updated
🚀🚀🚀 Jump to Step 10 !!! 🚀🚀🚀

© Riverside Software 2019
- Attendees Attendees ID
- Step 1 Configure Git Client
- Step 2 Fork and clone repository
- Step 3 Local build file
- Step 4 Jenkins slave configuration
- Step 5 Jenkins pipeline
- Step 6 GitHub -> Jenkins hooks
- Step 7 Configure Jenkins job
- Step 8 Promote local changes
- Step 9 First feature branch
- Step 10 Pull request
- Step 11 Pull request - Part 2